Tea is fermenting in my kitchen as I write this.
I don’t know about you, but I have no desire to shell out the big bucks that grocery stores charge for this stuff, so I decided to start bottling my own kombucha again at home.
While I’m getting back into the rhythms of first and second ferments and discovering what teas and flavors my family likes, I thought I’d call in the big guns and ask Michelle Visser to explain not only what kombucha is, but also how you can make this amazingness on your own kitchen counter. This week she’s going to walk us through the steps to making a first ferment. Then, oooh la la, next week she’ll walk us through the really delicious part… flavoring our second ferment.
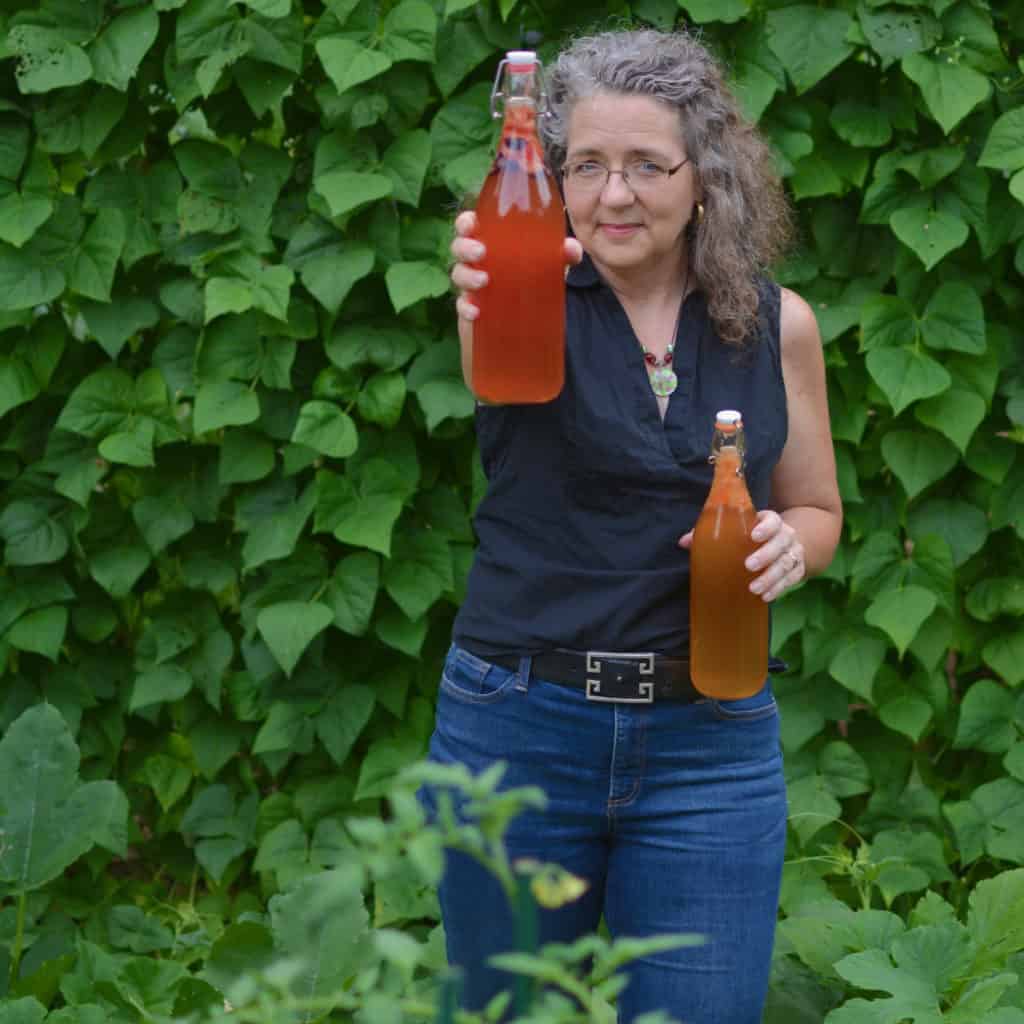
If for some crazy reason you haven’t met Michelle yet, she’s a member of The Prairie Homestead Team, but she also writes over on SoulyRested.com and is the author of Sweet Maple (affiliate link) and Simple DIY Kombucha. She even grows some of her own ingredients for bottling homemade kombucha in her New England garden. Now how cool is that?
Kombucha, according to Michelle
So y’all know that Jill is a big fan of sauerkraut, right?
No offense, Jill, but (here I lower my voice to a whisper) I hate sauerkraut.
And when I used to think of fermenting, my mind immediately went to (here I make a screwed-up sour face) sauerkraut. Needless to say, I never thought I’d be fermenting anything, not alone fermenting something on my kitchen counter daily. But that is exactly what kombucha has done to me. It’s converted me into a daily fermentation fan.
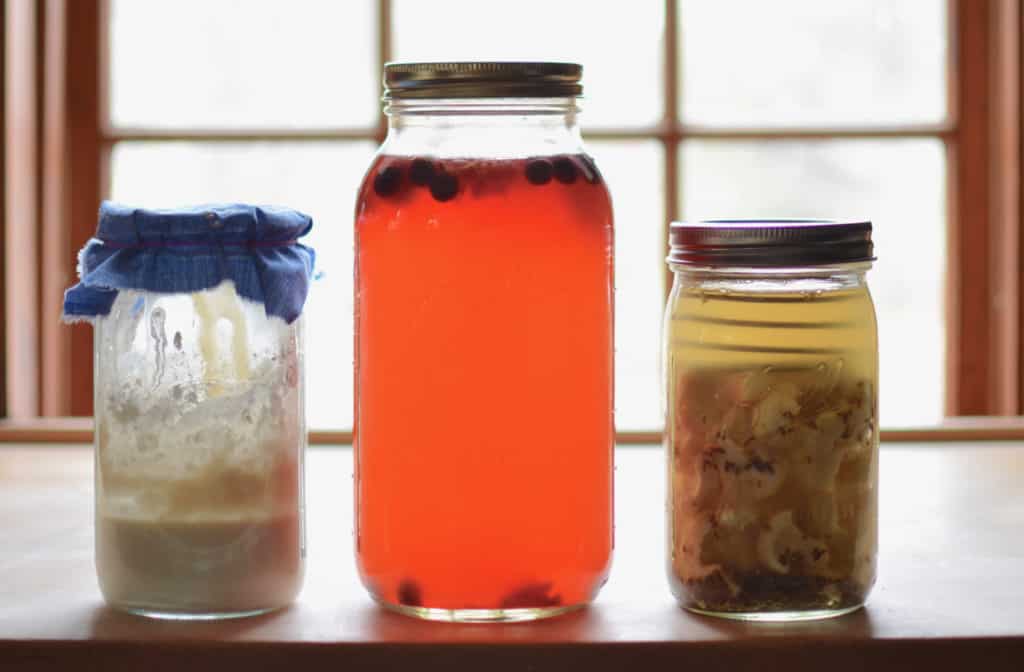
Now I have sourdough bread, kombucha, and occationally random veggies in various stages of fermentation in my kitchen daily. And, score, a family that is much more gut healthy. (But, sorry, still no sauerkraut.)
Bottling kombucha at home—is it good for you?
Just like fermented foods (think kimchi or these delicious pickles), kombucha is always taking in good bacteria from the air around it. That’s why you don’t put a lid on your brewing container while it’s fermenting, just a fabric cover; the scoby needs new bacteria to grow, and it gets it from the air.
btw, I know what you’re thinking… you’re thinking, “but Michelle, I don’t want to grow bad bacteria.” Trust me, no one does. It turns out bad bacteria can’t survive in the acidic environment of kombucha—the same way it can’t survive in the salty environment of Jill’s crunchy fermented pickles. This is the reason people have been successfully fermenting foods for thousands of years–in fact it very well could be that as long as there has been food to preserve and people who wanted to preserve it, folks have been fermenting. Pretty cool to think about, huh?
Kombucha is filled with really good stuff that your gut desperately needs.
You see, part of your scoby (we’ll get to what that is in a minute) is good ole, hard-working yeast. So kombucha does a huge favor for your gut. Because yeast converts most of the sugar that you “feed” your kombucha into lactic acid.
Stick with me here. I won’t make your eyes glaze over with too much science. I’ll refer you over to some scientific minds writing for Time Magazine for that. 
Suffice it to say, lactic acid improves your gut in more ways than I’ll even try to list… It’s an essential part of your microbiome—you know, that beautiful balance of bacteria that lives in your body? Everything from getting too little sleep to being too sedentary for too many days can put your microbiome out of balance.
This recent article in the nutrition section of Time Magazine explains a little more… basically, kombucha may lead to “improved digestion and a more balanced gut microbiome. Many nutritionists believe kombucha may be beneficial to gut health due to [its many] probiotics.”
Is it expensive to bottle your own kombucha?
There are two reasons I bottle my own kombucha at home instead of buying it at the store.
- I can create original flavors. I often make flavors I haven’t seen anywhere else, no matter how much I was willing to pay. (Watch for next week’s post for more about how to add flavors to your homemade kombucha.)
- I am not willing to pay a lot. It costs almost $14 for a half gallon of kombucha at my local grocery store. But bottling my own kombucha saves me an astronomical amount of money. Go here if you’d like to see the cost analysis and find out what I spend a week to bottle three gallons of kombucha in my kitchen. (Yes, between my teen daughters and I, and company that stops in, we go through a lot of kombucha in a week. But it’s so cheap when I’m making it myself, that it’s well within my food budget. Heck, it’s way cheaper than canned soda and so much better for us!)
Fermented tea—how do you make it?
While fermenting tea may seem intimidating, trust me, you’ll be surprised how simple it can be if you get off to the right start and find a reliable source you can trust for invaluable information and instructions. I had some seasoned friends who helped me get started. And then I talked to kombucha experts across the country who have been making it for decades.
I poured everything I learned (from my research and even my personal failures) into my mini crash course, Simple DIY Kombucha, and answered all the questions I couldn’t find easy answers to when I first started making it myself. So whether you rely on trusted friends, dive into an instructional course, or learn through trial and error, you absolutely can do this.
![]()
Okay, I don’t actually recommend the trial-and-error part, and I truly love Jill’s tribe of amazing folks like yourself, so I created something extra special for you–two somethings actually. Head over to this page and scroll down toward the bottom where you will see two totally free goodies just for you.
- One is a free printable conversion chart that will help you get your measurements perfect, every time.
- The other is a free, 15-page ebook that’s chocked full of great tips to get you started.
If you love it and want to dive into the complete crash course, you’ll find information on how you can do that right there on the same page.
Bonus: You don’t need fancy equipment. In fact, most of this you already have handy, like water, sugar, a rubber band, a piece of fabric to cover your fermenting jar, and some tea. Let’s go over the equipment you’ll need on hand if you want to bottle your own kombucha:
What you’ll need to bottle kombucha at home
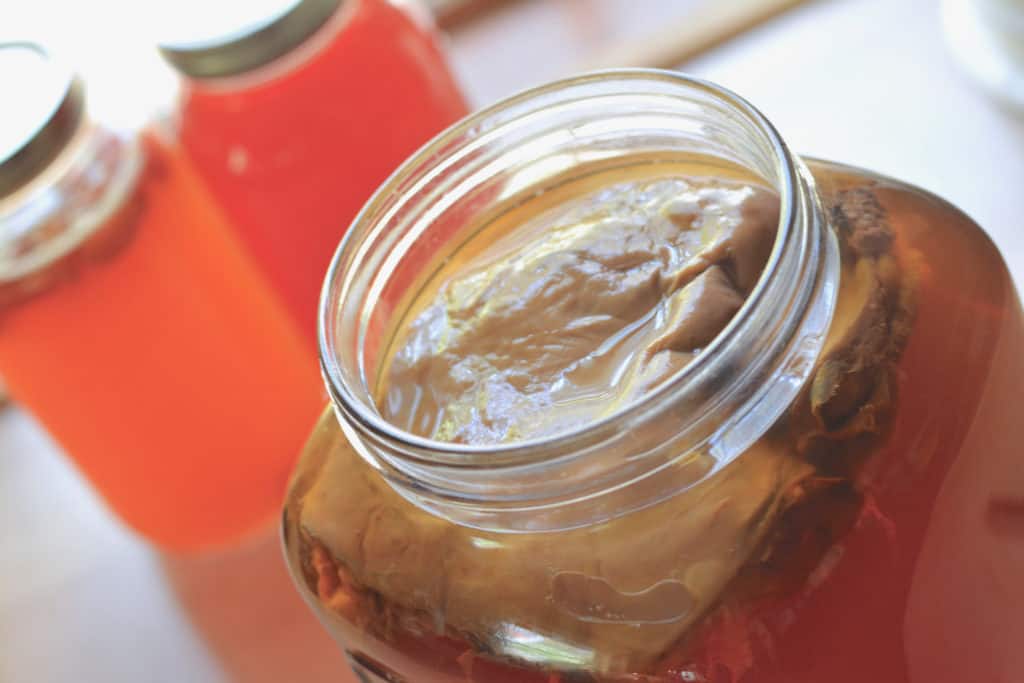
- A SCOBY—This is one item you won’t have in your kitchen, unless you have a friend who shared one with you. But it’s easy to purchase. btw, SCOBY stands for “Symbiotic Culture of Bacteria and Yeast.” I highly recommend finding one that is organic and one that includes at least a cup of starter tea. This one is my absolute favorite and it comes with, generously, twice as much starter tea as you’ll find from most sources.
- STATER TEA—You’ll need a minimum of 1 cup of starter tea for every 1/2 gallon of kombucha you’re making. But this is a no-brainer, it’ll come with your scoby.
- A FERMENTING VESSEL—This sounds way more technical than it is. I mean, you can get technical—I have this 4-gallon one and it’s my favorite for the large, continuous brew I keep on my kitchen counter—but you can go with something much smaller and simpler. Even just a quart-sized or 1/2-gallon mason jar–my preference–will do the trick. (affiliate link)
- KOMBUCHA-FRIENDLY TEA—I love this original kombucha tea blend, but feel free to use your favorite black, white, or green tea (just make sure it’s unflavored tea). Another secret in the kombucha world is rooibos. This is the loose leaf rooibos I buy. But you could try a small amount of rooibos tea first, or you could even get a better price if you would like 2 pounds of rooibos tea at once. Rooibos is a super smooth tea that’s naturally sweet. It even has a very slightly nutty undertone that makes it heavenly. (One caution, because rooibos has less tannins than most teas, you do need to add in a little black and or green tea in your brew cycle every once in a while. That will keep your scoby happy.)
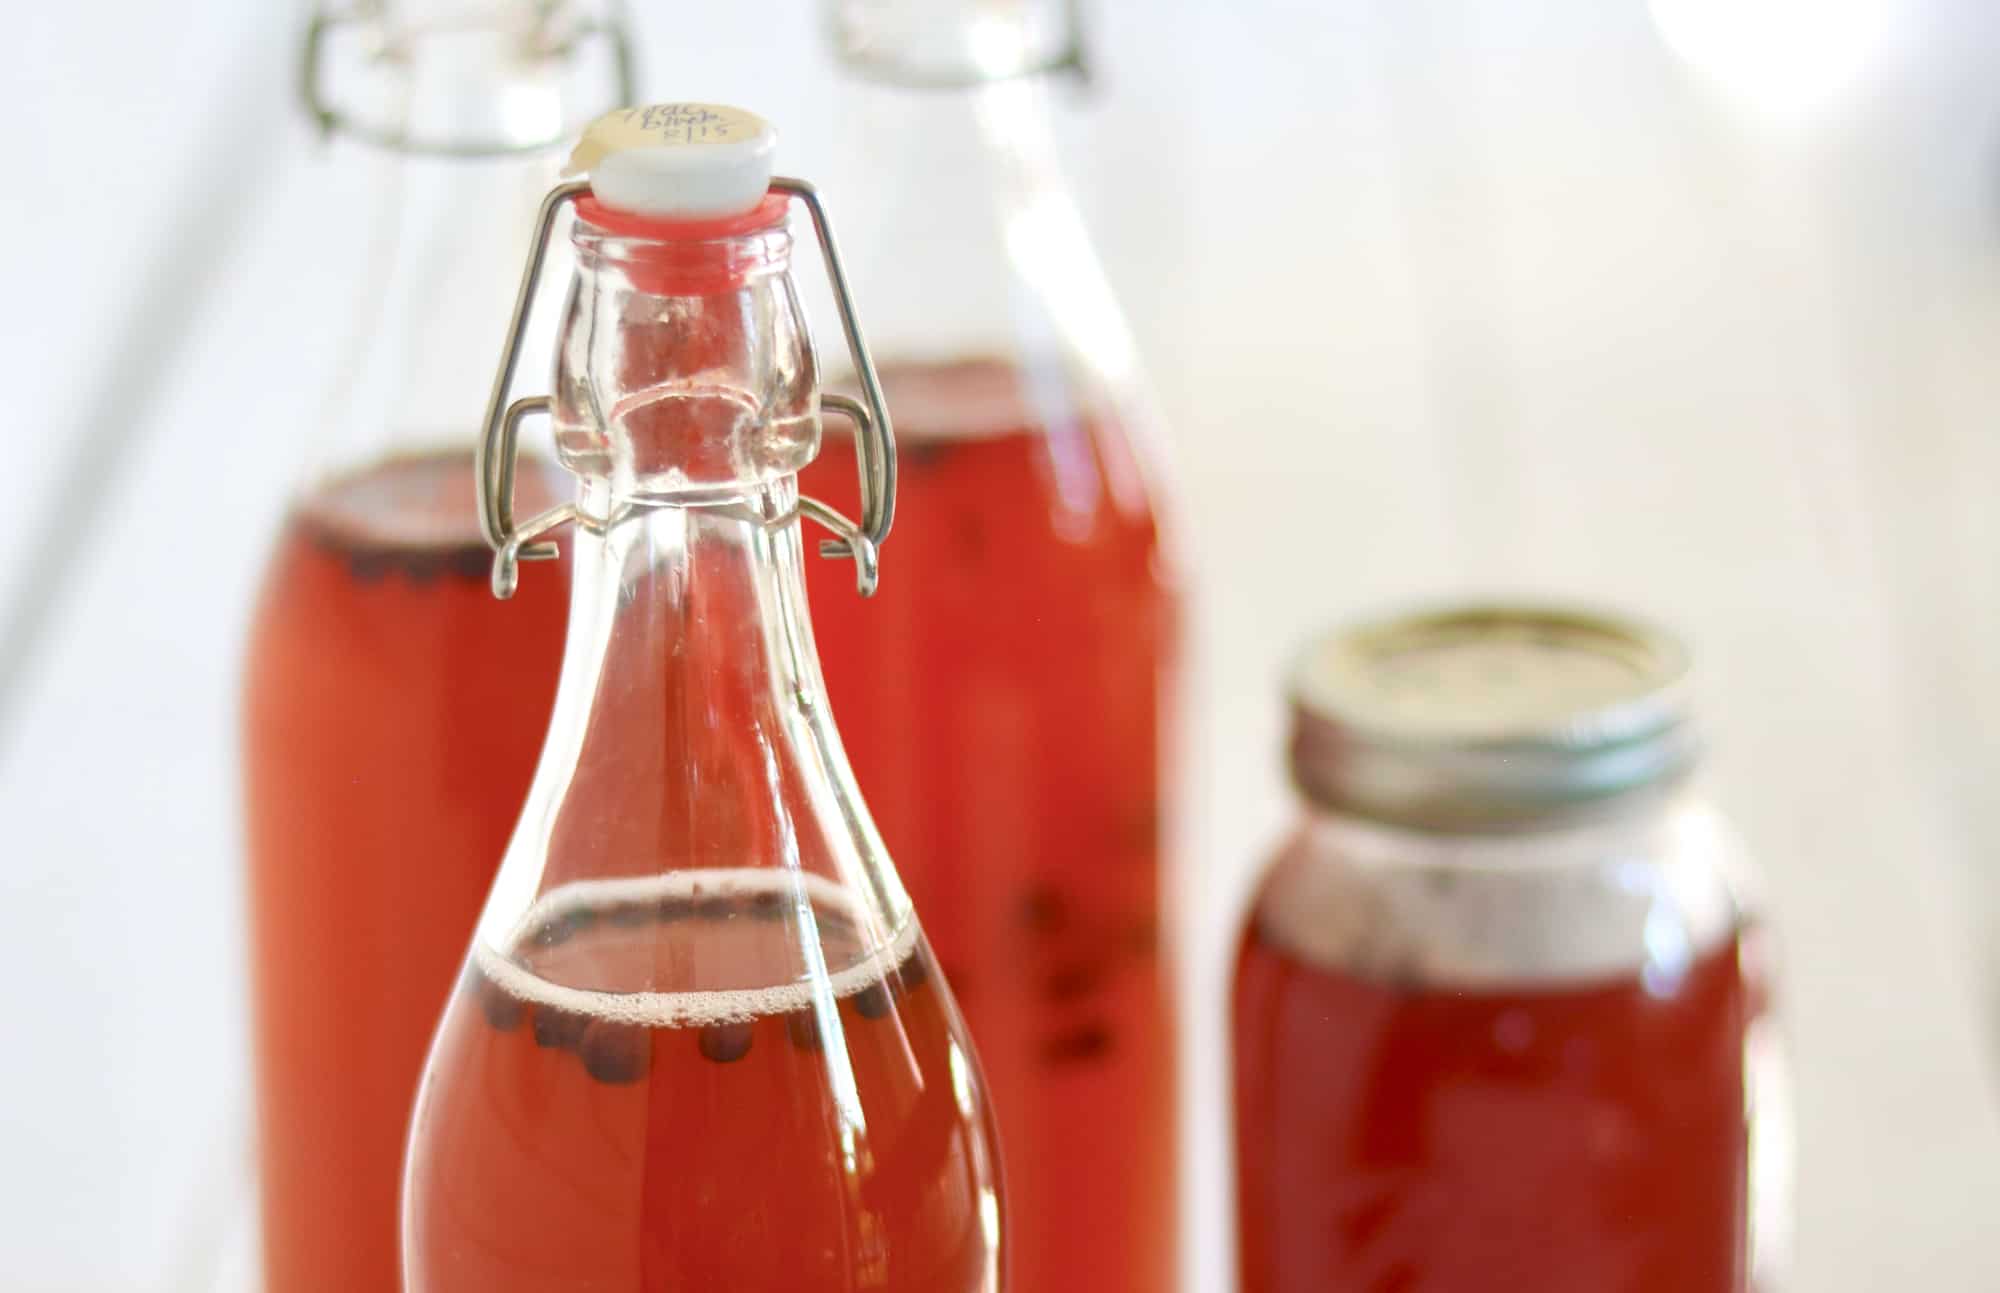
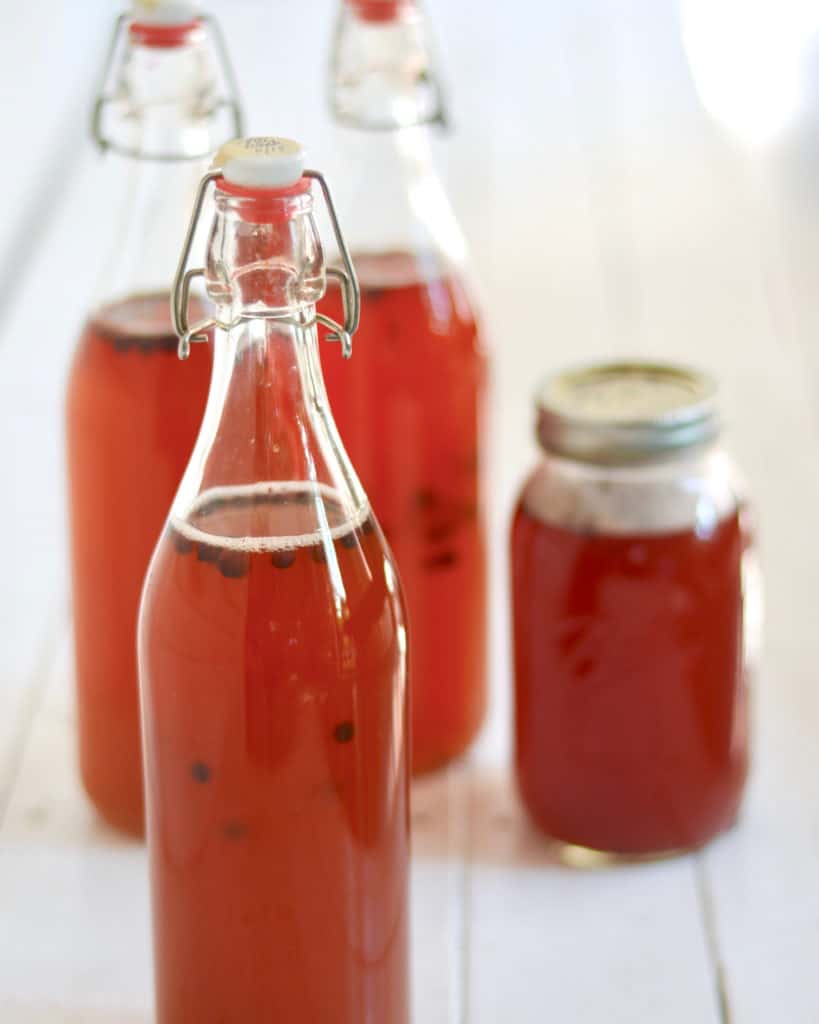
- BOTTLES—You’ll need bottles to hold your kombucha after it’s done fermenting, but no need to buy something special (although these swing-top bottles are great and they make carbonation a breeze). You can simply use mason jars if you have some on hand.
How to bottle kombucha at home
You might be surprised how easy it is to bottle kombucha at home. Here are the step-by-step details for brewing a 1/2-gallon batch.
Oh, one more thing I should explain, because if you know me (aka the Queen of Maple) you’re already wondering…
Yes, I make kombucha with maple syrup. But no, I don’t recommend you try that if you’re brand new to bottling kombucha at home. You see, to successfully bottle maple kombucha, you have to make a maple scoby. You can’t just suddenly feed maple syrup to a scoby that’s been fed standard sugar its whole life; essentially, you’ll starve the poor thing.
So if you’re new to this idea of bottling kombucha at home, I highly recommend starting with this amazing, organic scoby that has been professionally grown with organic cane sugar. These scobys are made by my friend, Nicole, over at Heritage Acres Market. She sends a generous two cup’s worth of fantastic organic starter tea with every scoby, to get you off to a great start when bottling your own kombucha at home.
If you’d like to learn how to bottle my favorite kombucha evah–Maple Kombucha–you can read up on how to make a maple scoby right here, for when you’re ready.
To make your own organic kombucha:
- Place a scoby, with 1 cup starter tea, in a 1/2-gallon brewing vessel. (That link is for an organic scoby that comes with two cups of tea, which is doubly good.)
- Boil a few cups of water then remove pan from heat.
- Soak 1 TB loose leaf tea (or 4 tea bags) in the hot water for 10 minutes. This tea and this one, at a great bulk price, (affiliate links) are both great loose leaf teas to start with.
- Throw away or compost the tea, then stir in 1/2 cup sugar. (I like this one.)
- Add 3-4 cups of cold filtered water to your tea, depending on if you added 1 or 2 cups worth of starter tea (the more starter tea you have, the better).
- Add your sweet tea to the mason jar.
- Cover your jar with a breathable covering. And that’s it. It’s that simple.
Congratulations! You’ve just made your first first ferment and you’re on your way to some delicious, gut-healthy homemade beverage. You want to let that rest on your counter for about a week, out of drafts or direct sunlight. Then next week we’ll talk about the next step & how to add amazing flavors to your second ferment.
Notes about bottling your own kombucha
- While you may be able to get a hand-me-down scoby from a friend, I highly recommend starting out with a professionally grown, 100% organic culture that comes with an abundance of richly probiotic starter tea. This organic scoby, from Heritage Acres Market, is truly the best I’ve ever seen. I can’t recommend it enough for getting your kombucha off to the perfect start.
- While you should start off small when you’re learning to make kombucha, rest assured when you’re ready to expand your gut-healthy, carbonated-beverage operation it’s super easy to switch from a small batch-brew set up (which is what this post is describing) to a continuous brew set up, which is super easy to make. I spend about 5-10 minutes, max, every week to make 3 gallons of kombucha using this amazing brewing vessel from Kombucha Artisan. (It actually can make 4 gallons, if you by any chance have more kombucha-loving family members in your home than I have in mine.)
- Talk to neighbors and friends who have brewed kombucha to get the inside scoop about bottling kombucha in different seasons in your climate. And don’t forget to download the free 15-page kombucha ebook right here to get you off on the right foot.
- Don’t hesitate to start because there is a small upfront investment in the good organic scoby and maybe a specially blended tea. You will be shocked at how quickly you recoop your costs and how much money you’ll save by bottling your own kombucha. (See the cost analysis of homemade vs. store-bought right here.)
More tutorials that will make your gut happy:
- A scoby
- 1 cup starter tea
- 2 cups water
- 1 tablespoon tea (or 4 bags)
- ½ cup sugar
- Place scoby and starter tea in a ½-gallon mason jar.
- Boil 2 cups water and then remove from heat.
- Seep tea in hot water for 10 minutes.
- Remove tea and stir in sugar.
- Add 4 cups of cold filtered water to sweet tea.
- Cover jar with breathable fabric.
- Store your first ferment jar away from drafts or direct sunlight.
- In roughly one week, it's time for a second ferment.
The post How to Bottle Kombucha at Home appeared first on The Prairie Homestead.
Via Gardening http://www.rssmix.com/
No comments:
Post a Comment