I’m not a cookie-cutter kinda gal.
When Jill asked me to share some details with you last week about how to make your own kombucha (& why), I was all in, because I’m pretty passionate about this amazing fermented drink. Of course, why wouldn’t I be? It’s a delicious way to improve gut health, and making it yourself saves a ginormous amount of money!
But the thing I love the most about making my own kombucha? I can customize it, flavoring kombucha I make at home to fit my family’s tastes exactly. I can change my flavors based on what I’m in the mood for, what fruit is on sale at the market, what’s growing in my garden, or what friends will be coming for dinner this week. (Yes, my friends do have flavor requests.)

I mean who wants a cookie-cutter drink when you can have new excitement every time you open a bottle? I’m not a cookie-cutter kinda gal in any area of my life, but especially not in the kitchen. So I’m here today to help you brew up some amazing carbonated kombucha that’s totally original to you and made just the way you like it!
What’s the difference between first and second ferment?
When I started making this wonderful carbonated drink at home, the idea of first and second ferments confused me. I didn’t understand what the difference was. But it turns out it’s super simple.
- The first ferment gives you a fermented tea. This is the part where all those wonderful health benefits (some I explain here) build up.
- The second ferment adds flavor and carbonation. This step is optional. But, honestly, it’s never optional in this house, because coming up with new varieties of flavors, as well as recreating our favorites, is our favorite thing about making kombucha.
How do you know when the first ferment is done?
After you’ve walked through the steps for the first ferment (outlined here), then comes the only really hard thing about kombucha, in my opinion—the wait.
I wish I could tell you an exact formula for how long you wait, but it doesn’t work that way. There are so many variables that impact the speed of the fermentation that the best thing I can tell you is to start tasting a sip of it daily around the 2nd or 3rd day if it’s warm in your home. Or give it 4 or 5 days if it’s cooler in your kitchen, because the fermenting process slows down in cooler temperatures.
If your home is cool, either because it’s winter or you have the air conditioning on, your first ferment could take a week or even two to get to the right taste.
For optimum fermenting, try to keep your kombucha around 70°F. These handy stick-on thermometers work really well if you’d like to monitor your kombucha temperature.
When it tastes good to you—when it’s not too sweet but not vinegary tasting—the first ferment is ready. Like I mentioned, you can drink and enjoy your kombucha right then. Or, if your patience can handle one more wait, you can move on to the really fun part–flavoring kombucha.
How do you go about flavoring kombucha?
Flavoring kombucha is super simple. Or, it can be as complicated as you’d like to make it.
Setting up your second ferment
When your first ferment of kombucha is ready by your taste standards, move your scoby to a bowl (or I just move it to a clean 1/2-gallon jar, which will serve as my fermenting vessel for my next batch). Stir the liquid well. If it’s nicely fermented, the lactic acid will get fizzy as you stir. Don’t worry if it’s not fizzy yet, more carbonation will occur in the next ferment as well.
After stirring, pour 1 cup of that fermented tea in with the scoby, to reserve it to make your next batch.
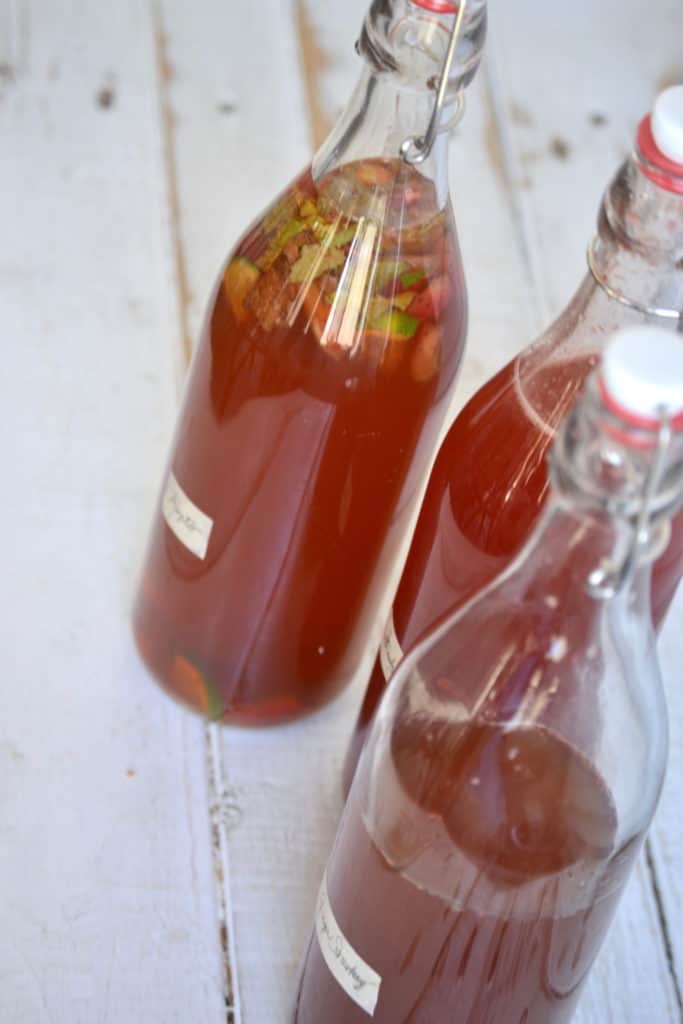
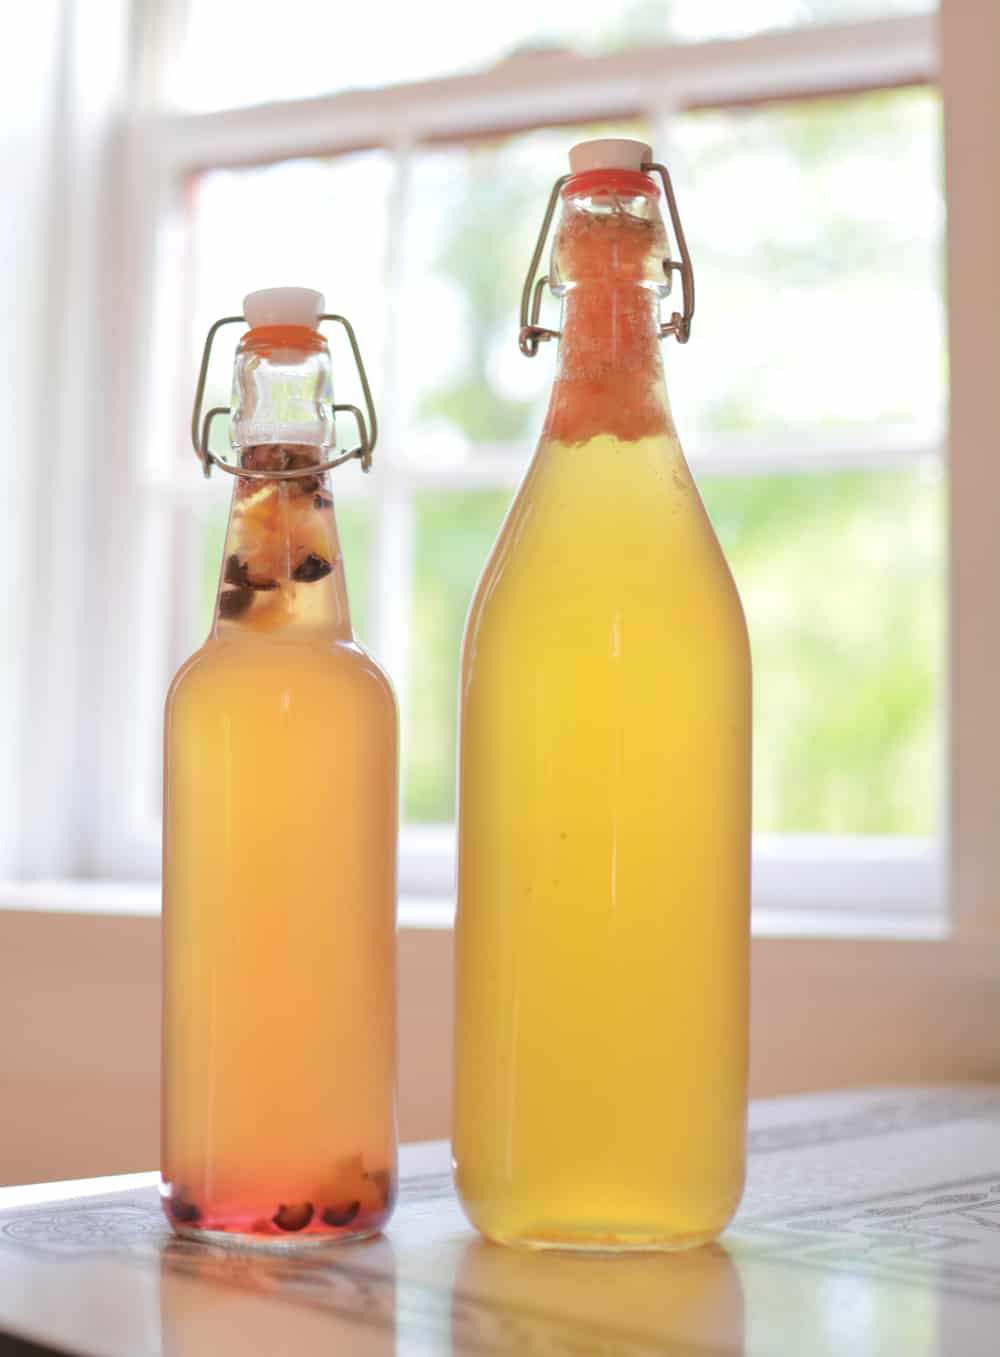
Use a funnel to pour remaining amounts in tightly sealable bottles for a second ferment. I recommend flip-top bottles because they’re great at building up your carbonation easily and quickly. If you’re using a 1/2-gallon mason jar to make your first ferment (directions for making first ferment are right here), you will need one 33-ounce flip-top bottle and one 16-ounce flip-top bottle for your second ferment, or 3 of the 16-ounce bottles.
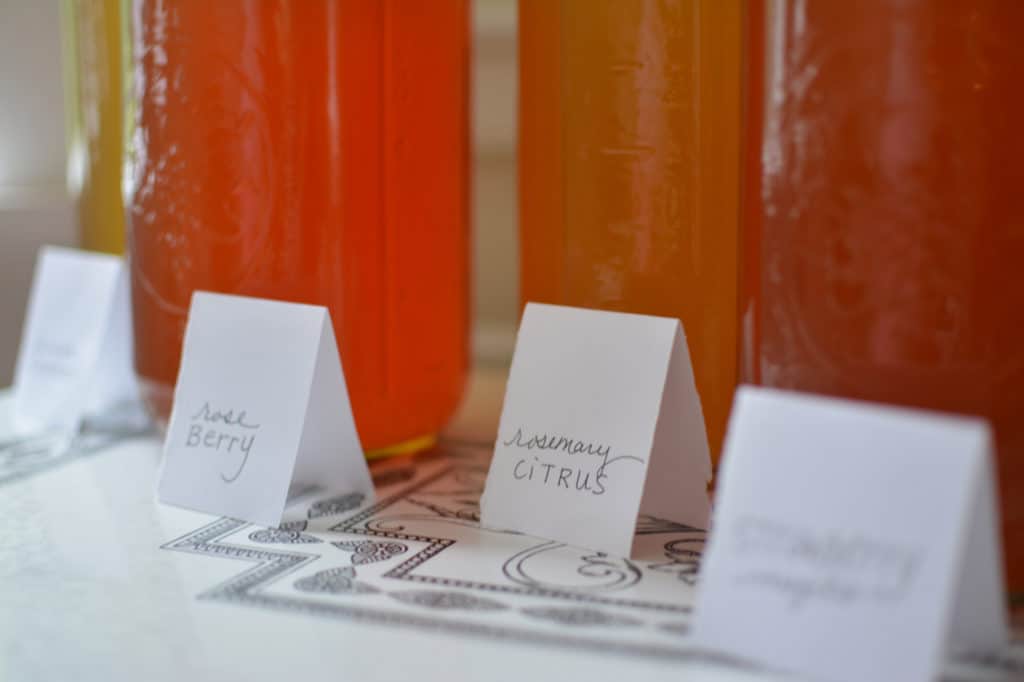
Choosing your flavors
You have lots of options for flavoring your kombucha, from fruit juice to frozen fruit to flavored teas. I share recipes for my family’s favorite flavors over here–ones like Maple Apple Pie and Blueberry Ginger.
For inspiration, consider any combination of any wonderful flavor option on this list. But I assure you this barely scratches the surface of possibilities:
Fruits to Use for Flavoring Kombucha
- Strawberries
- Blueberries
- Peaches
- Grapefruit
- Apple
- Blackberries
- Raspberries
- Pears
Herbs to Use for Flavoring Kombucha
- Rosemary
- Mint
- Lavender
Other Ingredients for Flavoring Kombucha
- Ginger (ginger not only adds wonderful flavor, it also speeds up your carbonation in your second ferment)
- Cinnamon
- Maple syrup (this maple syrup is my favorite)
- Pear-infused maple syrup
- Floral syrups like lilac syrup you can make yourself
- Flavored loose leaf teas like these, which Ceanne makes over at Farmhouse Teas specifically for flavoring kombucha.
If you create a concoction that you love, please leave a comment and let us know! Jill & I are both always looking for our next favorite kombucha flavor!
How do you know when your second ferment is done?
Honestly, the only judge of “done” is you. When it tastes “done” to you, well that’s all that matters in a perfect DIY drink, no? In general, I try to give it at least a couple of days to let the flavors infuse and the carbonation to build up. On the other hand, you can let them sit as long as you want before drinking, just know that over time the taste will turn more vinegary and less sweet.
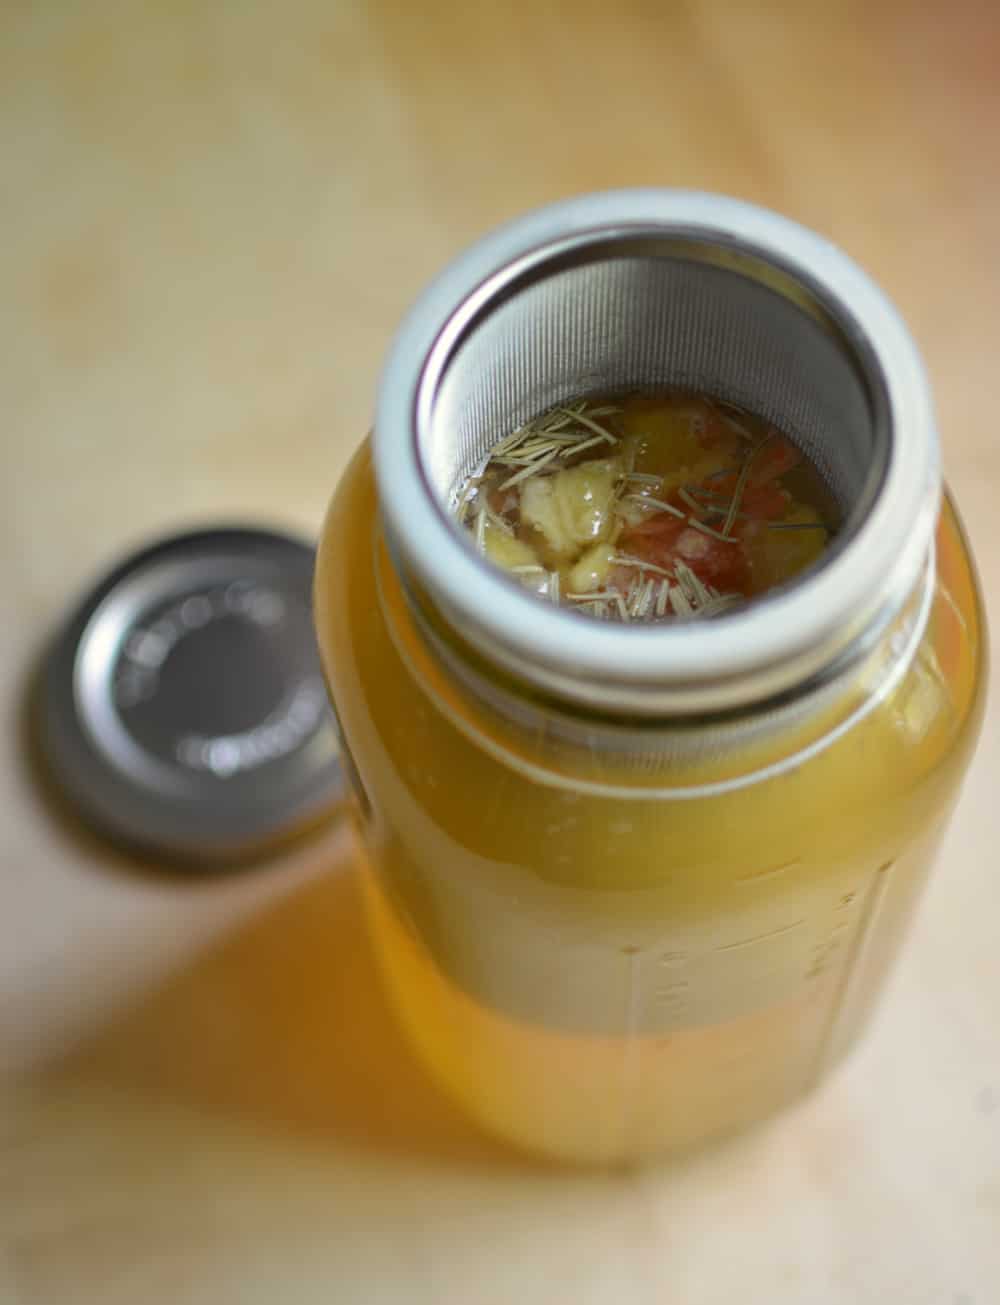
When you’re ready to drink your amazing, originally flavored kombucha, simply strain out your fruits and/or herbs, pour, and enjoy. When I’m using a 1/2-gallon mason jar for my fermenting vessel I love using this stainless steel filter for super easy straining. Yes, I know it’s intended for making cold-brew coffee, and yes I know I use a quart-size filter in my 1/2 gallon jar. I’ve been straining my kombucha with this handy-dandy option for years, and I think the manufacturer is missing out on a great opportunity by not marketing this filter to kombucha brewers. But hey, I guess it’s just fine if it’s just our little secret.
Of course I’ll often use a strainer like this one as well.

Michelle Visser is a member of The Prairie Homestead team who also writes over on SoulyRested.com. Her family grows some of their own food, raises a few farm animals, and makes their own all-natural maple sugar in rural New England. Michelle has been featured in Whole Foods Magazine, Capper’s Farmer, and Mother Earth News. She’s the author of Sweet Maple (affiliate link) and Simple DIY Kombucha.
Notes on making and flavoring your own kombucha:
- If you’d like to strive for that optimal fermenting temperature there are ways to keep your fermenting vessel at a consistent, rather warm temperature. Some folks set their fermenting jar on a regular old heating pad. Others swear by something called a “brew belt,” which you can wrap around your fermenting vessel or set underneath it (bonus, in the spring it serves as a great seedling starter heat pad). I’m usually a simple kinda gal, and I find a strand of twinkle lights, wrapped around my brewing vessel, works well for me.
- If you’re looking to dive right into kombucha making without any effort, the folks over at Kombucha Artisan have gathered all the necessary items for you in this nice starter kit. Then I highly recommend this organic scoby, which you can get BOGO for a limited time, just for The Prairie Homestead tribe, just order here and use coupon code BOGOSCOBY. Read this post for more specific ideas, if you’d like to pull together a totally unique starter kit to gift to a friend or for yourself.
- The tea you use to make your first ferment will, of course, have a huge impact on your final taste, no matter what you use for flavoring your second ferment. This blend from Farmhouse Teas is a perfect one if you’d like a wonderful, robust kombucha. This specialty blend that you will find only at Kombucha Artisan is an original mixture of black, green, and white teas that makes for a more mild first ferment, letting your second-ferment flavors shine a little bit more. And I love using loose-leaf rooibos (that link is the best I’ve found anywhere). Rooibos is a naturally sweet tea that is so yummy it is delicious if you want to simply make and drink a first ferment, but it also pairs wonderfully with everything I’ve ever added in when flavoring kombucha.
- Kombucha is a great choice for your gut and a totally customizable DIY carbonated drink. Enjoy the fact that there are so many variables and that every time you work on flavoring kombucha you may stumble onto your new favorite. So don’t hesitate to try something new. And share in the comments when you hit on ones you love the most!
More tutorials that will make your gut happy:

The post Flavoring Kombucha When You’re Making it at Home appeared first on The Prairie Homestead.
Via Gardening http://www.rssmix.com/
No comments:
Post a Comment