There are a handful of “pantry crops” I grow every year, without fail…
And onions are one of the most important.
Considering I use an onion in almost every meal I cook, they are non-negotiable in my homestead kitchen.
While I haven’t yet been able to grow enough onions to last me through the entire year, I grow as many as I can in our raised bed garden and squirrel them away in the darkest corners of the basement to become the flavoring base for soups, stews, roasts, and more all winter long.
But the thing I love most about onions?
Like my all-time favorite crop (aka potatoes), they’re virtually hands-off once I get them into the soil.
Plant ’em, water ’em, and forget about ’em.
That’s how I like to roll in the garden.
If you’ve never grown onions before, it may feel a little intimidating at first glance, so I’ve compiled my best tips for growing a bumper onion crop:
Best Tips for Successfully Growing Onions
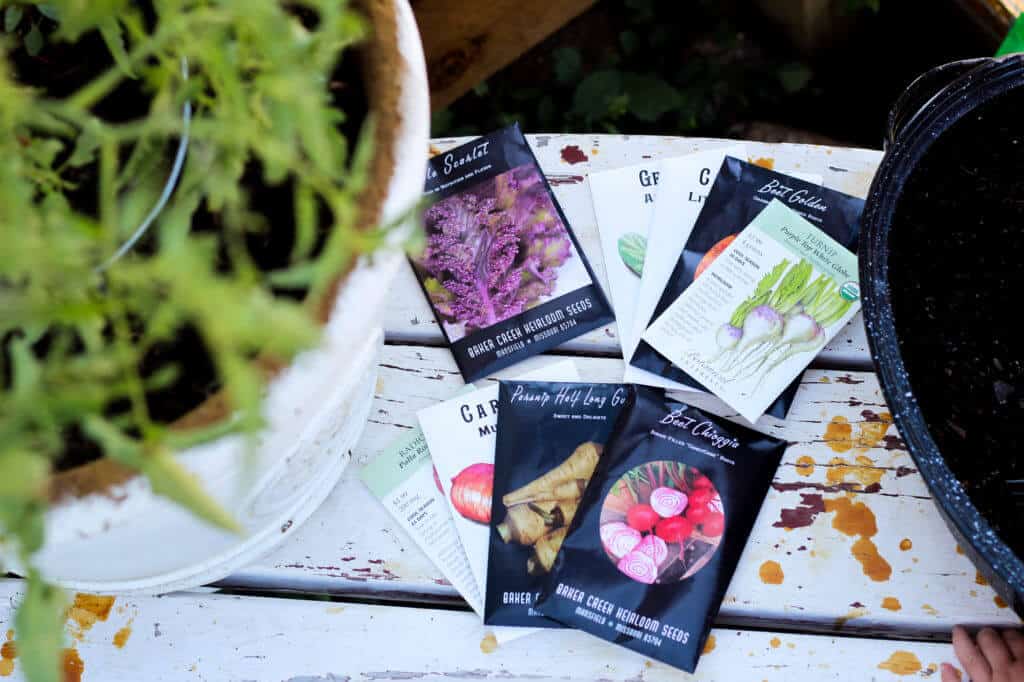
Step One: Choose Your Favorite Onion Varieties
There are so many choices for onion varieties. It can be overwhelming to decide what to plant and how many to grow.
Here are a few of the most popular onion varieties:
- Scallions: Also known as ‘spring onions’ and ‘green onions’, they have a mild taste and are often used as a topping for tacos, soups, and salads.
- Shallots: These make an ideal addition to stir-fries, soups, sauces, a lot of French cooking. Shallots are often paired with garlic in cooking recipes.
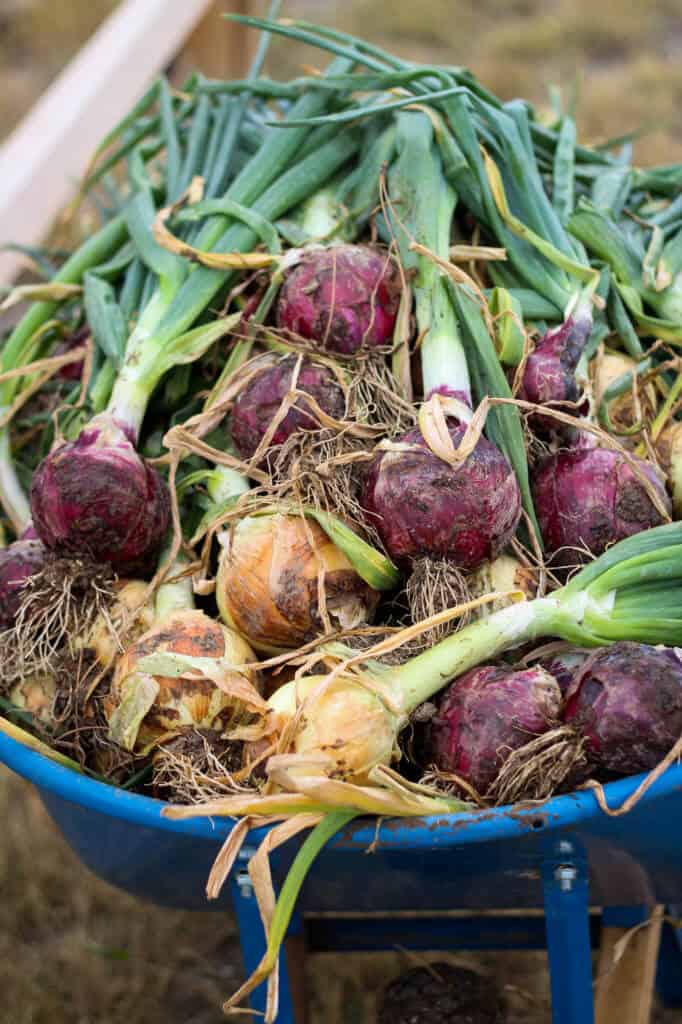
- Yellow Onions: The most popular onion and probably the most commonly used onion in the kitchen. Yellow onions have a mildly sweet flavor that works in almost every dish.
- White Onions: These have a pungent flavor and are often used raw in dishes such as homemade salsa and guacamole.
- Red Onions: They have a sharp pungent flavor and are excellent when served raw on burgers or salads. They are also delicious when pickled (use my brine recipe for quick pickles) to use on top of pulled pork sandwiches.
- Vidalia Onions: A sweet yellowish onion that is used both cooked (they are tasty when grilled) and raw.
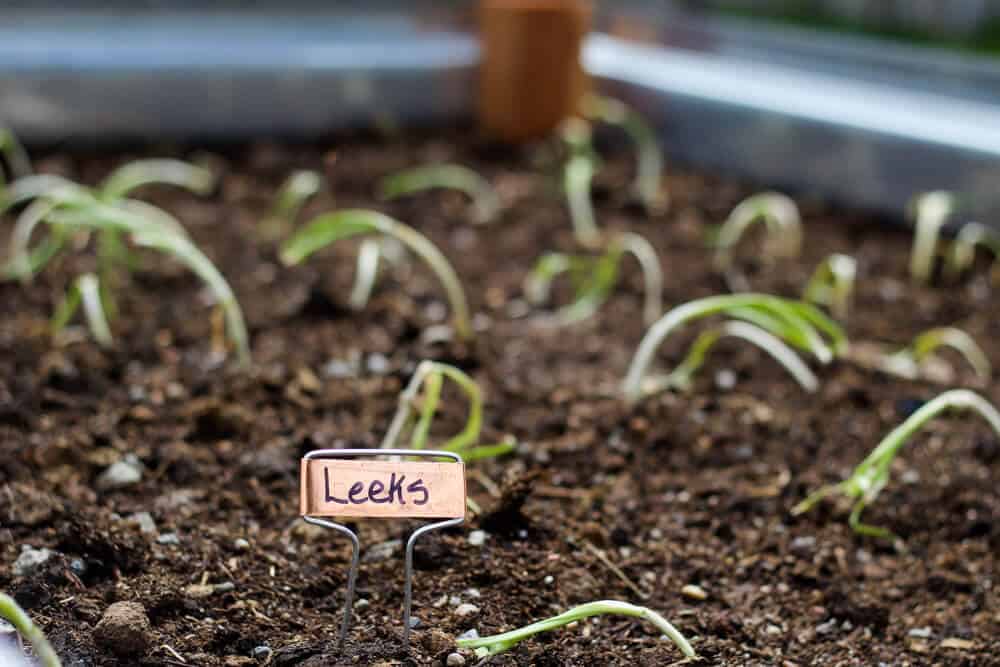
- Leeks: This is a delicate and mild flavored onion that is great in broths and soups.
Step Two: Select the Best Type of Onion for Your Garden Zone
Before growing anything, it’s vital that you know which zone you are gardening in. Your garden zone (put your zip code in this website to figure it out) will help you know what you can easily grow in your garden and when to plant them. This info will also help you figure out which varieties of plants may be more challenging for you.
If you have ever attempted to grow onions in the past and they did not form bulbs, it’s likely that you tried to grow the wrong type of onion for your garden zone. Onions are sensitive to daylight and only start creating bulbs when they are triggered by the amount of daylight they are receiving.
Different types of onions grow better in different garden zones. They can be divided into three categories: short-day, day neutral, and long-day:
- Short-Day Onions
Short-day onions are best for garden zones 7 and higher (aka warmer). The mild weather in these climates help short-day onions to grow throughout the fall and winter months. They are planted in the fall and they are usually harvested in late spring.
They are triggered to become bulbs when the sunlight increases to 10-12 hours.
- Day Neutral Onions
Day neutral onions, also known as ‘Intermediate’, are not as sensitive to the amount of daylight that is available to them and can usually be grown in most garden zones. They are best suited for garden zones 5, 6, and 7, but they can easily adapt to the other garden zones as well.
They start forming a bulb when the sunlight increases to 12-14 hours of daylight. They can be planted in either fall or early spring.
- Long-Day Onions
Long-day onions are best for garden zones 6 and lower (aka cooler). They are usually planted in late winter or early spring, as soon as the soil has thawed.
Long-day onion bulbs are triggered to start growing when the sunlight increases to 14-16 hours.
Step Three: Decide Between Growing Onion Sets or Seeds
There are two main ways to start growing onions: you either buy onion sets or onion seeds. You can also sometimes find onion transplants at your local garden stores as well, though onion sets and onion seeds remain the most popular options for onion growing.
Both sets and seeds have their own pros and cons, and it’s really up to you which you prefer to do for growing onions for your garden. I suggest trying both types in different years and compare and contrast the results.
On the flip side, onion seeds are less expensive. You can often find more varieties of onions that come in seed-form, but they are also harder to grow at the beginning.
Starting with Onion Sets:
An onion set is are small bulbs of onions that have already been started from seed by a nursery or seed company and they are then stored to plant for the next growing season. They look like mini onions and are usually sold in mesh bags or brown bags to keep them fresh.
Onion sets are a great idea for northern gardeners (aka cooler garden zones) because they give you a head start on the growing season. Onion sets are easy to plant and need less attention than growing onions from seed.
How to Plant Onion Sets
The nice thing about onion sets is that there is no urgent need to plant them the minute you get them. They are dried out, so they can keep for a while in a dry, cool place in your home. Before planting, sort through the bag and remove any rotten ones or empty ones.
Just like with growing garlic, the larger and better-looking onion sets will give you the best onions later, so start by planting the best of the bunch. Don’t peel the onion sets, and it’s okay if some of them have sprouted already. Sprouted onion sets can still be planted.
Plant your onion sets in full sun in well-draining soil (onions can rot easily in soggy soil). Plant the onion sets spaced 4-6 inches apart. If you plant them in traditional row, make sure there’s at least a 1 foot of space between the rows of onions. Place the onion sets about 1-2 inches deep into the soil so that the top of the bulb is level with the soil.
Starting with Onion Seeds:
Onions take a long time to develop from seed. Onion seeds also do not last very long, so you will need to make sure you plant the seeds within 1-2 years of purchasing them.
How to Start Onion Seeds
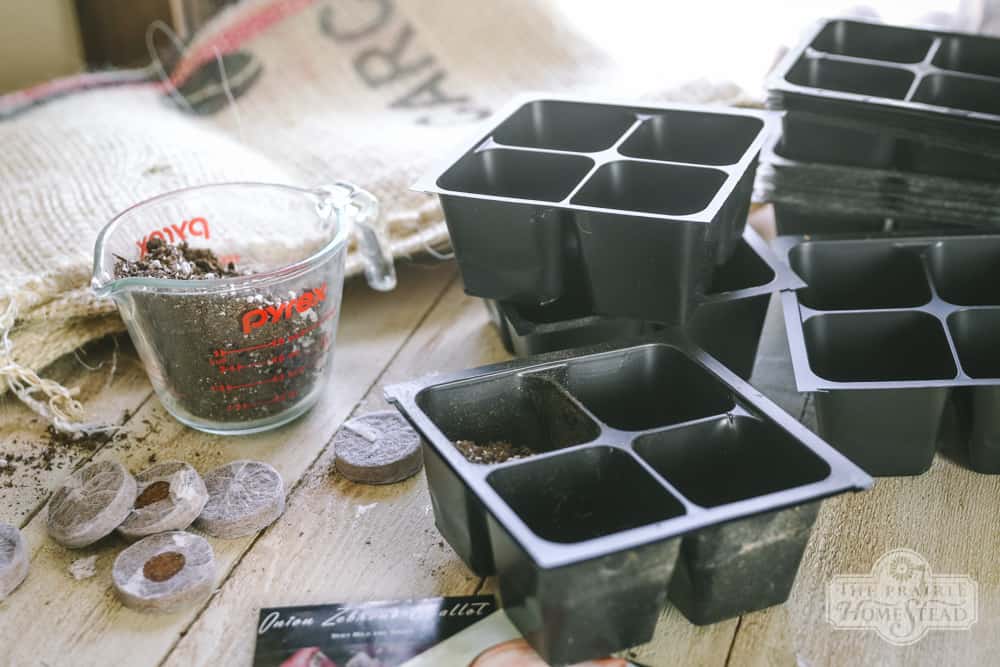
You will need to start onion seeds indoors (here are my instructions for a good indoor growth light setup). Start onion seeds indoors 8-10 weeks before your last frost date.
Fill a large seed flat tray (with good drainage) with seed starting soil and spread plenty of the seeds into the flat under your growing lights. Mist the seed flat occasionally with water and thin the onion seeds so that you keep the healthiest of the bunch.
Onions love nutrients, so you’ll need to occasionally boost the seed starting soil with an organic and natural fertilizer (fish emulsion is a good choice and so is compost tea).
When the onion seedlings are about 8 inches tall, trim the tops with a scissors to keep the onion seedlings around 3-4 inches tall. This helps the plants focus on good roots instead of the foliage. You can eat the trimmings in a similar way that you eat chives if you like.
When the plants are about the thickness of a pencil, it’s time to harden them and get ready to plant them outside.
How to Harden Off Your Onion Seedlings
Onions are cold hardy vegetables and can handle cool spring temperatures. Normally, you should try to start hardening them off one month before your last frost date, but you can also start hardening them as soon as your soil can be worked in early spring and/or your onion seedlings are the thickness of a pencil,.
Hardening off is the process of adapting plants to outdoor living. It takes some patience and about a month of work, but you need to adjust plants carefully to natural sunlight, cool nights, wind, and different living conditions than what they were accustomed to in your inside growing space.
To start hardening off your onion seedlings, place them in a sheltered place for a few hours on the first day. Protect them from strong winds, heavy rains, and bright sunlight. After a few hours, bring them back inside.
Gradually, increase the amount of time the onion seedlings spend outdoors until eventually, a few weeks later, they are able to stay outside overnight (obviously, make sure their first night outside isn’t when you have a frost warning).
How to Plant Onion Seedlings
Plant onion seedlings in full sun in well-draining soil (onions rot easily in soggy soil). Remove the seedlings carefully from the container. If the seedlings were thickly planted in a seed flat, you will have to be gentle as you tease the seedlings apart from each other.
Plant thems spaced 4-6 inches apart. If you plant them in traditional row, make sure there’s at least a 1 foot of space between the rows of onions. Keep the onion bed weeded (check out my natural weed control tips) so that the new seedlings don’t have to compete for nutrients and space.
Quick Tips for Growing a Great Onion Crop
Once you’ve figured out your onion varieties and you’ve chosen whether to grow onion sets or seeds, growing onions is actually pretty darn easy. Here are some extra tips for getting the best onion harvests possible.
- Plant your onions in a spot with full sun. They need at least 12 or more hours of sunlight to form good bulbs.
- Onions prefer a nutrient-rich, loose soil for optimal growth. Try throwing a few scoopfuls of compost in the beds before planting (here are my tips on making your own compost).
- Make sure to add mulch around your onions to prevent competing weeds.
- Water correctly: this sometimes takes practice to get right. You don’t want to water onions too much (or you risk rot) but you don’t want to water them too little (or you risk weak, small plants).
- Onions need a lot of nutrients to grow large bulbs. Their roots are shallow, so they need feeding every few weeks until their bulbs push up through the soil (at that point, stop feeding them). Compost, compost tea (here’s my compost tea recipe), and/or fish emulsion work great for feeding your onion plants.
- Make sure you weed your onion patch often. Since onion roots are shallow, weeds easily steal away their nutrients. Here is my list of natural weed control ideas to help you win your weed war.
- A few weeks before it’s time to harvest (or when the onion tops begin to die off), greatly slow down on how much you water the onion bed. This can help improve how well they do in storage.
- Consider staggering your onion planting so that you have a steady stream of onions to harvest in the fall instead of a huge batch all at once.
Companion Plants for Onions
Compnion planting is a way you can maximize your garden space to enable different plants to give each other a boost.
Here are a few plants that can be BFFs with onions:
- Strawberries: Planting onions around your strawberries can create a natural border against snails and slugs (who don’t like the scent/taste of onion plants).
- Cabbage family (including broccoli, cabbage, and brussels sprouts): Onions naturally repel pests that love the cabbage family, including cabbage maggots.
- Tomatoes and Peppers: Onions naturally help repel pests like aphids and Japanese beetles from tomato and pepper plants.
And here are a few plants that DON’T play well with onions:
- Peas and Beans: Onion roots put certain chemicals in the ground that legume roots easily absorb. The result is bitter tasting legumes with a slight oniony taste.
- Asparagus: Just like with peas and beans, asparagus roots can soak up the chemicals put in the ground by onion roots, leaving you with poorly-flavored asparagus.
- Garlic: Garlic and onions are too closely related and share the same pest problems (especially onion maggots). If you plant these crops close together, you can spread the pests to both of your harvests.
Common Onion Diseases and Pests
Onions are relatively non-fussy in the garden, but there are a few things to look out for in order to keep your onion plants happy and healthy.
1. Onion Bulb Rot.
In order to avoid your onion bulbs rotting in the garden, make sure your soil drains well. If you live in a rainy place or your land is particularly soggy, I highly recommend growing your onions in raised beds with good quality soil so that the soil isn’t easily waterlogged (here is how I built raised beds).
2. Bolting Onions.
Bolt is when an onion produces a flower about halfway through the growing season. This is most likely to occur if you are dealing with a rainy or cold summer. Once an onion bolts, the bulb stops growing.
You can try to save the plant and bulb by removing the stalk and flower to see if that encourages the plant to focus on growing the bulb again. However, this doesn’t always work and if you don’t see your onion bulbs growing after a week, you should harvest your onion crop. The onion bulbs will be smaller than you might like, but it’s better than losing the entire thing.
3. Dealing with Onion Thrips.
Onion thrips are super tiny insect pests that live on the green tops of onions. They cause a lot of damage by sucking out moisture, chlorophyll, and nutrients from the onion plants. You are most likely to suffer with onion thrips in hot and dry summer weather.
You need to take action as soon as you see onion thrips or you risk losing your whole onion harvest. Spray the thrips off gently with a garden hose. After that, add some new mulch around your onions. This can add a barrier between thrip pupa in the soil and your plant. It also cools the soil temperature, which can decrease the amount of thrips in your onions.
Finally, spray your onion leaves with an organic pest control spray and keep a close eye on your onion plants over the next few weeks to make sure the thrips are now under control.
4. Dealing with Onion Maggots.
Onion maggots are tiny maggots (and then flies) that love onions and garlic. They feed on the bulbs underground, producing tunnels in your bulbs that also introduce diseases right into your plants (if the tunnels in the bulbs don’t kill the plant first). Onion maggots love cool and moist soil, so pay close attention if you’ve had a cooler, wetter season than normal. You can help prevent wet soil from encouraging onion maggots by having raised beds with good draining soil.
Once they are established in your onion patch, it is challenging to get rid of them. You can try my organic pest spray recipe and spray/drench the soil around the bulbs. This may help with reducing these pests around your onions.
The best way to control the onion maggot pest is with prevention tactics. Crop rotation is the best practice for dealing with onion maggots. Their eggs/larva/pupa stage is underground next to where you grew your onions. So if you move your onion patch somewhere else next season, you can help deter them.
After the harvest season is over, remove onion plant debris and work the ground very thoroughly. Tilling or working the soil can help destroy their hibernating eggs before they can even start developing over the winter. As you start planting your next batch of onions (in a new location in the garden), sprinkle the ground with ground cayenne pepper. This can help repel females from laying eggs around the new onion plants.
Harvesting and Storing Onions
Harvesting Onions
Onions are simple to harvest, and can be picked fresh any time of the season once you’re happy with the bulb size.
If you want to store your onions for the winter (which is the #1 reason I personally grow onions), wait until most of the tops have flopped over and started to turn yellow. At this point, you can bend over the onion tops of any of the plants that haven’t flopped over yet. Stop watering your onion patch at this time.
A few days after you’ve bent the tops over, it’s time to harvest. Wait until there’s been a dry spell, so the ground isn’t soaking wet. Also, try to wait until the weather forecast shows a dry week ahead, if you can help it (I know weather doesn’t always cooperate).
Gently pull up the onions and very carefully wipe away some of the extra dirt. You don’t want to peel off a bunch of the outer layer here, you just want to lightly wipe away some dirt.
Curing Onions
Lay out the onions in the sun for a week so they can dry and cure. If possible, put the onions on something that will encourage ventilation on all sides of the onions, like an old window screen up on bricks.
If your weather decided not to cooperate, you can put them in a warm, dry place indoors (or in your barn) instead, but the outdoor sun is best if you can manage it. Make sure you have good ventilation so the onions dry correctly and won’t rot.
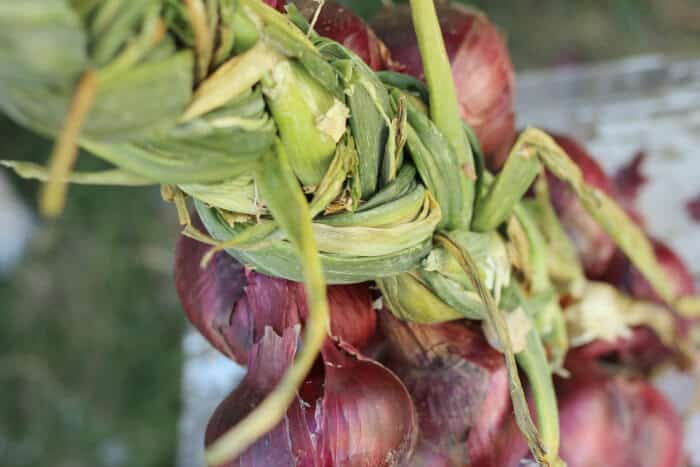
After a week of curing, the onion tops will have turned brown. Try wiping off a bit more of the dirt. You can then do one of two things: you can trim the tops down to 1 inch in length OR you can make very pretty and very homestead-y braided onions for storage. Here is my tutorial for braiding onions. It’s super easy to do and I love how braided onions look in my kitchen.
Storing Onions
If you braided your onions in a bunch of braids, keep them in a cool, dark place, and just bring out one braid at a time to hang in your kitchen. (Because onion braids in your kitchen look extremely awesome).
Place your non-braided onions in mesh bags, wicker baskets, or other breathable storage containers.
No matter whether your onions are individual onions or braided onions, store them in a cool, dry, and dark place. If stored properly, onions can last 6-12 months. Check your onions in storage every once in a while to get rid of any bad onions. One bad onion can spoil the whole batch, so try to stay diligent on checking over your storage onions.
More Garden Tips:
- How to Braid Onions
- Best Tips for Growing Tomatoes
- Ultimate Guide for Growing Potatoes
- Harvesting and Storing Potatoes
- Fast Growing Vegetables for Your Garden
The post How to Grow Your Best Onion Crop Ever appeared first on The Prairie Homestead.
Via Gardening http://www.rssmix.com/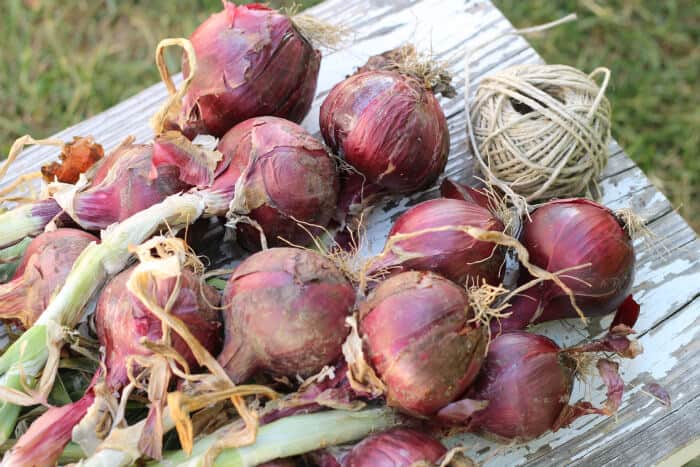
No comments:
Post a Comment