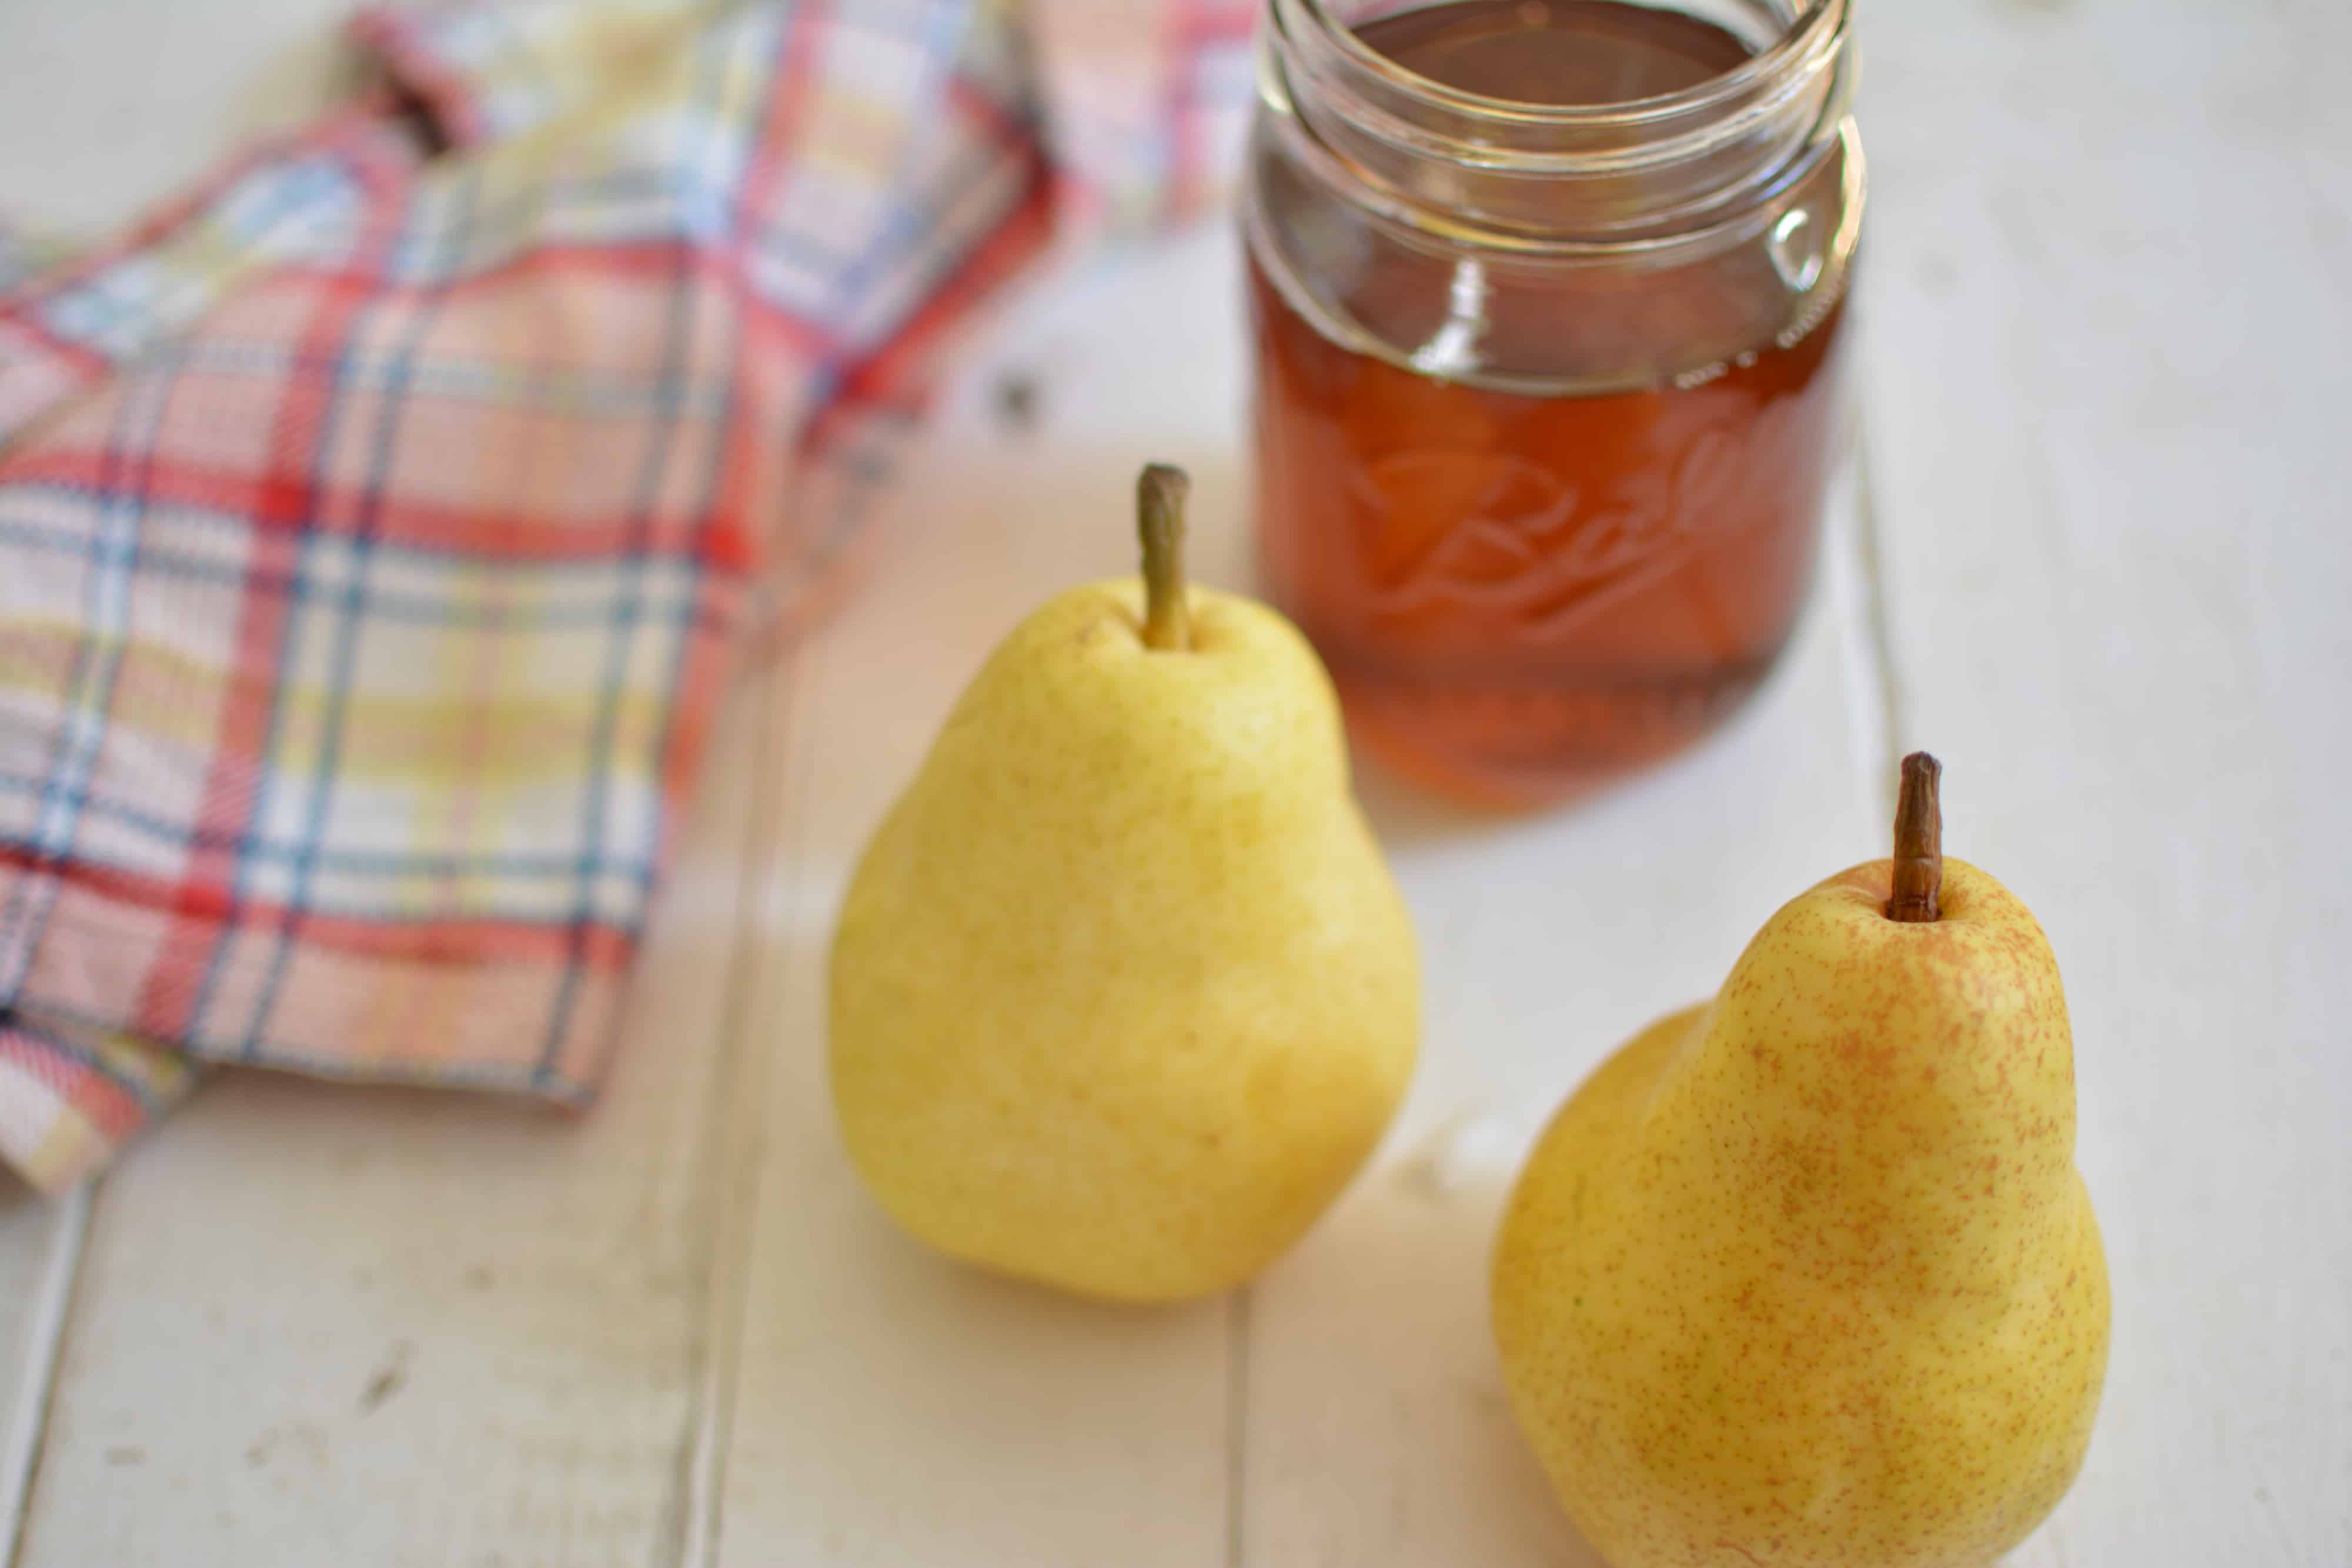
Some folks like a little fruit with their sugar. I’m not one of them.
I mean if I’m going to the trouble of canning good food for my family, I’d rather it be good food, not half fruit, half refined sugar, right?
I recently shared how I can cherries with honey and how I can apple slices, and today I’m super excited that my friend, and a member of The Prairie Homestead Team, Michelle Visser, agreed to share her amazing recipe for Canning Pears in Maple Syrup. Michelle is also the owner of SoulyRested.com and the author of the new delicious book I’m in love with, Sweet Maple. (affiliate link).
If you’re over in my Homestead & Heritage Cooking facebook group, you already know Michelle, my Community Manager and sidekick in there. (If you’re not in my facebook group and you love true heritage cooking and want more encouragement in that area, hop over and join right here. ) Or if you met us at the Christmas in July Workshops at Lehmans this year, you met Michelle tag-teaming with me out in Ohio. (btw, if you haven’t heard of the mega homestead superstore, you should check out Lehmans right here.)
Meet my friend, the maple queen.
But enough about all that, you wanted to know about canning pears in maple syrup. So without further ado, my friend, the Maple Queen …
Thanks, Jill. But I’m not too sure about being the queen of anything.
Well, unless sometimes royally messing up counts. But, seriously, I’m excited to share this recipe today.
Growing and preserving my own food has always been important to me. My daddy taught me, and his granddaddy taught him, so you could say a love of real food is in my blood. But canning pears in maple syrup was something I had to figure out how to do on my own, after we moved to our little New England sugarbush.
Once we learned how to tap into our own source of sweet sugary goodness flowing through our trees, I was using maple syrup in every way I could think of in our kitchen–a theme that permeates my new book, which btw is definitely NOT just for sugarmakers. (Take a peek inside Sweet Maple and see what folks are saying about it right here. Then make sure to comment below for a chance to win your own copy!)
So I’m excited to share my recipe for canning pears in maple syrup with y’all today!
Honestly, it’s no different than any fruit canning, except instead of a simple syrup (which is usually loaded with refined sugar), you cover the pears in hot, all-natural maple syrup. Read on for the full scoop…
btw, if you want to grow your own pear trees, or any other heritage-cooking-related foods, you’ll love this selection over at Nature Hills that they’ve pulled together just for The Prairie Homestead readers.
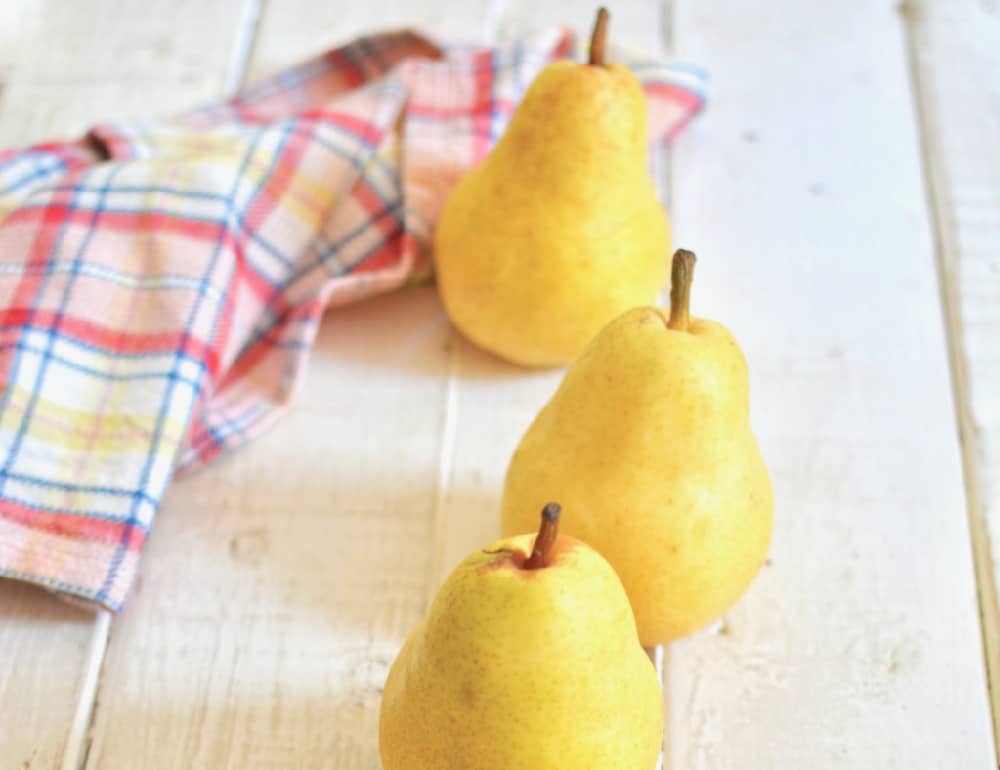
Canning Pears in Maple Syrup
Before we dive in, I should point out two things, in case you don’t see yourself as “a canner”:
- Avoid stressing over the equipment. Yes, you do need a few simple things, but I’ll outline everything below, and they’re pretty inexpensive.
- Enjoy the fact that there are numerous ways to personalize this recipe for canning pears in maple syrup. You can make it perfect for your family. Score!
In fact, it’s not so much a recipe as a fantastic idea.
As for the equipment, in addition to a few wide-mouth mason jars, you’ll need:
- A water bath canner
- A canning rack–if your canner didn’t come with one
- A canning tool set (affiliate)–or you can get these all separately, if you have some but not all of them
(Jill has also pulled together a nice collection of items she uses for preserving food right here.)
Preparing your pears
Most folks will peal the pears, core them, and slice them. I take the super easy way. I simply wash them, cut them in half, and scoop out the small seeds. Mind you, they are a grainy texture because I don’t peel them, but we don’t mind. If, on the other hand, you want smooth canned pears, take a few minutes to peel them before canning. Of course you wanna use organic pears, but especially if you decide to take the lazy way out.
While you’re preparing your pears, you can pour your maple syrup in a pan on the stove, on low heat, to get it slowly warming up.
After cutting them, allow your pears to soak for 2-3 minutes in a lemon juice bath. This helps to prevent discoloration. I use a 1:30 mix of lemon to water, so yeah, very little lemon juice, but it does the trick of keeping the pears from turning brown.
Packing your pears
Pack the pears into hot, sterilized jars. (I try to time it right so my jars, getting sanitized in the dishwasher, are done at the same time I’m ready for this step.)
btw, if you need jars, you can pick them up at a thrift store or yard sale (just check them closely for hairline cracks), or I’ve found great prices on canning jars at Lehmans as well as mason jars like these over on Amazon. (affiliate link)
Cover your pears with hot syrup, leaving 1/2-inch headspace. Wipe rims and place a hot canning lid (placed in hot water on the stove for a few minutes) on each jar. And you can also heat your fruit in the syrup on the stove at this stage, which would then be hot packing; I’d much rather pack the pears directly in the jars, unheated.
Many people prefer to hot pack, but there are really only 2 advantages:
- If you hot pack, your pears won’t shrink, and
- If you hot pack, you pears won’t float to the top of your jar.
I personally don’t mind that my pears shrink a bit, or that they don’t stay suspended nicely throughout the syrup. For me, the ease of cold packing outweighs all else. Plus, when I cold pack them, I wind up with firmer pears. If you prefer to hot pack yours, simply place your pears in the hot syrup on the stove for a few minutes before bottling.
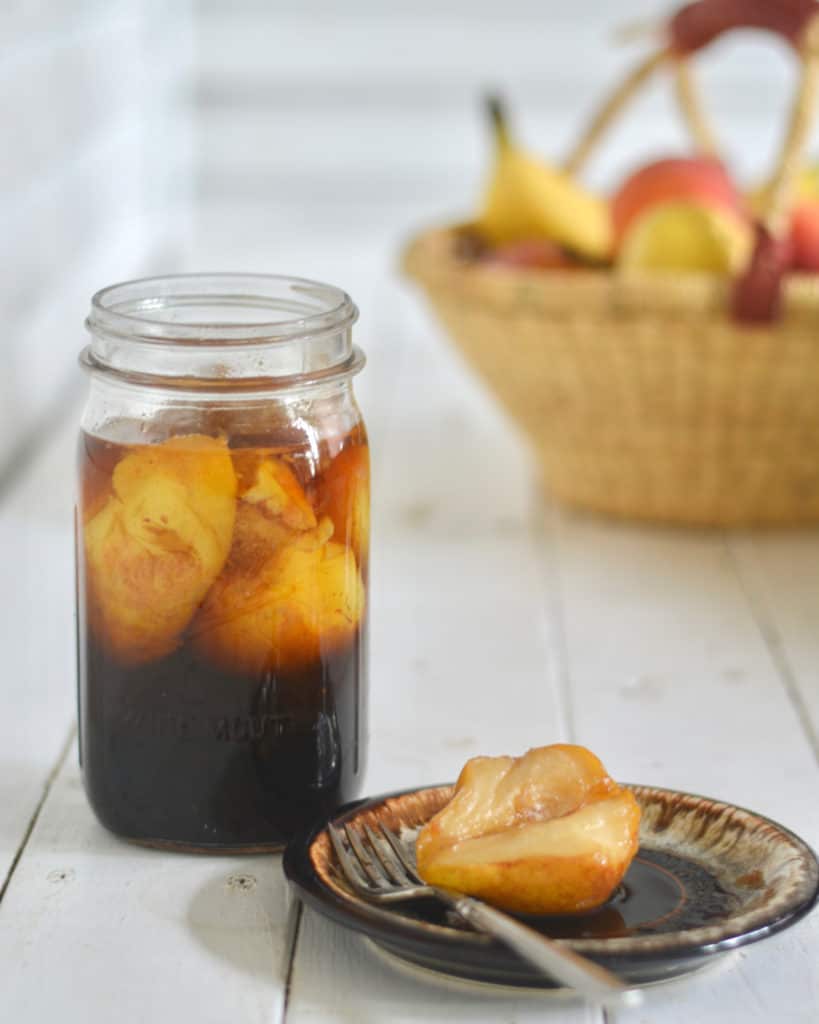
Processing your pears
Process in a boiling water canner for 25 minutes for pint jars and 30 minutes for quart jars.
Keep in mind that you will need to add 1 minute additional processing time for every 1000 feet above sea level.
Partaking of your pears
No, I don’t usually walk around talking about “partaking of my pears,” but I couldn’t resist the alliteration I have going on there… see all the “p”s? Prepare, Pack, Process, and Partake. Sorry, my English-Nerd side is showing…
But, seriously, this part is the truly beautiful part of this whole idea of canning pears in maple syrup…
Are you ready for this?
The pear juices infuse into your syrup and create sweet pear-flavored maple syrup. After you’ve enjoyed eating the delicious pears, the syrup has new life. Not one drop was wasted. Instead, every bit of your maple syrup can be used. It will bring new layers of joy to pancakes and ice cream and transform something as seemingly simple as a cup of hot tea or ice cold lemonade to utterly divine. Cue the harp. Okay, maybe I’m exaggerating just a tiny bit, but this pear-infused maple syrup is pretty heavenly in my book.
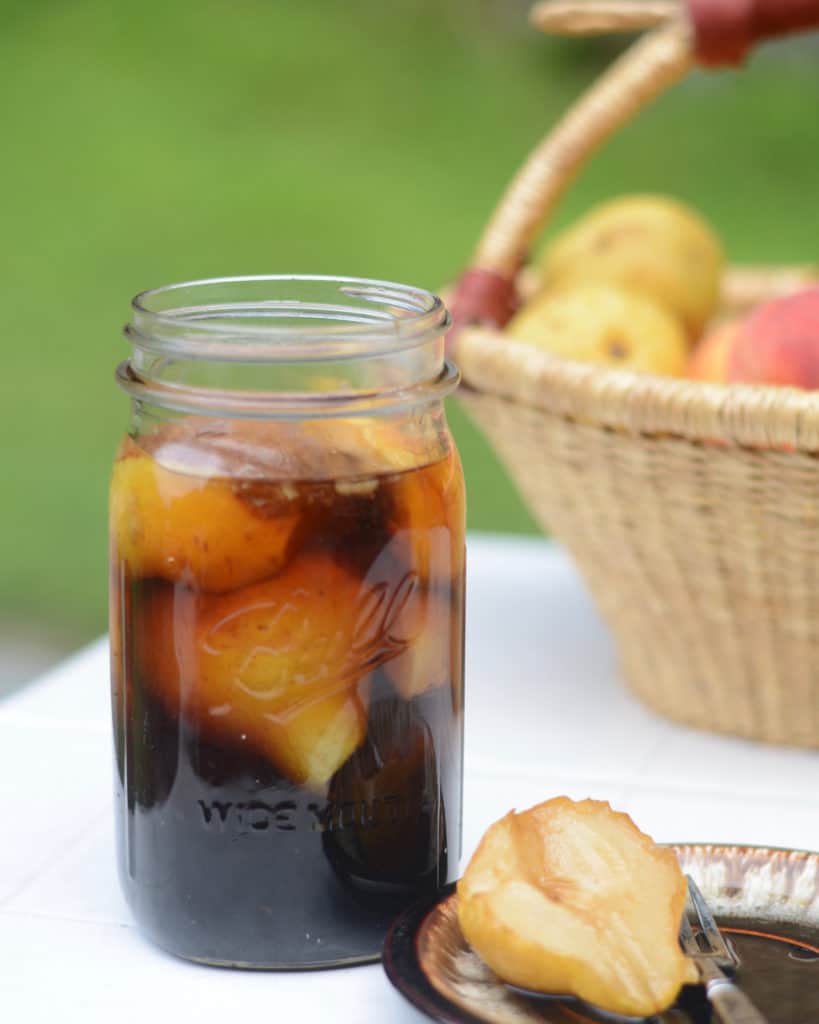
A Few Tips for Canning Pears in Maple Syrup
- Don’t even think about trying this with imitation syrup. Only the real stuff will do. I love this all-natural maple syrup.
- Feel free to water down your maple syrup to any amount of sweetness you would like for canning your pears, using any option from water with only a hint of maple syrup to 100% syrup. But if you’re considering doing this because you think canning pears in maple syrup is wasting your valuable syrup, keep reading.
- Be sure to keep (and use!) every drop of your maple syrup after you’ve enjoyed eating your canned pears.
- If you’d like a warm, thick maple pear sauce for an amazing ice cream sundae (ummm, who wouldn’t?), boil your pear maple syrup to a corn syrup consistency and slather it over on your vanilla ice cream. (Just stop and imagine how good this is.)
- Enjoy your pear maple syrup as a delicious glaze on pork chops and ham steaks.
- For extra oomph in a meat glaze, boil your maple syrup down a little and add some grated ginger as you boil. This will thicken up your meat glaze while adding a delicious zing.
Canning Pears in Maple Syrup
Ingredients
- Firm, ripe, washed pears (about 2 pounds fills one quart jar)
- Lemon juice and water for presoaking (optional)
- Maple syrup (enough to fill jars after pears are packed in)
Instructions
- Cut pairs in half and scoop out the small seeds.
- Soak your pairs for 2-3 minutes in a lemon water bath. (optional)
- Pack the pears into hot, sterilized jars.
- Cover pears with hot syrup, leaving 1/2-inch headspace.
- Wipe rims and place a hot canning lid on each jar.
- Process in a boiling water canner for 25 minutes for pint jars and 30 minutes for quart jars. (Add 1 minute additional processing time for every 1000 feet above sea level.)
Other Home Canned Recipes & Tutorials You’ll Love
- Canning Made Easy: A step-by-step canning process walkthrough– perfect for beginners or nervous canners!
- Roasted Poblano Salsa
- Honey Canned Cinnamon Peaches
- Honey Canned Cherries
- How to Can Hot Pepper Jelly
*** Maple-Infused GIVEAWAY!***
I am thrilled to be giving away a 2-part, maple-infused treat to one lucky winner. Along with Michelle’s brand-new, just-released book, Sweet Maple, the winner will also receive full access to Michelle’s delicious mini crash course–Making Maple Sugar. (Because one can never have too much all-natural delicious sweetener in their life…)
One winner will be chosen randomly in a few weeks and announced right here.
Want to enter to win?
- Take a second to subscribe to Michelle’s Resource Library right here. It’s loaded with printable information you’ll love, but one of my favorites is Michelle’s conversion chart for replacing refined sugar with maple syrup in any recipe!
- Then just leave a comment below telling us why you’d like to win.
The post Canning Pears in Maple Syrup appeared first on The Prairie Homestead.
Via Gardening http://www.rssmix.com/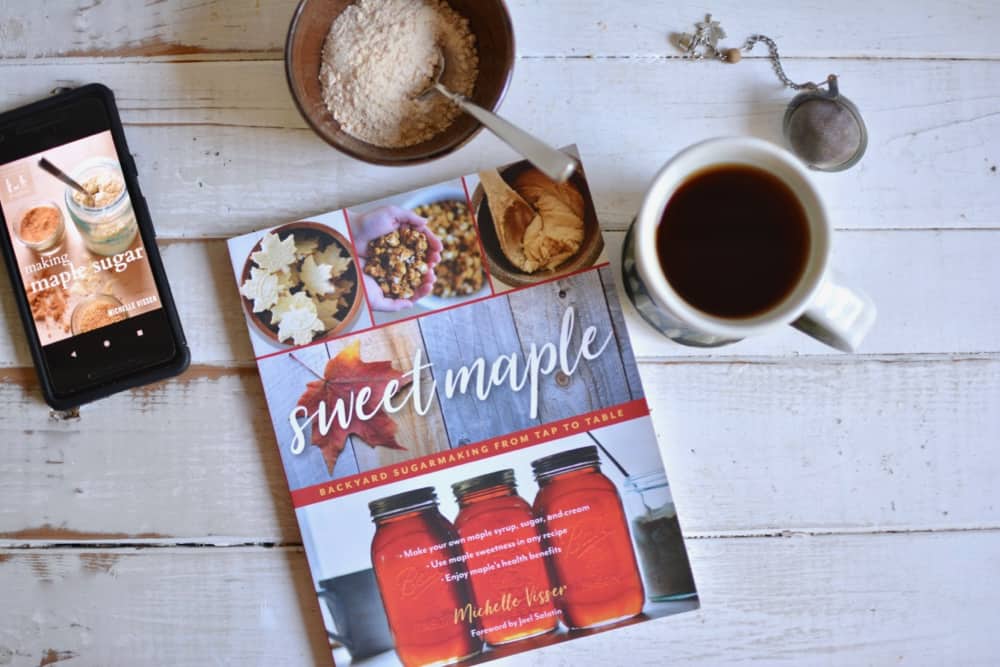
No comments:
Post a Comment