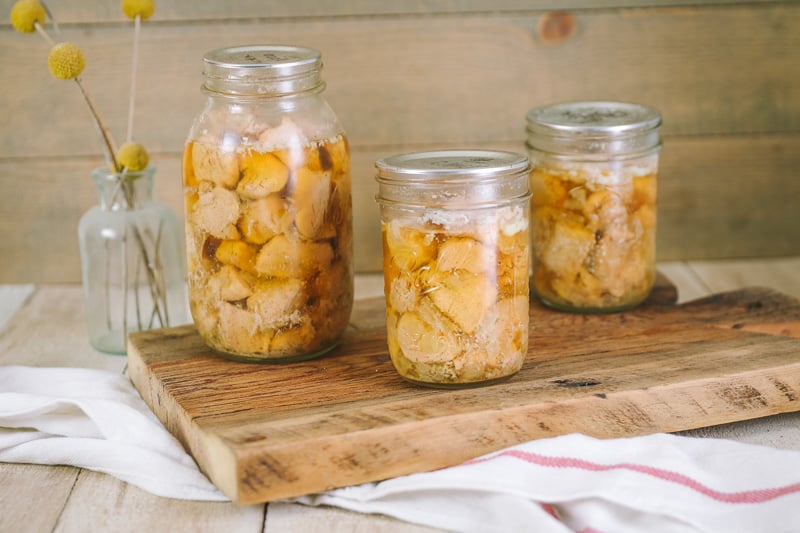
Canning chicken at home is easier than you think and not only stocks your pantry, but can make on-the-fly meal prep even easier. Just grab a jar, pop the top, and you’re ready to add cooked chicken to your favorite recipes (like tacos, pizza, pasta, and more). Gather your pressure canner and equipment, and follow these tips for end up with jars of delicious chicken for your pantry shelf.
Our freezers are currently overflowing with our own farm-raised meat.
And even with 3 personal freezers, and one commercial freezer, there’s only so much room in there…
We’ve recently been delving deeper into raising beef cattle (it’ll be available for purchase soon, by the way!), and while I’m getting super creative in the kitchen with making short ribs recipes, beef shank recipes, and other beef cuts, there’s still a lot of beef to try squeezing into the freezers.
On top of that, we raise meat chickens (because you can’t just eat beef, you guys), so there needs to be space for the chickens in the freezer, too. And when the garden is in full-swing in the summer, I usually try to shove my produce in the freezers too, at least until I have time to can them. So I freeze tomatoes, freeze my green beans…I even freeze my peach pie filling.
I’ve canned other meat before (here are my tips on canning beef, pork, venison, or elk), but chicken is a recent addition to my home-canned meat adventures since I usually prefer to roast whole chickens. (For example, are 30+ whole chicken recipes).
That being said, if you find chicken on sale, or you have a bunch of whole chickens you need to clear out, piecing them out and canning the meat is a perfect back-up.
Here are my tips for canning chicken safely. If you follow these procedures carefully, you can stock your pantry with canned chicken that is super useful for not only emergencies, but also for quick and easy meals.
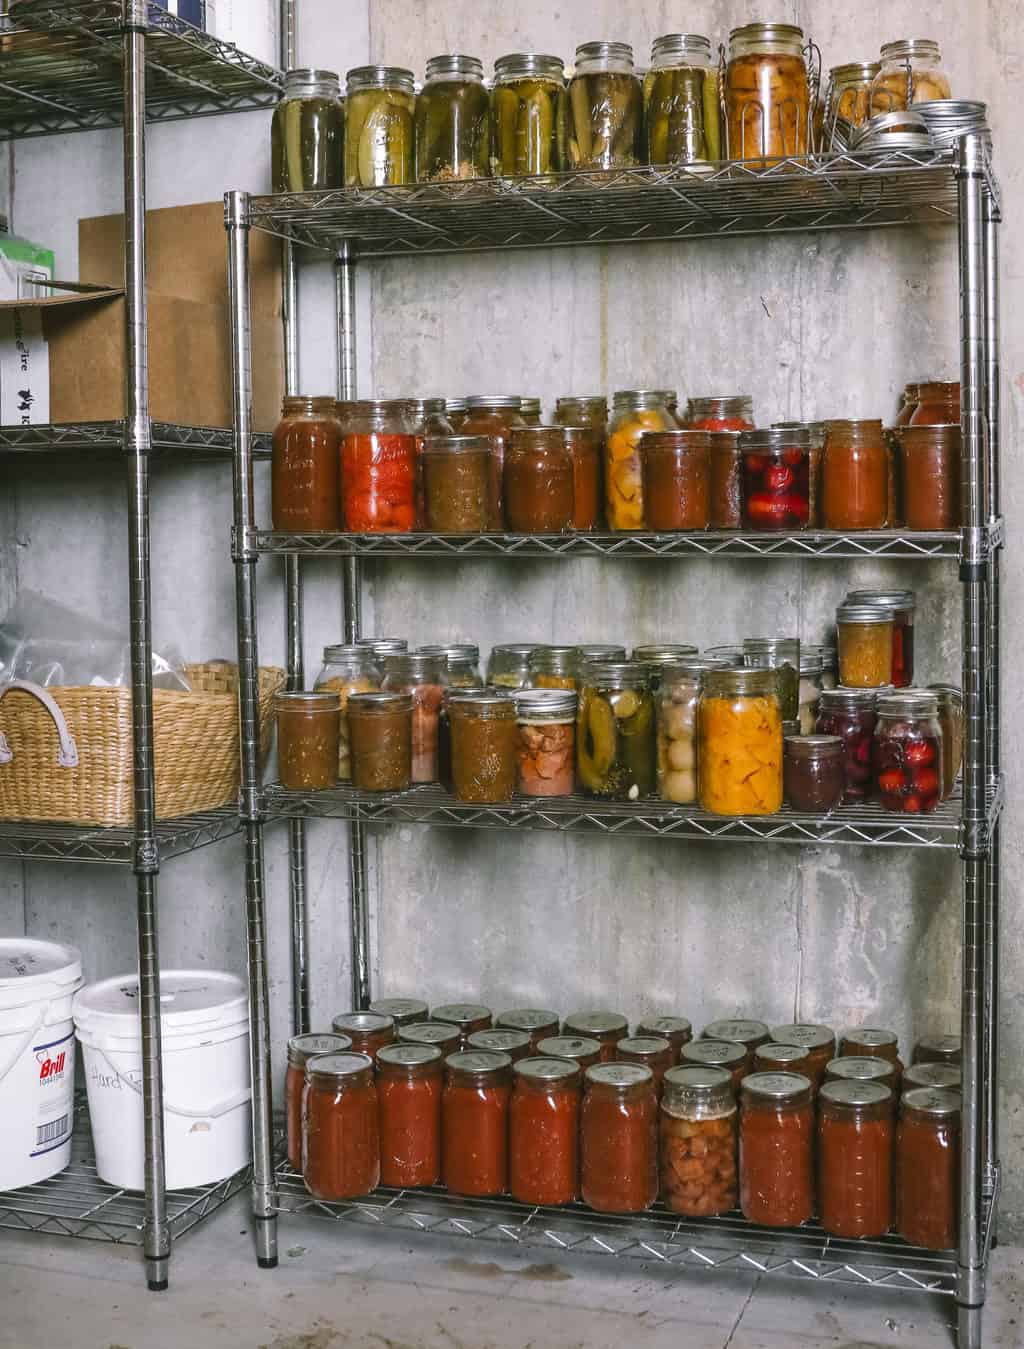
Why Canning Chicken is an Ideal Pantry Filler
- It’s a great preparedness measure for when the power goes out.
Sometimes when we lose power during one of our bajillion blizzards (Wyoming is fun like that), I get a bit nervous about how much food I preserve in the freezers.
- It’s perfect for quick and easy meals.
I’m not awesome at meal planning, and sometimes I forget to defrost stuff in time for dinner. This is one of the primary reasons I adore my pressure canner for putting up broths, beans, and meats– no defrosting required.
- It saves me freezer space.
I already mentioned this one, but it bears repeating. Anything that relieves my “freezer tetris” situation gets my vote.
A Super-Duper Very Important Warning
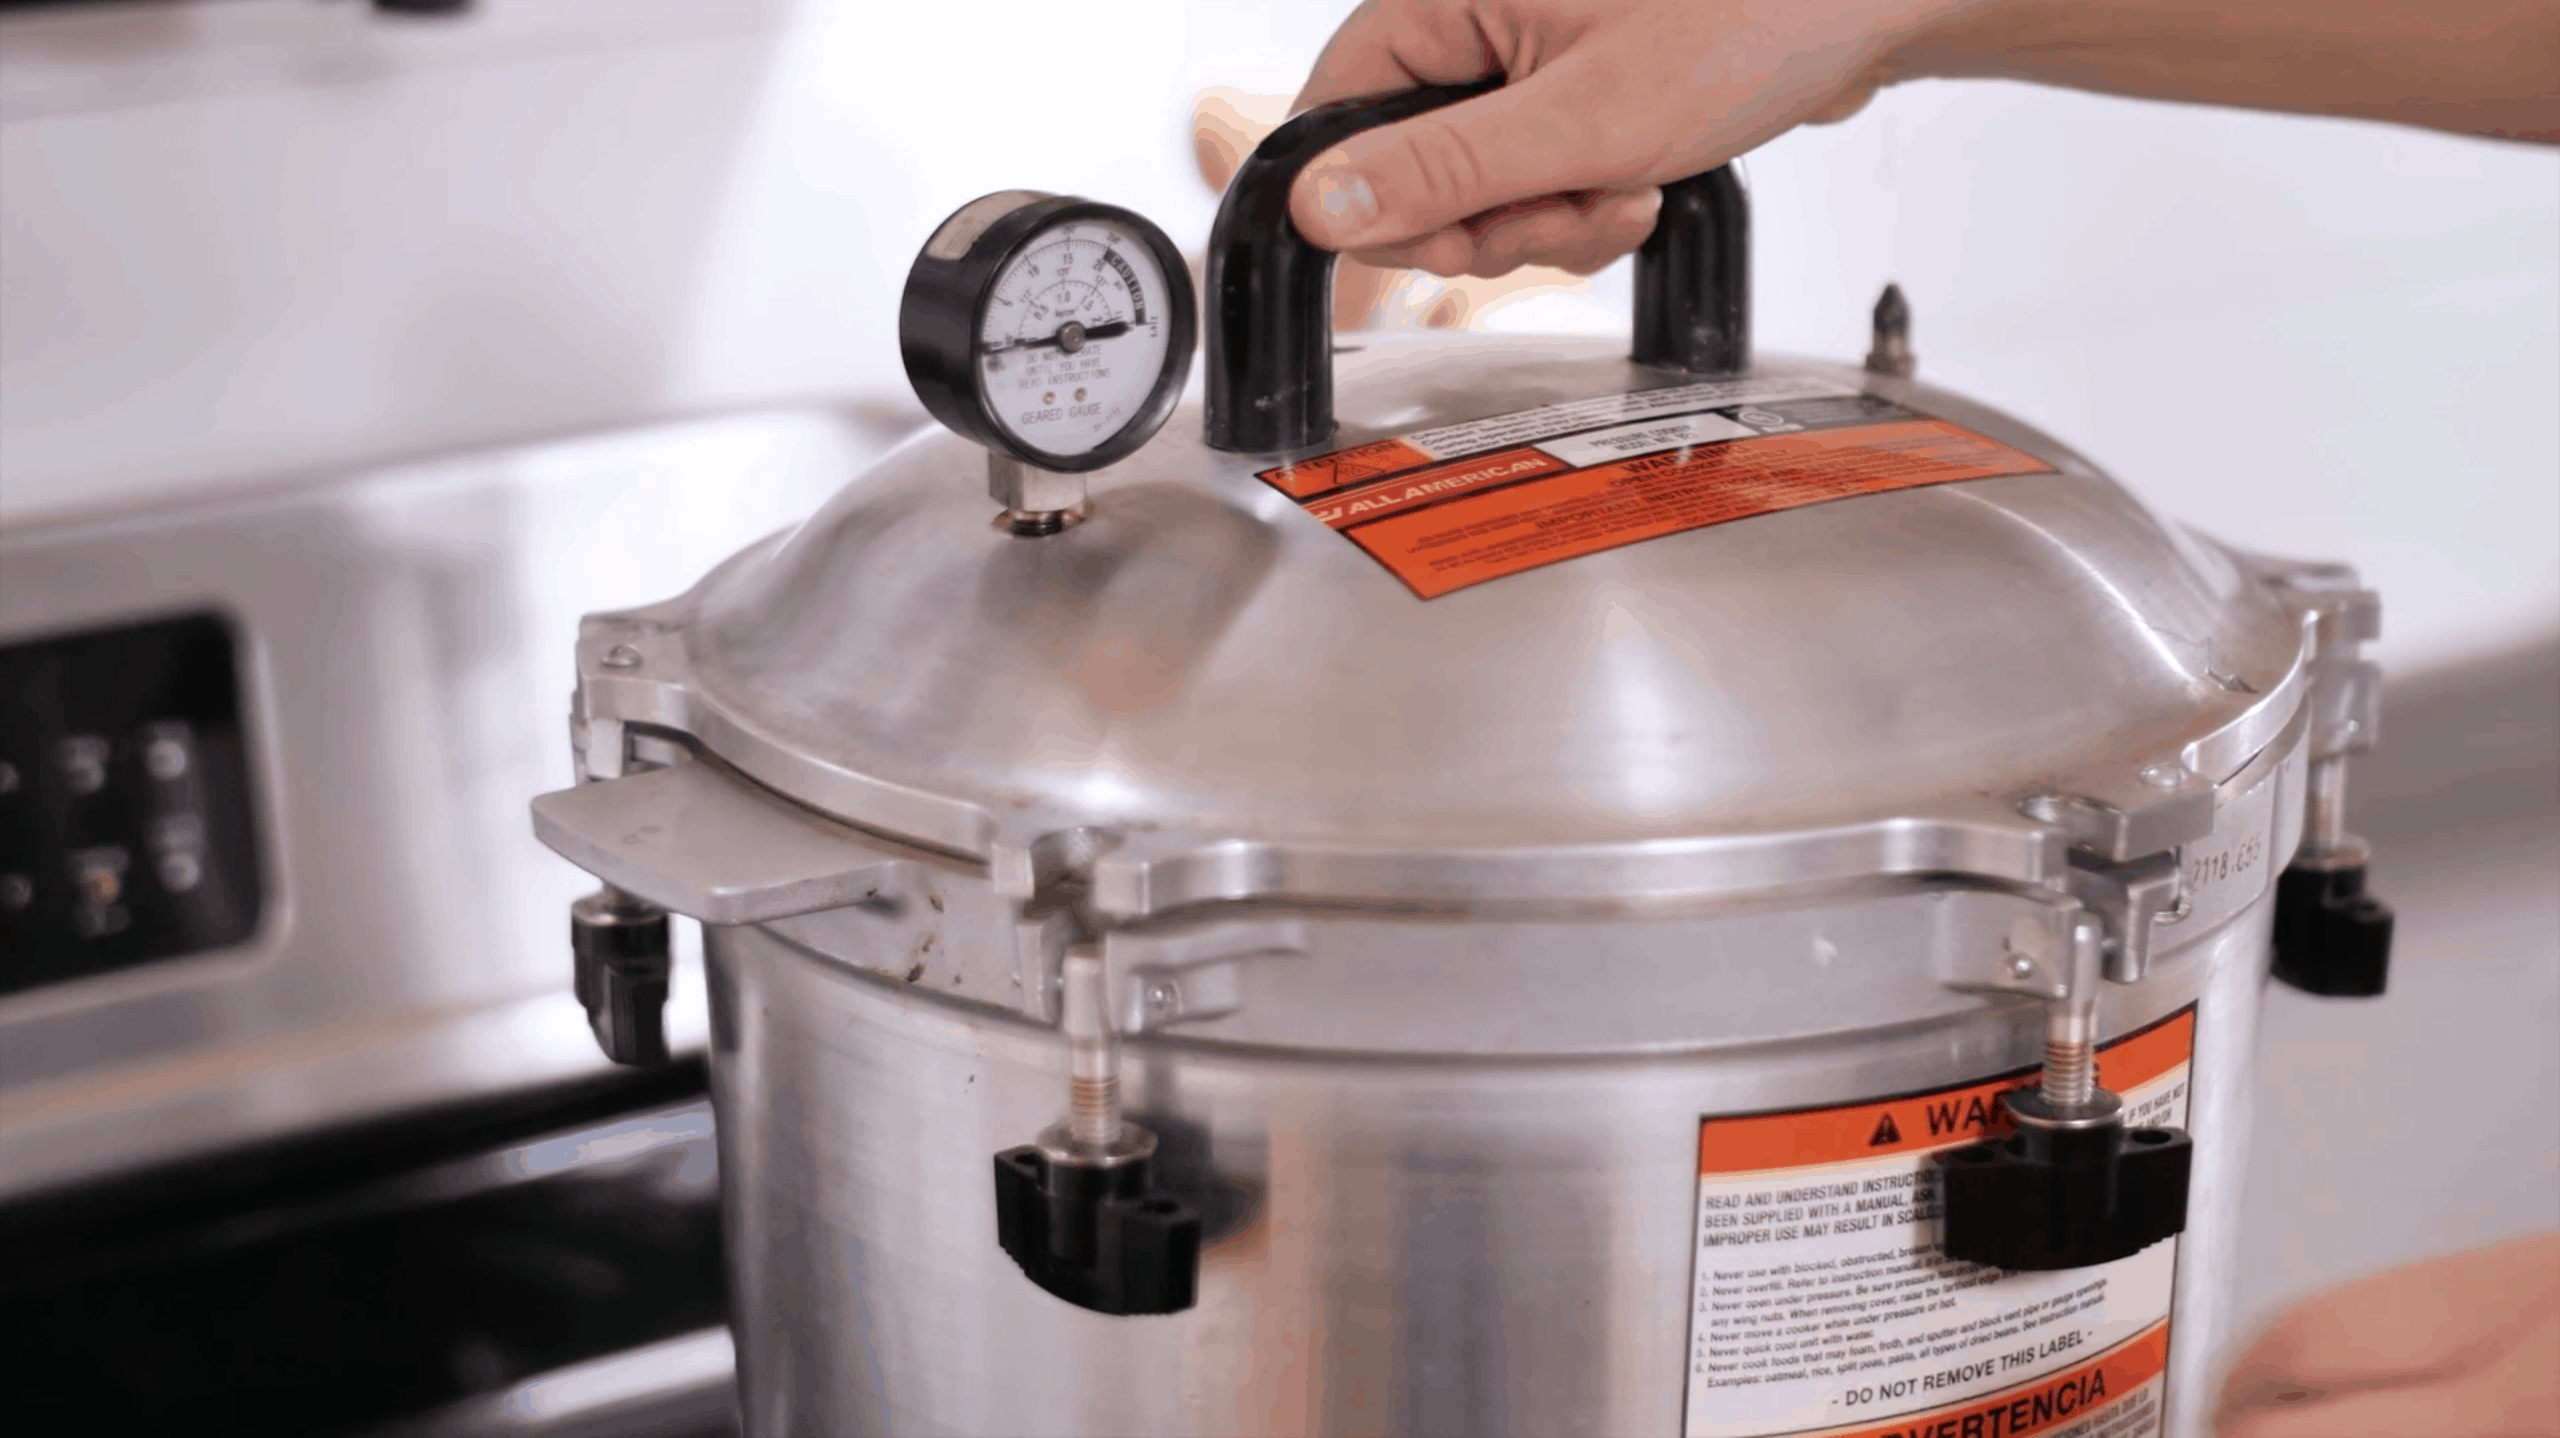
You must, must, must use a pressure canner if you plan on canning meat– no exceptions. Since chicken meat is a low-acid food, a regular boiling-water canner will not be able to heat it at a high enough temp to make it safe for storage.
I know pressure canners may seem intimidating at first, but they are actually simpler than you think. I have a full pressure canning tutorial here. It’ll walk you through the process, and teach you how to pressure can without blowing up your house (always a good thing).
For more details on why you need to use a pressure canner, check out my recent article on why canning safety is important.
What You Need to Know Before You Start:
Prep Work before Canning Chicken
If you are butchering your own chickens, you need to dress them out and let them chill for 6-12 hours before you start canning them (more details about that here). If you are using chicken bought from the store, they have already been dressed and chilled and are ready to go. Make sure the chicken(s) are completely thawed before you start the canning process.
Next up, decide which canning method you prefer:
1. Raw Pack or Hot Pack?
There are two options for canning meat: the raw pack or hot pack method. In the raw pack method, you put the raw chicken into a jar and process it. In the hot pack method, you cook the chicken (just a little bit) before you pack it into the jars and you also add some liquid and then process it. According to Clemson State University, both methods are fine, but the hot pack method might give you slightly better canned chicken for long storage. (source).
There is no need to pre-cook your chicken since it cooks in the pressure canner. So I personally prefer the raw pack method. However, I’ll include instructions for both canning methods below.
2. Bones in or bones out?
You get to choose if you keep the bones in or take them out before you can your chicken. This depends on if you are using a recently butchered chicken, a whole chicken from the store, or if you chose to use boneless chicken breasts or whatever else.
You can use any type of chicken parts, boneless or with bones for this canning chicken recipe.
If you choose to keep the bones in, you will have to cut the chicken pieces up before canning and make sure you can get those pieces to fit into the jars. There will also possibly be more wasted room in the jars if you keep the bones in.
If you use boneless chicken breasts or thighs from the store, you can make nice uniformed cubes of chicken for the jars. It’s up to you!
Ingredients and Equipment Needed for Canning Chicken
* TIP* Before you start, clean up your kitchen and prep the area with the proper equipment and ingredients. This the #1 thing I always do that helps to reduce stress during the canning process. 
Have the following items ready-to-go before you start:
- Pressure Canner (this is the one I have and love!)
- Canning jars, lids, and rings (either quarts or pints will work)
- Canning utensils (this Lehman’s canning tool set has everything you need)
- Salt (optional: for flavor only)
- Chicken (bone-in or boneless, specific parts or whole chicken cut in pieces)
You can use either pints or quarts. Pint sized jars are usually the perfect amount for using in one meal, so if you don’t like the idea of leftover chicken, use pint sized jars. I personally don’t mind using quart jars and having chicken ready to use for another meal later that week. (Not to mention my kids eat a LOT of food…)
How to Can Chicken at Home
Directions:
1. Prepare Your Pressure Canner
Fill it with several inches with water, and turn the burner on low so it can begin to heat.
Check out my step by step guide to pressure canners for more instructions if you need them.
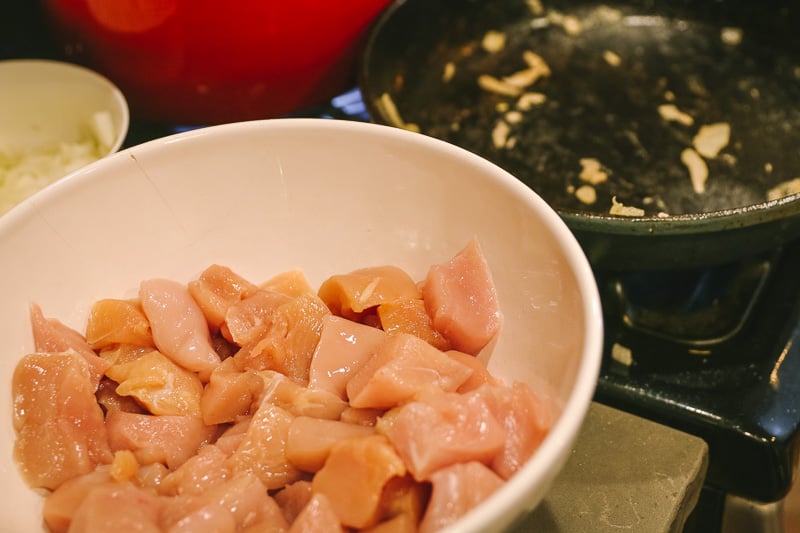
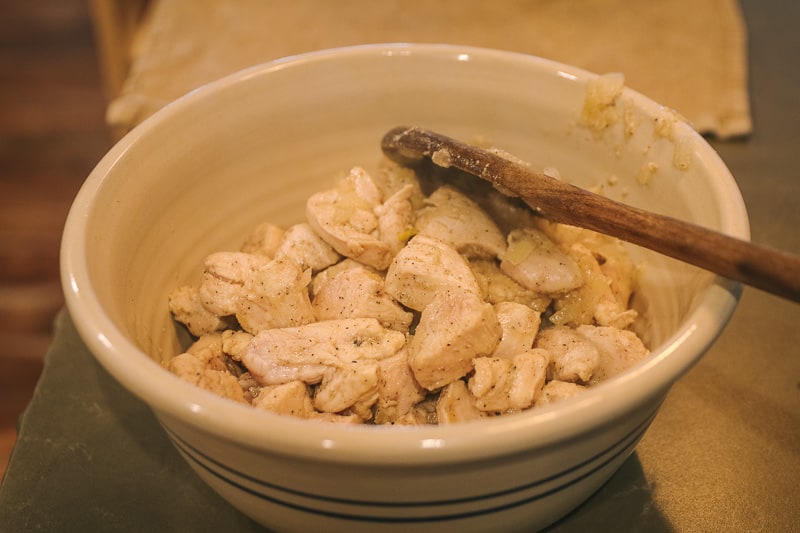
2. Prepare Your Chicken
If keeping the chicken with bones, separate the meat at the joints and make sure the pieces will fit into the jars. Cut up boneless chicken into pieces. (Remove the skin from your chicken if you like– I did.)
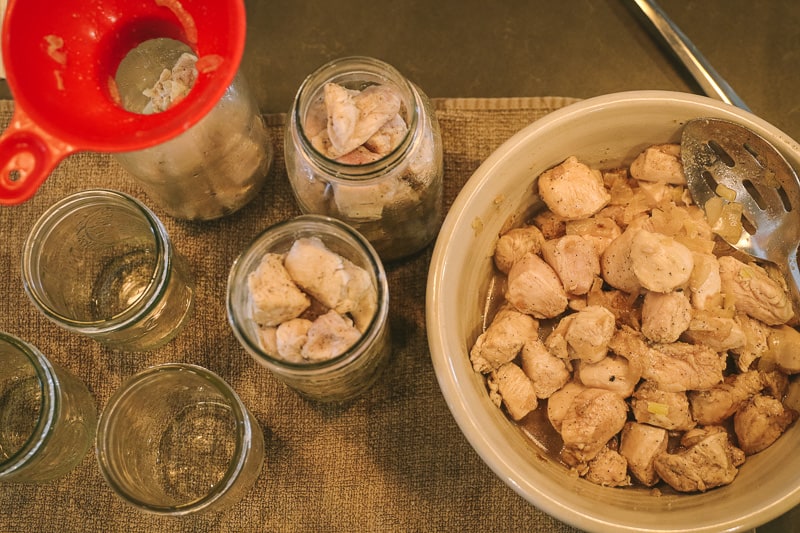
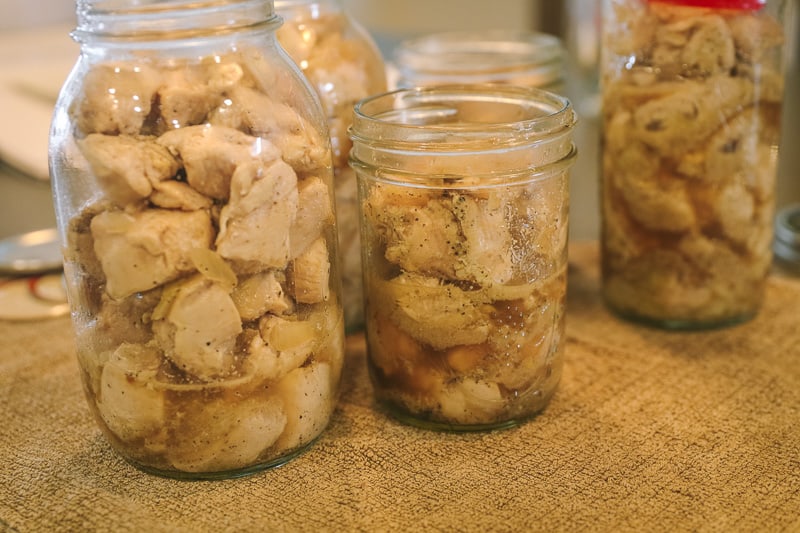
3. Pack into Jars
If Using the Raw Pack Method:
(Although it’s not 100% necessary, I sprinkled my raw chicken pieces with garlic powder, salt, and pepper and lightly browned them in a skillet before I packed them into my jars. They were still technically “raw”, but I wanted the finished product to have a bit more flavor and color.)
Fill the jars with the meat pieces and add salt, if desired (use 1/2 teaspoon fine sea salt for pint jars, and 1 teaspoon for quart jars).
Top off with hot broth or water, leaving 1-inch headspace at the top.
If using the Hot Pack Method:
Boil, bake, to steam the chicken until it is about 2/3 done.
Fill the jars with the meat pieces and add salt, if desired (use 1/2 teaspoon fine sea salt for pint jars, and 1 teaspoon for quart jars).
Top off with hot broth or water, leaving 1-inch headspace at the top.
4. Remove Air Bubbles
A plastic knife, butter knife, or canning utensil works just fine.
5. Affix the Lids
Wipe the rims of the jars to remove any residue, adjust the lids/rings (finger tight only), and process in a pressure canner as follows:
- For jars without bones (both hot and raw pack methods), process pints for 75 minutes and quarts for 90 minutes
- For jars with bones (both hot and raw pack methods), process pints for 65 minutes and quarts for 75 minutes
For Dial-gauge pressure canners, process jars at 11 pounds pressure (altitudes of 0 to 2,000 ft) or at 12 pounds pressure (altitudes of 2,001 to 4,000 ft).
For Weighted gauge pressure canners, process jars at 10 pounds pressure (altitudes of 0 to 1,000 ft) or at 15 pounds pressure (altitudes above 1,000 ft).

Canning Chicken (How to do it Safely)
Canning chicken at home is easier than you think, makes meal prep a snap. Just grab a jar, pop the top, and you’re ready to add chicken to your favorite recipes (like tacos, pizza, pasta, and more).
- Prep Time: 30 minutes
- Cook Time: 90 minutes
- Total Time: 2 hours
- Category: preserving
- Method: pressure canning
- Cuisine: chicken
Ingredients
- Pressure Canner
- Canning Jars (pints or quarts)
- Chicken (both bone-in and boneless work)
- Salt (optional: for flavoring)
Instructions
- Prepare your pressure canner.
- Prepare your chicken. If keeping the chicken with bones, separate the meat at the joints and make sure the pieces fit into the jars. Cut up boneless chicken into pieces. Remove the skin from your chicken if you want.
- Raw Pack method: Fill your jars loosely with meat pieces, leaving 1 1/4 inch headspace. Sprinkle 1/4 – 1/2 tsp. salt on top of pints jars, and 1/2 – 1 tsp. of salt on quart jars, if desired. Hot Pack method: Lightly cook your chicken (you can boil or bake it). Fill your jars with lightly cooked chicken, and hot chicken broth or water, leaving 1 1/4 inch headspace. Sprinkle 1/4 – 1/2 tsp. salt on top of pint jars, and 1/2 – 1 tsp. salt on quart jars, if desired.
- Remove air bubbles from the jars with a canning utensil or a knife.
- Wipe the rims, adjust the lids/rings, and process in a pressure canner as follows: For jars without bones (both hot and raw pack methods), process pints for 75 minutes and quarts for 90 minutes. For jars with bones (both hot and raw pack methods), process pints for 65 minutes and quarts for 75 minutes
- For Dial-gauge pressure canners, process jars at 11 pounds pressure (altitudes of 0 to 2,000 ft) or at 12 pounds pressure (altitudes of 2,001 to 4,000 ft). For Weighted gauge pressure canner, process jars at 10 pounds pressure (altitudes of 0 to 1,000 ft) or at 15 pounds pressure (altitudes above 1,000 ft).
Canning Chicken: Your Questions Answered
How Long Does Canned Chicken Last?
It’s recommended that most home-canned items are at their best for about 18 months. However, as long as the seals on the jars are good and they are stored in a cool, dark location, they can safely last much longer than that!
Can You Use a Water Bath Canner for Canning Chicken?
NO. Do NOT use a water bath canner for canning chicken. Chicken is a low-acid food, which is unsafe to can in a water bath canner. You MUST use a pressure canner for canning chicken. Please see my Guide to Canning Safety for more details.
How do You Use Canned Chicken?
Unlike store-bought canned chicken, homemade canned chicken is not gritty or tasteless. I even think it’s better than crockpot chicken, which can often become grainy and dry.
Instead, homemade fresh canned chicken is moist and flavorful and perfect for any meal that needs shredded chicken in it. It’s great for chicken soups, chili, enchiladas and tacos, pasta dishes, pot pies, pizzas (it’s great on my delicious homemade pizza crust), and anything else where you need cooked shredded chicken.
You don’t need to cook it again, just pop it open and it’s ready to go. Perfect for quick and easy dinners!
My Final Thoughts on Canning Chicken…
As I write this post, it feels as though the world is losing their minds buying up toilet paper and bottled water. Learning old-fashioned skills like canning and food preservation suddenly doesn’t seem so crazy, and I am hopeful that more folks will be inspired to take charge of their personal food supply.
Canning is one of the most-fulfilling homestead skills I’ve learned. If you’ve been on the fence to dive in, let this be your year, my friends.
If you’re ready to learn how to can, but never had someone show you the ropes– I’ve got you covered!
I created the Canning Made Easy system to help home-canners start preserving with confidence. This step-by-step eBook covers EVERYTHING you need to know, in a simple, non-confusing way.
Grab your copy of Canning Made Easy and start preserving your harvest today!
More Kitchen Tips:
- Cooking From Scratch When You Have Limited Time
- What’s in My Everyday Preparedness Pantry
- Homestead Kitchen Tools I Cannot Live Without
- Heritage Cooking Crash Course (learn to cook nourishing meals without spending your life in the kitchen)
The post Canning Chicken (How to do it Safely) appeared first on The Prairie Homestead.
Via Gardening http://www.rssmix.com/
No comments:
Post a Comment