My kitchen currently resembles the laboratory of a mad scientist.
There’s my sourdough starter bubbling away by the oven, a container of continuous brew kombucha doing it’s thing on the island, and a 2-gallon crock of sauerkraut fermenting away in the corner.
I’ve come a long way, considering I used to be scared of fermented foods. Both the sights and smells of fermenting foods turned me off for years, not to mention the worry it wouldn’t taste good. (I’m sorry, but there are some seriously unappetizing fermented food recipes floating around online…). All that to say, I avoided fermenting foods for a looong time.
Now that I’ve spent a few years making things like sauerkraut (a tasty classic), dilly beans, fermented pickles, kimchi, and even fermented ketchup, I’m not only gaining confidence with fermented foods, but I find myself actually craving them.
I’ve made plenty of ferments with my trusty glass mason jars and an airlock system, which are perfect for small batches of fermented goodness. However, I’ve always been drawn to fermenting crocks– not only for their decor appeal, but also because it’s a little more true to history if we’re taking into account how the old-time homesteaders fermented foods.
What is a fermenting crock?
As you can guess from the name, these crocks are simply jars (often ceramic or stoneware) that are used to hold veggies as they ferment. You’ve probably seen them at most antique stores, or perhaps being used in various aspects of farmhouse decor (they are definitely trendy these days), but most folks don’t realize they actually serve an important culinary purpose. If you’re curious about using crocks instead of mason jars for your ferments, here are a few things to keep in mind:
Benefits of Fermenting Crocks:
- They are long lasting – these things are so hefty and hardy that you can plan on giving it to your grandchild one day
- They’re perfect for large-scale bulk fermenting
- They are wasy to fill and scoop out of, versus a small-mouthed jar
- They are attractive. I really like the look of them on my kitchen counter, especially knowing the deliciousness brewing inside
- They’re also great at corralling other things, like kitchen utensils, when you’re not fermenting in them
Limitations of Fermenting Crocks:
- They are more expensive than a simple mason jar
- They are larger items that take up storage space in your home, unless you agree with me on the last point above, which of course then nixes this point. I always find great uses for them when they’re not holding fermenting veggies
- You’ll still need mason jars for storing the food after fermentation is complete
If you’re serious about fermentation, fermenting crocks are a great addition to your homestead kitchen (these are some other must-have items for a homestead kitchen).
Types of Fermenting Crocks
There are two main types of fermenting crocks: open crocks and water-sealed crocks.
Open Crocks
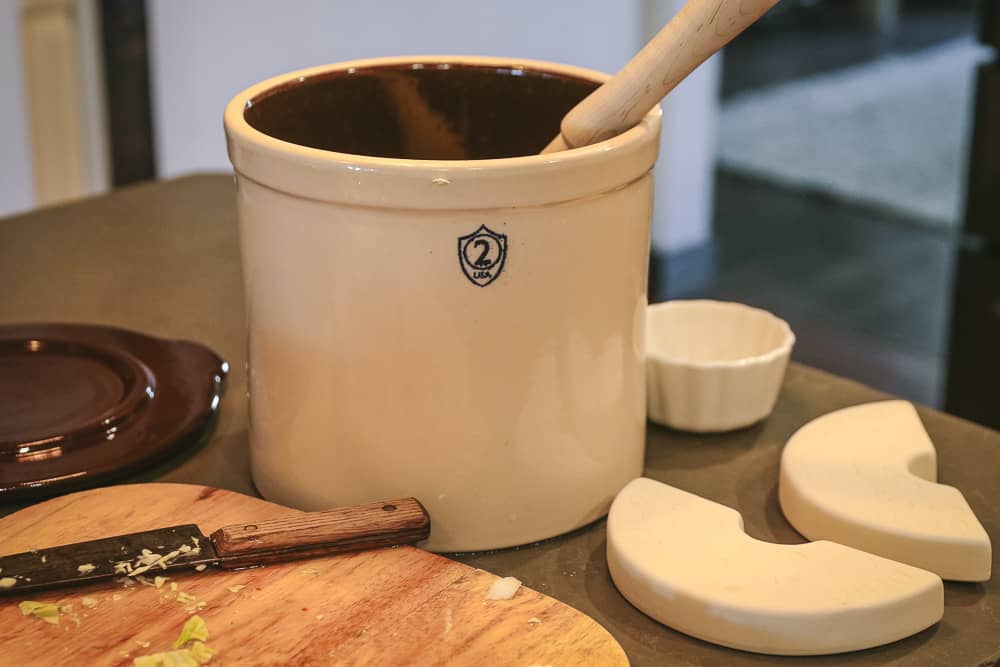
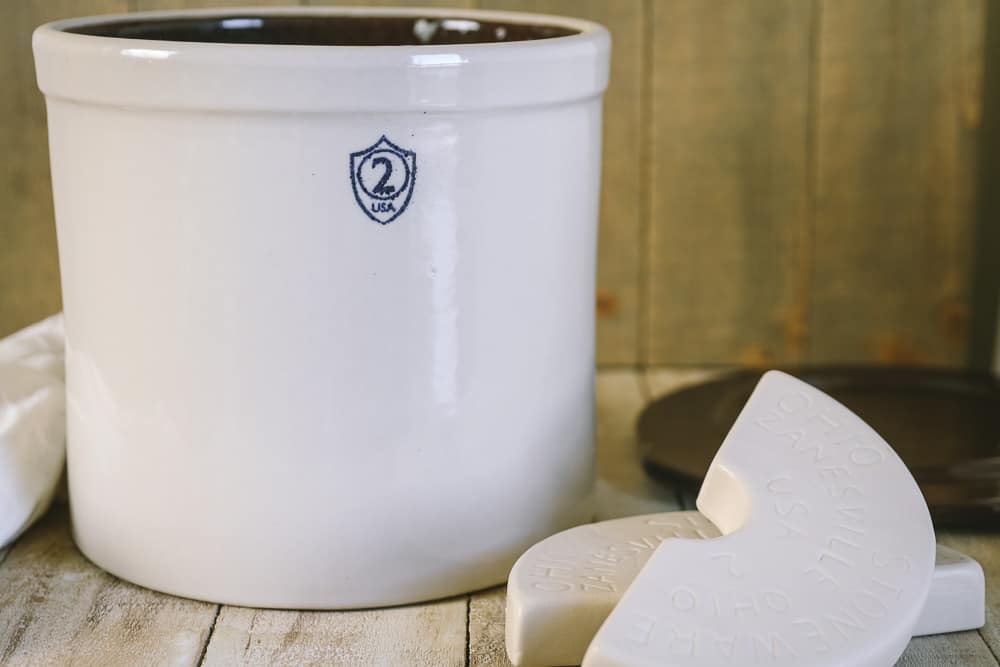
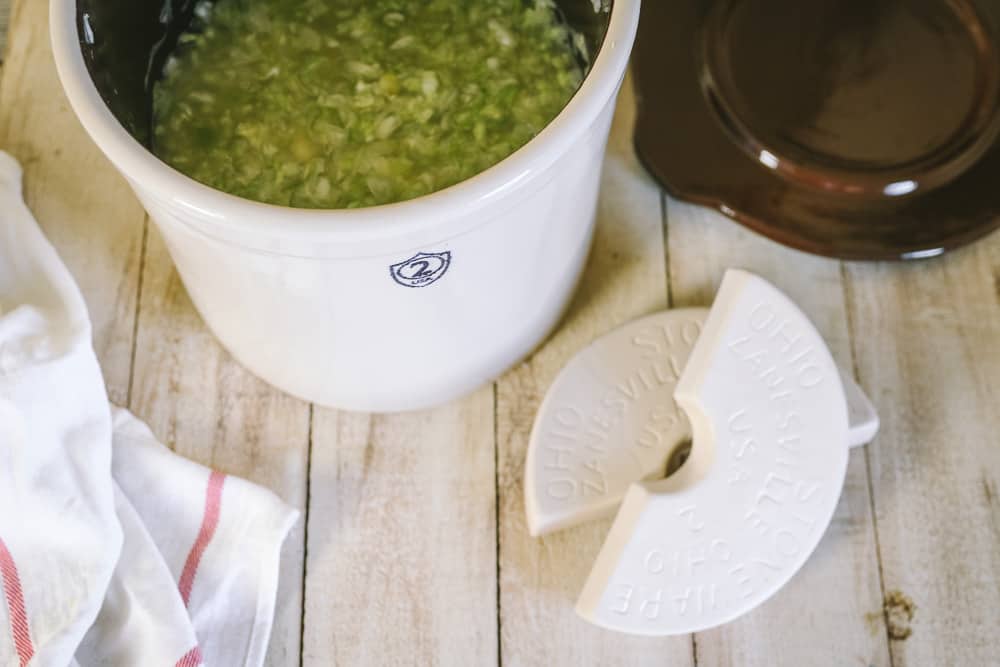
Open crocks are the traditional ones you stumble upon in antique shops or spot in grandma’s house. They’re old-fashioned (which suits me just fine) and super easy to use and clean. They don’t have any fancy parts. They’re literally just a large, open crock with no top. This is my 2-gallon open crock, which I love.
While you can certainly use grandma’s open crock or buy one at an antique store, check it over carefully for cracks or other issues. You want a non-cracked vessel for proper, safe fermenting.
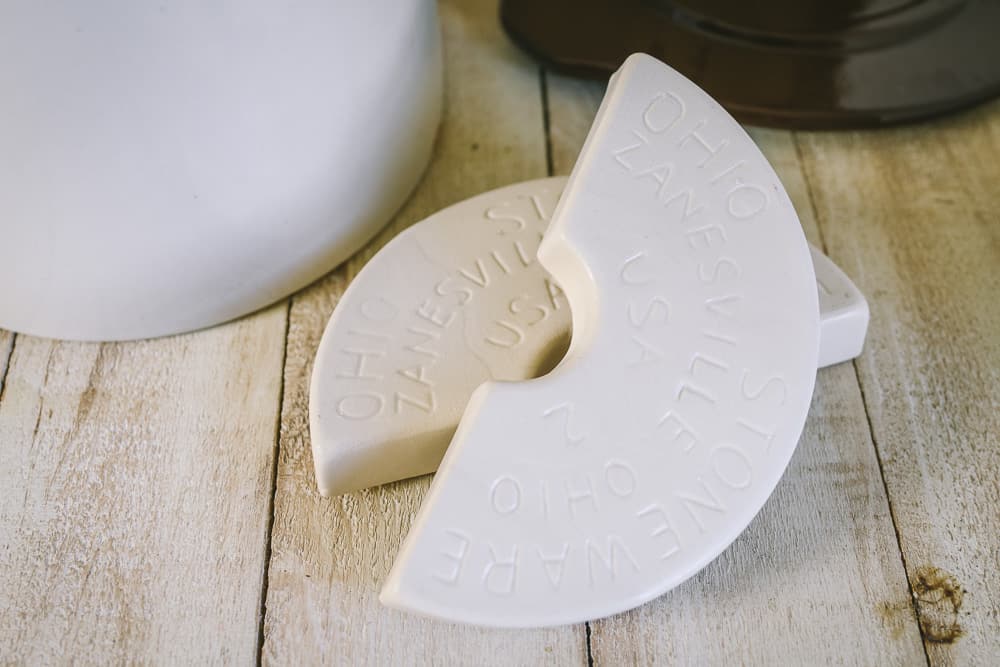
The most common sizes for open crocks are 2-gallon, 3-gallon, or 5-gallon, so you can easily stuff whole vegetables inside for fermenting. After you fill the open crock with the produce of your choice, you put in a weight. I use an actual fermenting weight, but you can also use something more frugal from your kitchen, as long as it’s clean and heavy. The purpose of the weight is to keep the food under your brine. Then you cover the fermenting crock with a towel or cloth, or you can purchase a lid for your open crock (like this one).
Advantages of an Open Crock
- On average, they are less expensive than water-sealed crocks.
- You feel more old-timey and homesteady with these traditional crocks.
- The open, wide tops and straight walls make them easy to clean.
- You can fit large quantities of whole veggies in them.
Disadvantages of an Open Crock
- If you inherit an older crock, you’ll need to purchase or improvise a matching lid
- If you only using a towel or cloth as a “lid”, outside air can still enter the crock, which can result in surface mold or Kahm yeast. There’s nothing wrong with this harmless yeast, but you will want to skim it off.
- You need to either buy or make your own fermenting weights.
- It can be easier for flies and fruit flies to get into the crock if it’s only covered with a cloth.
- It’s easier to have failed ferments due to being such a simple device.
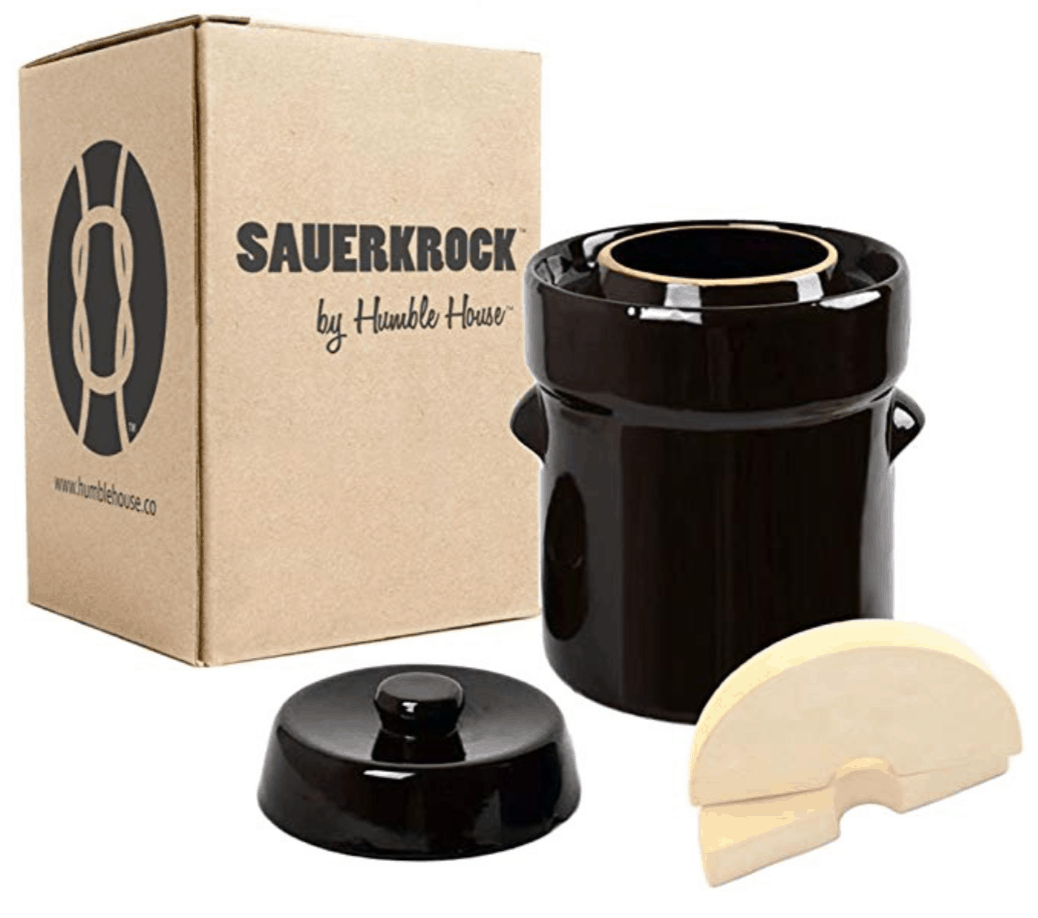
Water-Sealed Crocks
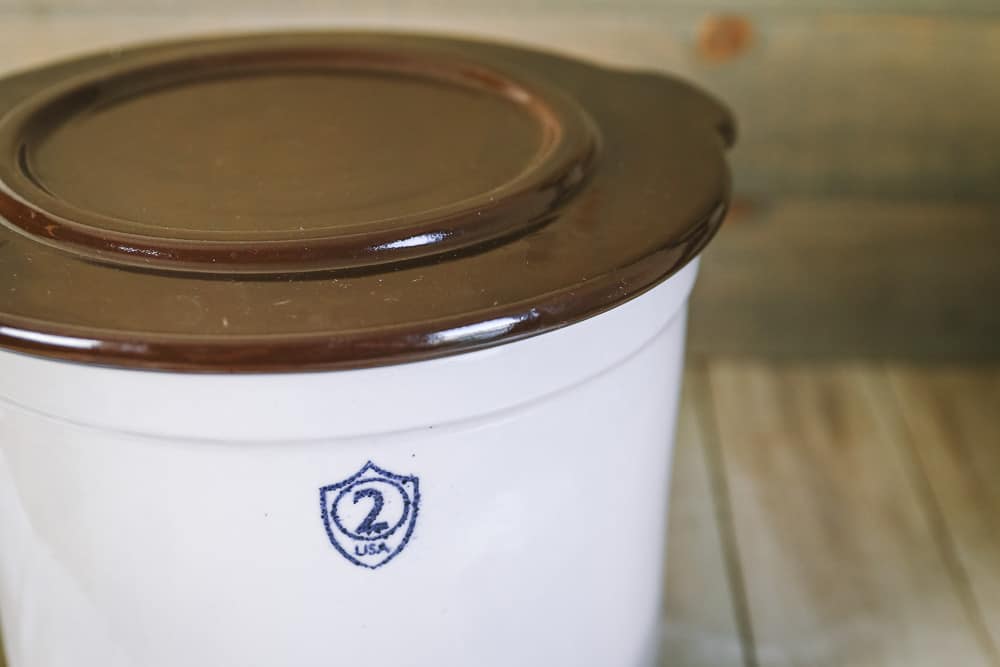
Water-sealed crocks have a lip to hold water and a lid that fits inside that lip and prevents outside air from entering the crock once you pour water into that lip and create a “seal.” But carbon dioxide, which is created during fermentation, can still escape. These crocks also come with weights that were made for that exact crock, so it makes the perfect barrier.
Water-sealed crocks didn’t used to be too easy to find. But as fermentation becomes a little more popular, you can find more water-sealed crock options (like this pretty blue-striped one).
Advantages of a Water-Sealed Crock
- The sealing of the vessel greatly reduces any chance of mold or Kahm yeast (a harmless yeast) from forming.
- The sealing also keeps fermentation odors inside the crock.
- Flies and fruit flies cannot get into your water-sealed crock.
- The thick sides and sealed top lead to a slightly more stable temperature inside the crock, compared to an open crock, which can help you with fermenting success.
Disadvantages of a Water-Sealed Crock
- Water-sealed crocks need more maintenance—you do need to refill the water occasionally or air will flow inside.
- The shape makes it more difficult to clean afterward.
- The shape also can makes it hard to pack the crock full of veggies.
- Water-sealed crocks are usually more expensive than open crocks.
Both types of crocks are truly great options for big batches of tasty fermented goodies in your home.
How to Use a Fermenting Crock
Once you’ve chosen a fermentation crock, it’s not hard to start using it! Here are the basic steps to using a fermenting crock:
1. Clean and soak the fermenting weights
Start with clean fermenting weights so you can avoid mold issues.
Fermenting weights are important because they keep the vegetables under the brine. If the veggies aren’t covered with the brine, they’ll get covered in mold (yuck). Presoaking your fermenting weights in water prevents them from soaking up your brine.
2. Wash your fermenting crock and produce
Obviously, you want to start your fermentation process with clean tools and produce. This greatly reduces your chance of spoilage. Wash your fermentation crock in hot soapy water.
Even if your veggies come from the garden, it’s a good idea to wash off any potential dirt and whatnot from them as well.
3. Prep your vegetables
You can ferment pretty much anything, and there are loads of awesome fermenting recipes out there. Whatever veggies you use, after you rinse them, you may want to ferment them whole (like pickles) or shred them or chop them. I have a whole segment in my Heritage Cooking Crash Course with all the nitty-gritty details if fermentation is something you are ready to add to your kitchen repertoire.
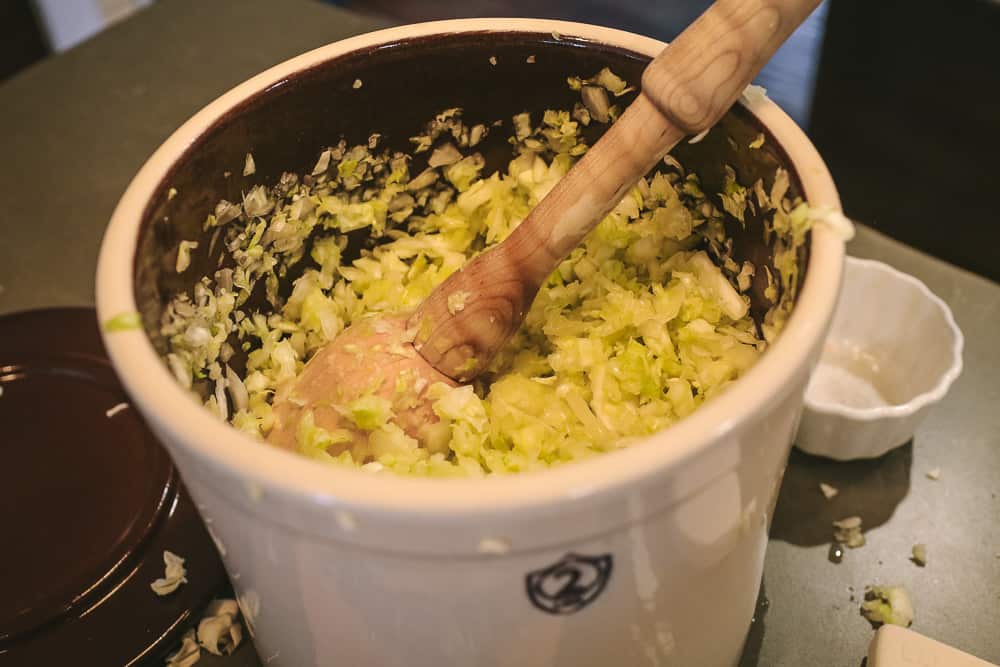
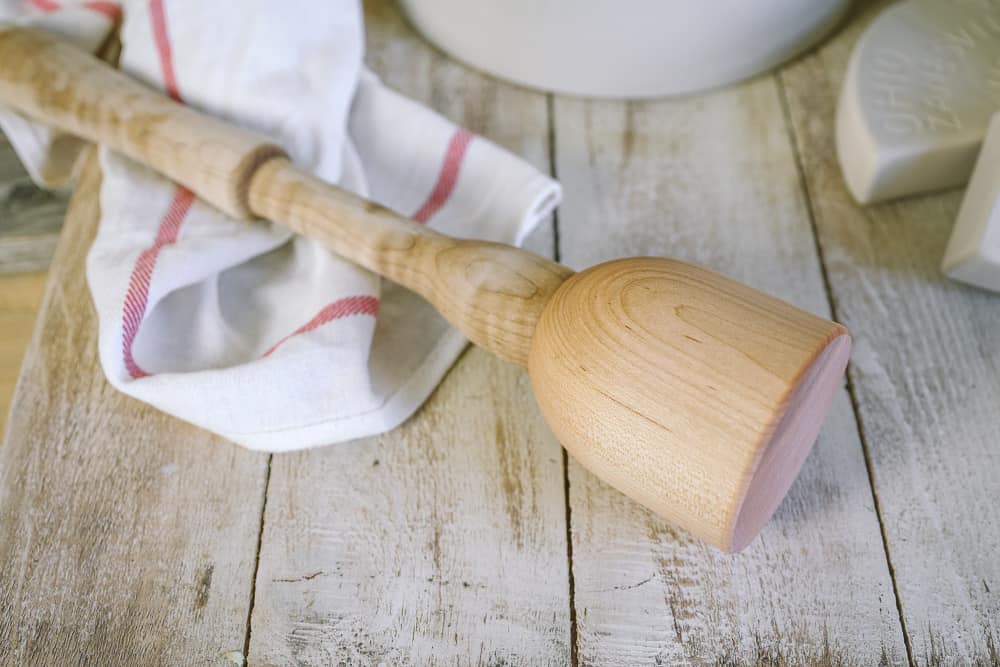
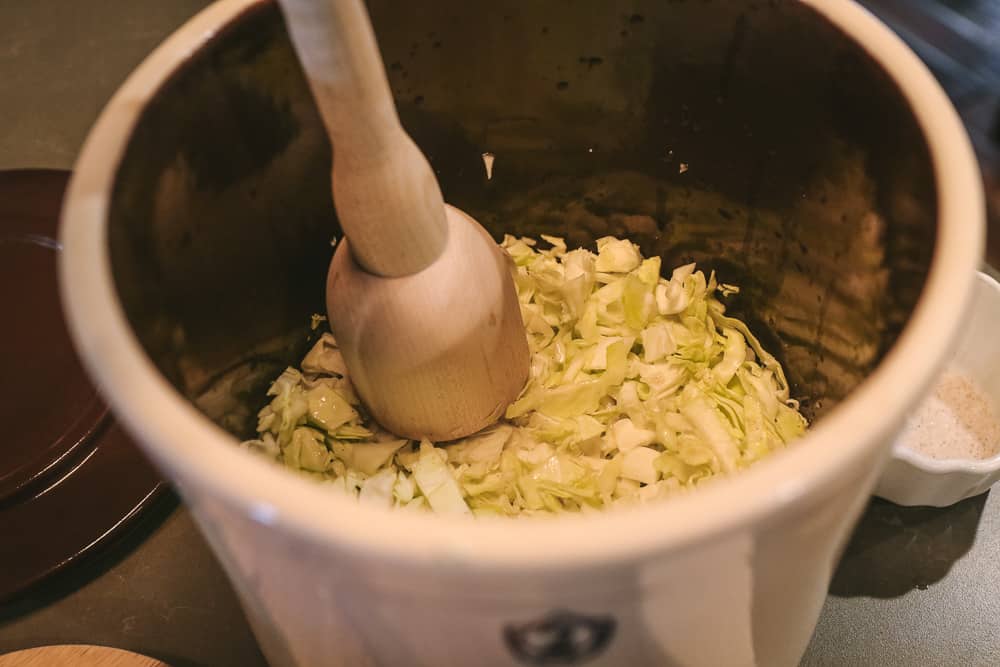
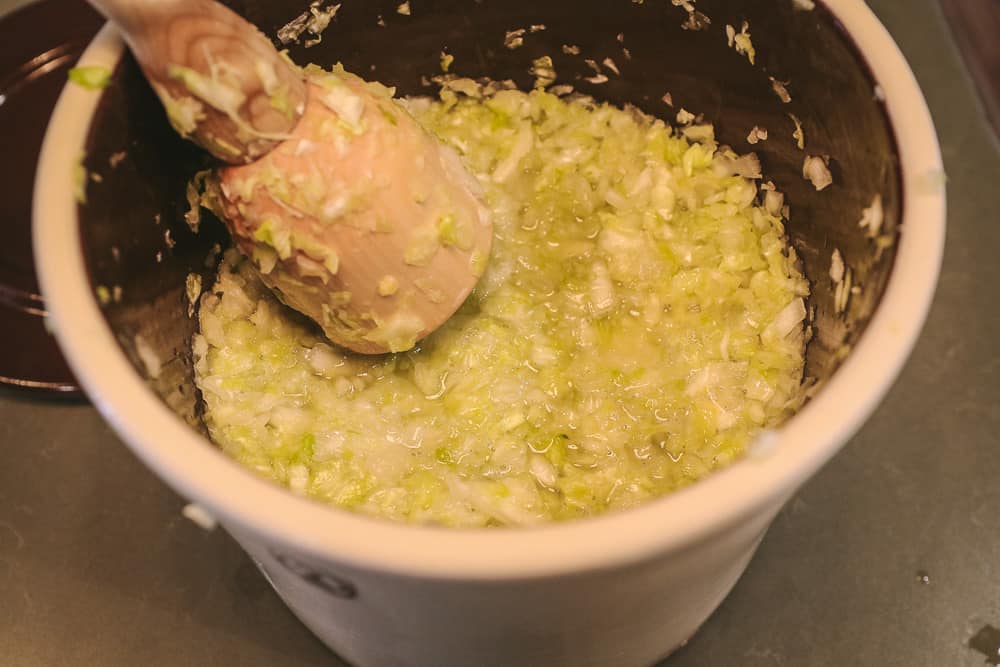
For a basic rundown, if I’m making sauerkraut, I’ll shred the cabbage either with a good kitchen knife or a food processor. I’ll sprinkle on about 1 tablespoon of sea salt per cabbage head. I like to use my hands to combine the cabbage and salt. You can also use a cool fermenting stomper like this one.
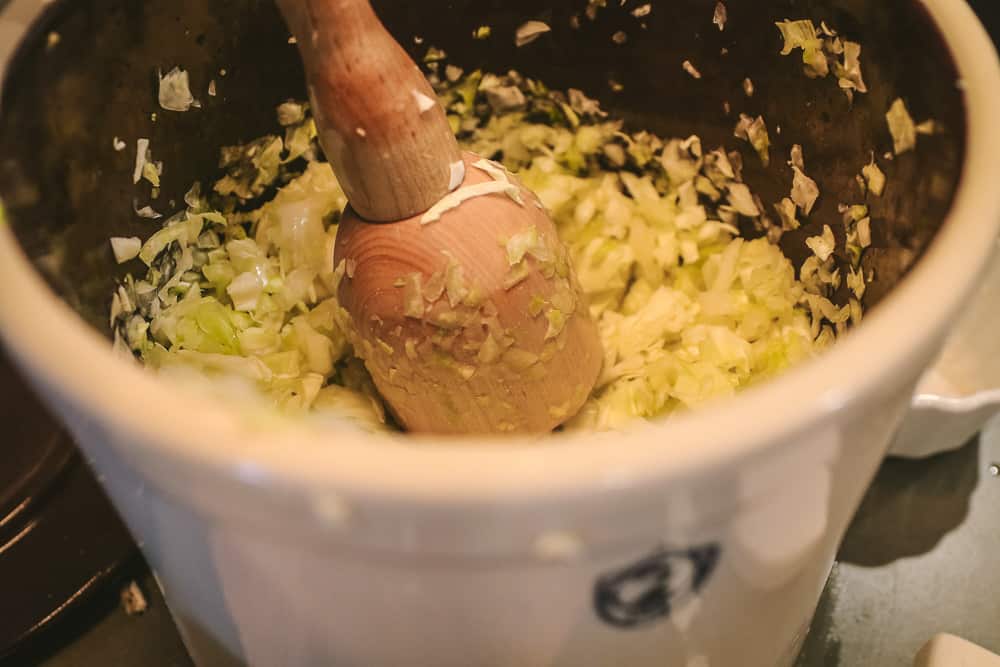
I squeeze the cabbage and salt together and it creates its own brine solution (if you’re making a different fermenting recipe, you might have to make the brine solution).
(Sometimes it takes a while for the cabbage to start releases its juices, as you can see in the photos.)
4. Stuff it into the fermenting crock
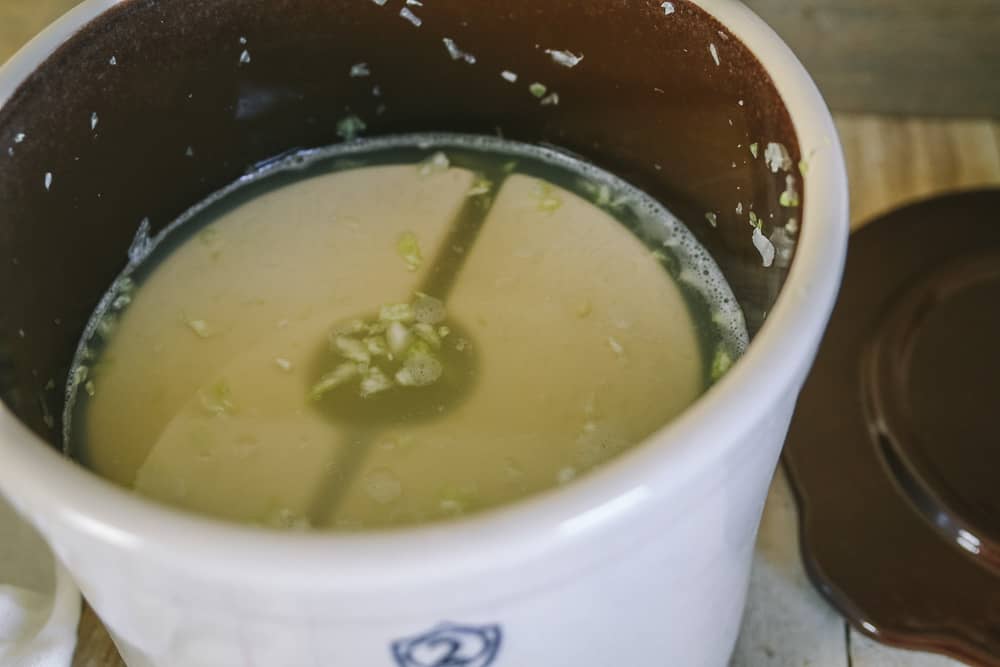
Whether you use an open-crock or a water-sealed crock, simply put the veggies and any possible spices into the fermenting crock. Use a fermenting weight to push the veggies down, and make sure to completely cover them with the brine.
5. Keep an eye on things
Put your fermentation crock somewhere where you can keep an eye on it. Your fermenting crock (especially if you use an open crock) might overflow if the liquid bubbles over due to the fermenting process. So you might want to put it in a shallow bowl or container to collect overflow. Also with an open crock, you might need to occasionally skim off any buildup of yeast or mold on the top.
If you use a water-sealed crock, you’ll have to watch the water levels and possibly refill it so that the seal stays effective.
6. Play the waiting game
The fermentation process will be done in about a week or two, but some people like super fermented foods, and you can wait even longer than that if you want. I like to do a taste test after 10 days to see if it’s the right amount of tang for my family. If it isn’t tangy enough, I’ll let it ferment for a few more days before taste testing again.
7. Store your fermented food
In the old days, homesteaders would keep their ferments in the crocks in their root cellar or cold storage area. However, since most of us don’t have root cellars (or unheated rooms in our home that won’t freeze) we have to make some adjustments. If the vegetables are left in the crock long-term, the fermentation process will continue, resulting in very tangy food after a while. This isn’t necessarily the end of the world, but your family may or may not appreciate super-sour sauerkraut, if you know what I mean.
Therefore, in order to stop the fermenting process, you will need to put your fermented food in the refrigerator once the initial fermentation period is over. The downside to using fermenting crocks, instead of simple mason jars, is that they are usually too big and heavy to stick in your fridge.
I usually scoop the fermented food out of the crock and into mason jars to store in the fridge. Most ferments will last at least 3 months in the fridge.
Fermenting Crock Q & A’s
How should I care for my fermenting crock?
After using it, wash your fermenting crock with mild soap and warm water and let it air dry. Avoid exposing it to extreme temps, and do not clean it in the dishwasher (if you could even fit it in there).
How should I store my fermenting equipment?
Don’t store the weights inside the fermenting crock. They might get moldy in there. Keep the weights stored separately in a dry place. Store your fermenting crock in a dry, temperature-stable place if possible. Unless you use it for everyday storage in the off season, then no storage required.
How big of a fermenting crock should I buy?
In general, if you’re fermenting 5 pounds of fresh veggies, you’ll need a 1-gallon crock. 10 pounds of veggies calls for a 2-gallon crock. Twenty-five pounds? You’ll need a 5-gallon crock.
What can I use for a fermenting weight if I don’t buy one?
If you’re using a household item, make sure that the material won’t corrode, get moldy, or expand when wet. Avoid wood, plastic, and metals. A kitchen plate works well.
Whatever kinda crock you use and whatever veggie you ferment, if you’re new to this, start small. And realize that it is an acquired taste. But our family quickly fell in love with the delicious tang of the gut-healthy food I ferment. I hope your family does too! Let me know what winds up to be their favorites!

More Preserving Food Tips:
- Learn How to Can Foods
- A Guide to Quick Pickled Vegetables
- How to Preserve Herbs in Oil
- Canning Meat: A Tutorial
- My favorite food-preservation tools
The post How to Use a Fermenting Crock appeared first on The Prairie Homestead.
Via Gardening http://www.rssmix.com/
No comments:
Post a Comment