Tuesday, September 14, 2021

Top Tips For Storing Vegetables Without a Root Cellar

You’re pulling in your garden harvest…it’s covering every surface of your home…and now you’re left with the familiar problem of “what are you supposed to do with all of this fresh produce?”.

Most of us have not been blessed with a traditional root cellar in our home. If you happen to be someone with a root cellar, I would just like to say that I am exceedingly jealous.

Fortunately, for the rest of us without a root cellar, I’ve got some good news: there are still plenty of ways to store our crops for later.

Christian and I have been contemplating putting in a root cellar for a while now. We have been seeing more of a need for one as our food growth continues to increase. Back in the beginning, I didn’t think a root cellar was necessary; I was still trying to figure out how to grow vegetables and we had smaller quantities to deal with.

Now we are in our homesteading groove (most of the time), but one of the big issues we continue to have as our growing capacity expands is storage.

An example is our potato storage. We have been Digging Up and Storing Potatoes for Winter for years now. In recent years, it has been huge amounts and we have had to come up with a plan to store them without your typical root cellar. Watch how I have managed to store over 200 lbs of potatoes without a root cellar. 


In the past, we have used our basement for storage, but it hasn’t always worked the way we would have liked. Now, we have started exploring our options; we even had a concrete guy come over recently and talk to us about the logistics of pouring a concrete root cellar.

Since there have been a ton of questions from everyone on social media recently asking me “what do I do with all of this food?”, I thought that I would gather up a bunch of info in this post. Hopefully it helps you get your ideas flowing and helps you take that first step towards storing food for later. For a more detailed in-depth look at storing vegetables without a root cellar, you can also take a look at these 13 Alternatives to a Root Cellar.

By the way, if you prefer listening to podcasts over reading info, I recently made a podcast episode on storing vegetables without a root cellar here:

Learn More About Storing Your Vegetables Without a Root Cellar

I have been reading books recently in order to do some root cellar research. So I thought that I would give you a book recommendation (and please know that I am really picky about the books I buy and recommend). 

I think that this book that I recently purchased is a good investment and I am so glad I bought it. It is called Root Cellaring: Natural Cold Storage of Fruits and Vegetables, by Mike and Nancy Bubel. This is a really good book with a very common-sense title, diagrams, charts, and also discusses about how to build a root cellar. It also talks about how to create makeshift root cellar options and it gives a lot of information on storing vegetables without a root cellar.

The book explains how vegetables will handle different types of storage and what their requirements are. It’s really good, so grab a copy and start learning about root cellaring. In this post, I would like to share a few things that I have learned from the book but also some things that I have learned through trial and error over the years.

How to Store Vegetables Without A Root Cellar

The big thing you need to remember if you are storing vegetables is that not all vegetables are great options for a root cellar or long-term storage. Things like cucumbers, tomatoes, or green beans are what you focus on either freezing, fermenting, or canning.

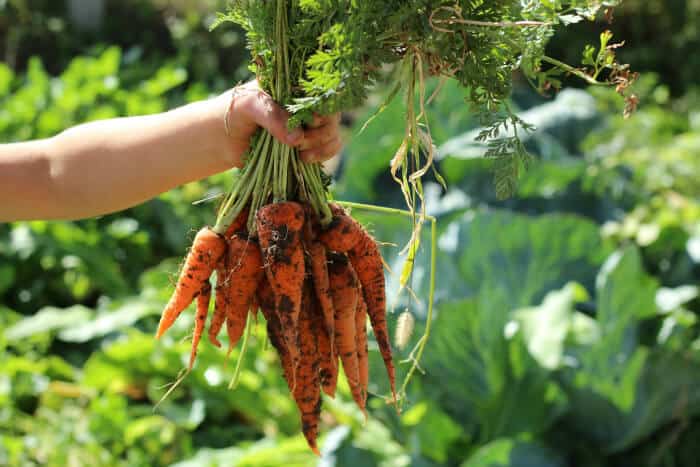
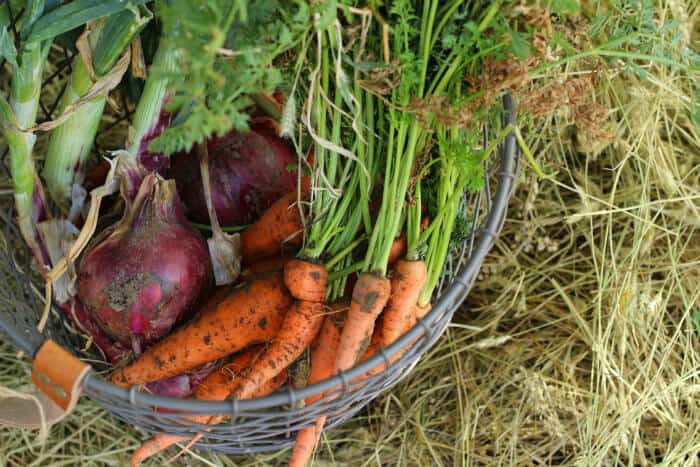
Root crops like potatoes, beets, parsnips, and carrots are fantastic for root cellars or cold storage. You can grow a lot of those things and keep them for many months if you play your cards right.
Store Vegetables Without A Root Cellar

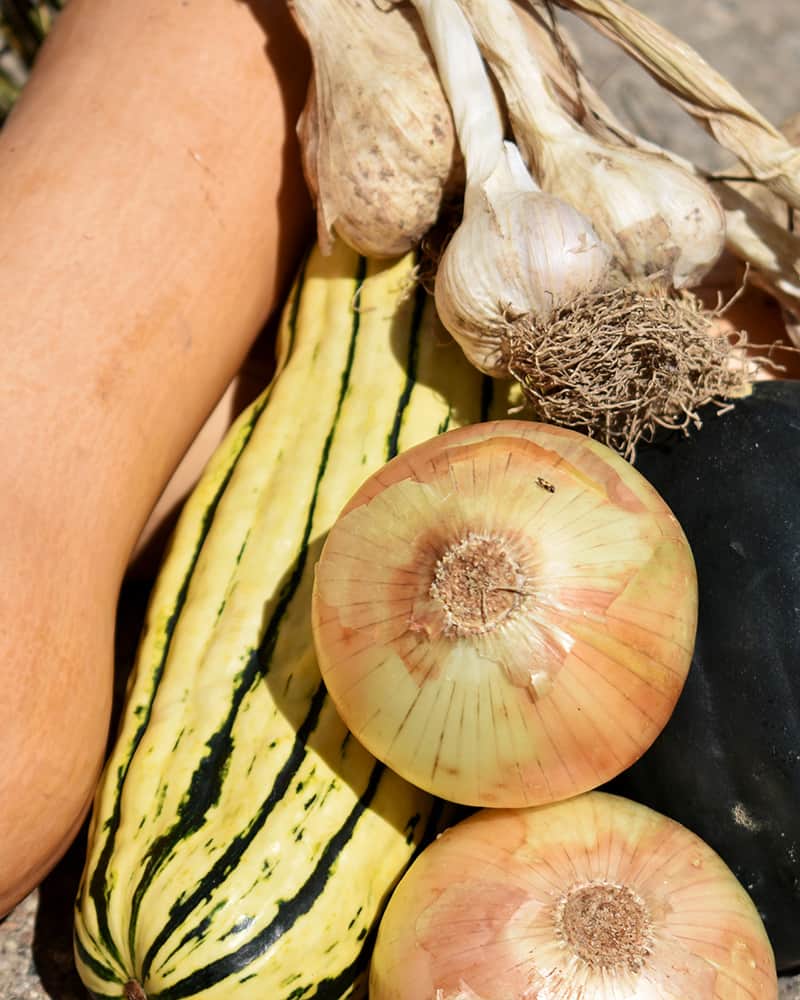
Vegetables That Thrive in Root Cellar Storage Include:

  • Carrots
  • Beets
  • Potatoes
  • Sweet Potatoes
  • Parsnips
  • Onions
  • Garlic
  • Winter Squash
  • Pumpkins
  • Cabbages

Note: Keep in mind that each type of vegetable has its own set of instructions for pre-storage preparation and for how best to store them long-term. 

Creating a Root Cellar Environment

When trying to create a root cellar environment or mimic a root cellar, it needs to be cold, dark, and humid. A lot of these vegetables have specifics about how they should be stored, but the thing to remember as a beginner is: the colder the better. However, you don’t want things to get so cold they freeze. If things freeze and then thaw out, they tend to get mushy; you want your temperature to be right above 32 degrees Fahrenheit with some humidity if possible.

I have learned that when vegetables are pulled from the garden, they are still alive for a time. As they age, they start to lose some of their moisture. Having a humid environment slows that moisture loss and helps keep them fresher longer. Ideally, 32ish plus degrees Fahrenheit with some humidity and darkness is ideal, however, you can get away with something that isn’t exactly that. 
Storing Onions without a Root Cellar

Creating A Root Cellar Environment for Potato and Onion Storage:

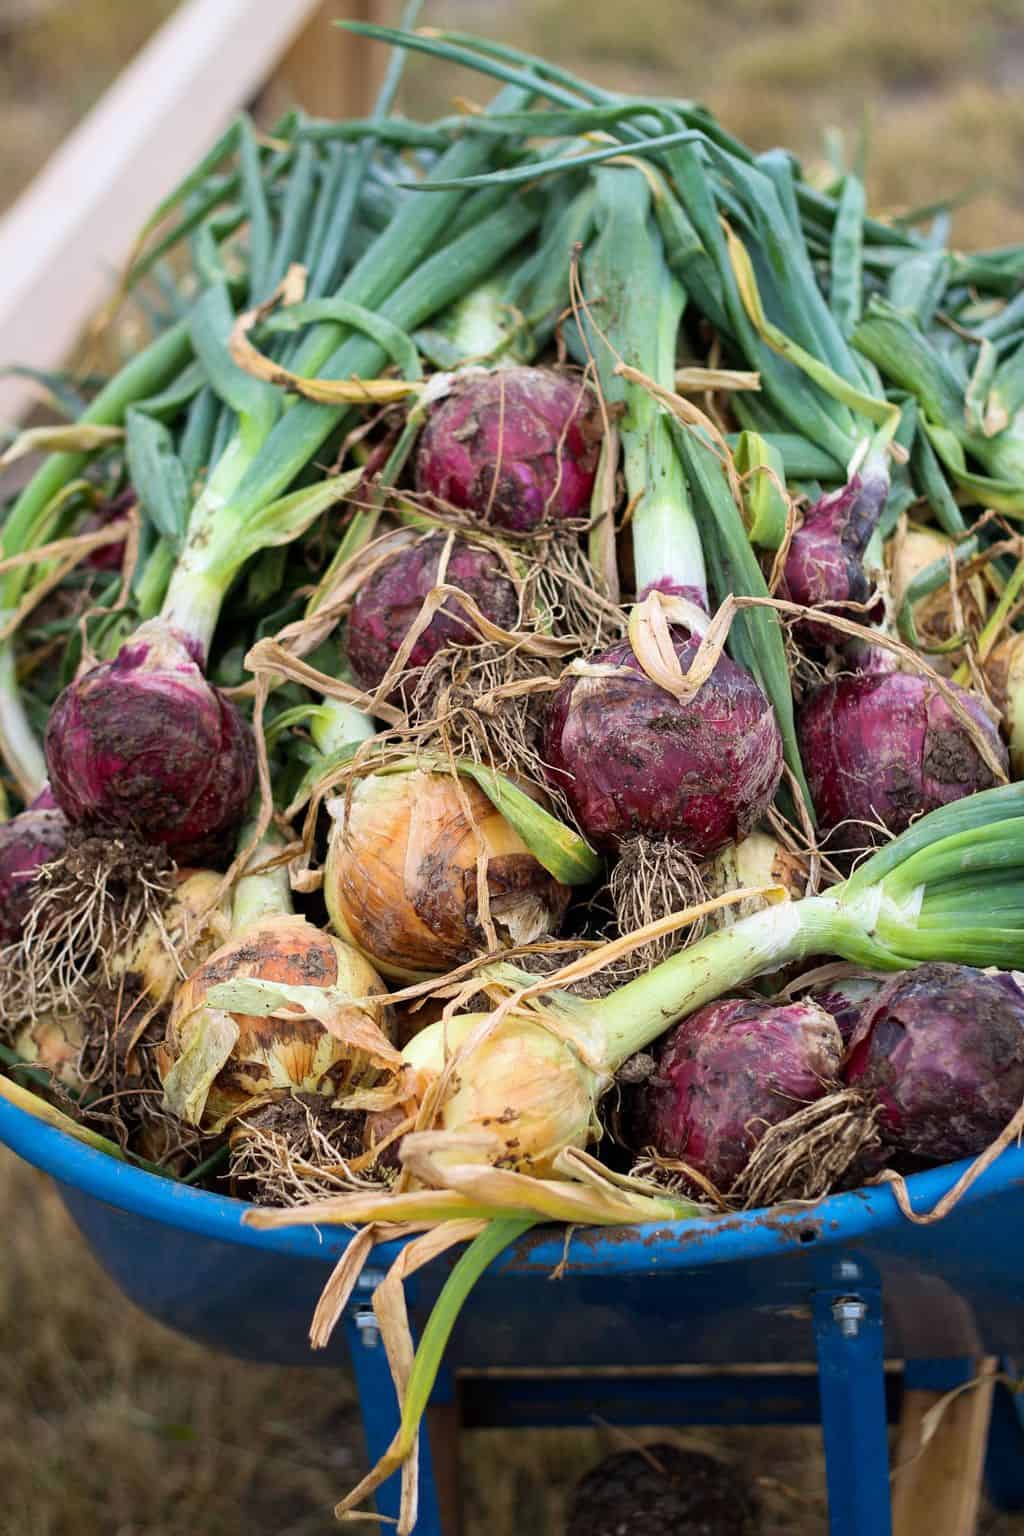
One thing to remember when storing vegetables like onions or especially potatoes they need to have some air circulation. You don’t want to take your potatoes stick them in a rubber-made plastic box with the lid clamped down and leave it. Some of your vegetables will rot and mold quickly without the proper air exchange.

What I do for storing my potatoes is putting them in cardboard boxes, place a layer of newspaper between each row of potatoes and then completely close the cardboard box. The box then gets put in a part of our basement that is super dark. One issue with things like potatoes is that if they get exposed to light, they begin to sprout and honestly, I still have sprouting potatoes even when I try to keep it as dark as possible. I don’t think our basement is quite as cold as I would like it to be but even though it’s moderately cool it still works.

This is also a good place to hang onion braids, you don’t have to braid your onions but it’s kind of a fun thing and it allows air circulation. If you would like to braid your onions to hang for storage, I would love to help you learn How to Braid Your Onions

how to store vegetables without a root cellar

Creating A Root Cellar Environment for Carrot Storage:

Due to the many carrot disasters I have had in the past when I have tried to store carrots, I don’t feel qualified to give advice on carrot storage in this capacity. There are a lot of people on the Internet that say you can store your carrots in sawdust or boxes of sand, and you sprinkle them with some water, and they’ll be good.

I attempted storing carrots in the box with sand method and it was a horrible failure. It was so gross that Christian was completely traumatized and will no longer allow me to try to store carrots in any kind of box.

This method is also very heavy; you will need a dolly to move the boxes around. My carrots turned out disgusting: they were rotted carrot mush, thought it is possible that I did something wrong. I cannot personally recommend the carrots in the sand method because it did not work for me.

So I currently simply store my carrots in the fridge, which is one way of storing vegetables without a Root Cellar.

Store Vegetables Without a Root Cellar

If your storage is a little bit warmer, not quite as humid, or simply less than perfect, there are still things you can do to make it work. Your situation might not work for very long storage or work as well, but any kind of storage is better than just letting everything rot. I’ve never had a root cellar, so I have always just kind of had to make it work as best that I can, and you can do that too.

3 Ways to Store Your Vegetables Without a Root Cellar

Your root crops can be from your home garden, bought at the farmers market, or extra produce that a friend gave you. No matter where they are from, here are three ways you can store them even if you don’t have an actual root cellar.

Tip #1: Leave Your Crops Planted in the Garden (Depending on Your Climate)

This first option may work if you don’t live in a place like Wyoming. If you live in a more normal climate, then you can leave certain crops in the garden until you actually need them. Carrots and parsnips are great candidates for this type of storage.

As some root vegetables mature, their tops stick up out of the ground, and if you are leaving them in the garden, then you will want to make sure that they are completely covered. If any part of the skin is exposed and it freezes, then it’s not going to be good anymore. You will want to cover your vegetables with a HEAVY layer of mulch (approx. 18 inches thick is a good idea if you can make that work) in this situation.

You can cover your vegetables using straw, grass clippings, or, some people cover their rows with a tarp. If we were to use a tarp, we would have to anchor it down with concrete blocks because of the wind we get in the winter. If you don’t have as much wind or you do not get as much snow as Wyoming does, you can scrape away the straw mulch or move your tarp to harvest as needed.

I do use this method to a certain extent: I will leave my carrots in the ground until October or November but beyond that, it doesn’t work for me. The ground here freezes solid and then it’s impossible to get the carrots out. Another problem that happens is snowdrifts end up right on top of the carrot bed and then I would be left digging through 3-foot snow drifts to get to the carrots.

This may not work for me and my climate, but folks in a little bit more temperate climate have been storing root crops like this with great results. If this first storage trick is something that interests you, do a little research, talk to other gardeners in your area (or your local extension office), and find some information that will let you know if this is something that will work for your harvest.
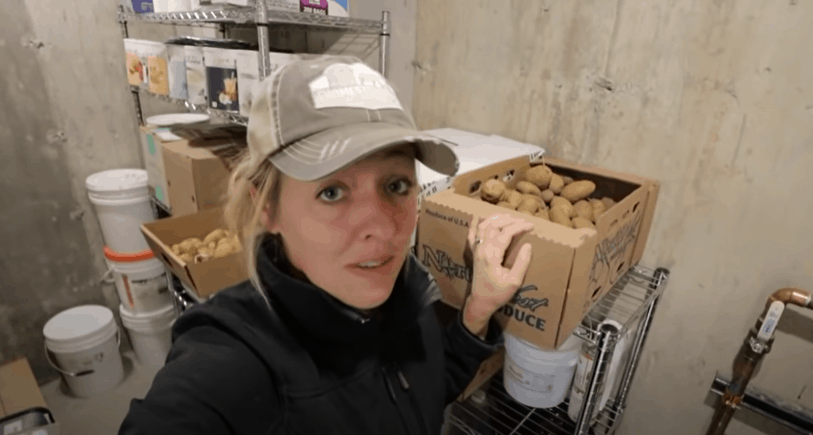
Storing Food without a Root Cellar
We store food in our basement because we do not have a root cellar. It works pretty well!

Tip #2 Use an Unheated Room to Store Your Vegetables

The second tip is to use an unheated room in your house, garage, or another building. When I talk to other homesteaders, this is the one option that everyone uses the most. This method of storage is one that I have done for many years, we have a basement that is not completely unheated but cooler than the rest of the house. There is an old unfinished part of our basement where I have stored my potatoes, carrots, and onions in the past.

If you have an old farmhouse-type house with a room that is not very well heated and super drafty, this might be a great room to store crops. I have also heard of people using an attic or crawl space to store their food (although one thing about the crawl space that would be worrisome is rodents and pests).

An alternative to a basement might be a garage or outbuilding that is unheated but also is not going to freeze. If you’re going to use a building like this, perhaps you can use extra insulation around your storage container to make sure that it’s protected. It really is about being creative and finding ways to make your situation work.

In your unheated room, if you can afford it, you can also build an actual cold storage room; there are some pretty cool tutorials out there where people will frame off a corner of their unheated basements and make it into an actual root cellar. 

We looked at this idea quite a bit and the reason we didn’t use this method is that we could not see a way to add a vent to our basement. Having a vent to the outside that provides air circulation is a really important part of a root cellar.

As a vegetable ripens, it gives off ethylene gas, and ethylene gas causes the other vegetables around to spoil more quickly. This gas is one of the reasons why you will see vents in an old root cellar. If we could have figured out a way to vent our basement and build a cold room, I absolutely would have done this.

This idea of adding a root cellar or cold storage room is just another option to consider; first I would recommend doing a search on building a cold storage room. If this is something that you feel is a possibility, I would consider it because it would be really cool to build from what you already have. 

Tip #3 Store Root Vegetables in an Old Refrigerator

You may not have room in your regular house fridge, but it might be a wise investment to find an old fridge on Craigslist or Facebook. This fridge doesn’t have to be pretty; you can keep it in your garage, shop, or the backroom of your house.

As long as it’s not getting too cold and/or freezing the vegetables, it will be a great place to store some of your vegetables like carrots and beets. You can also put a little pan of water in there to help with the humidity. If it works well enough, you can even put your cabbage in there and your cabbage will store quite a while if you’re not wanting to make sauerkraut. An old fridge is a great option for root crop storage, and a bonus is that you can store your ferments in there as well.

If we ever build a root cellar, my goal is to be able to put my potatoes, carrots, and onions down there in baskets. There will also be shelves to store jars of sauerkraut and other fermented foods. Since I don’t have that yet, what I’ve always done with sauerkraut in the past is just store it in our shop refrigerator and it works well.
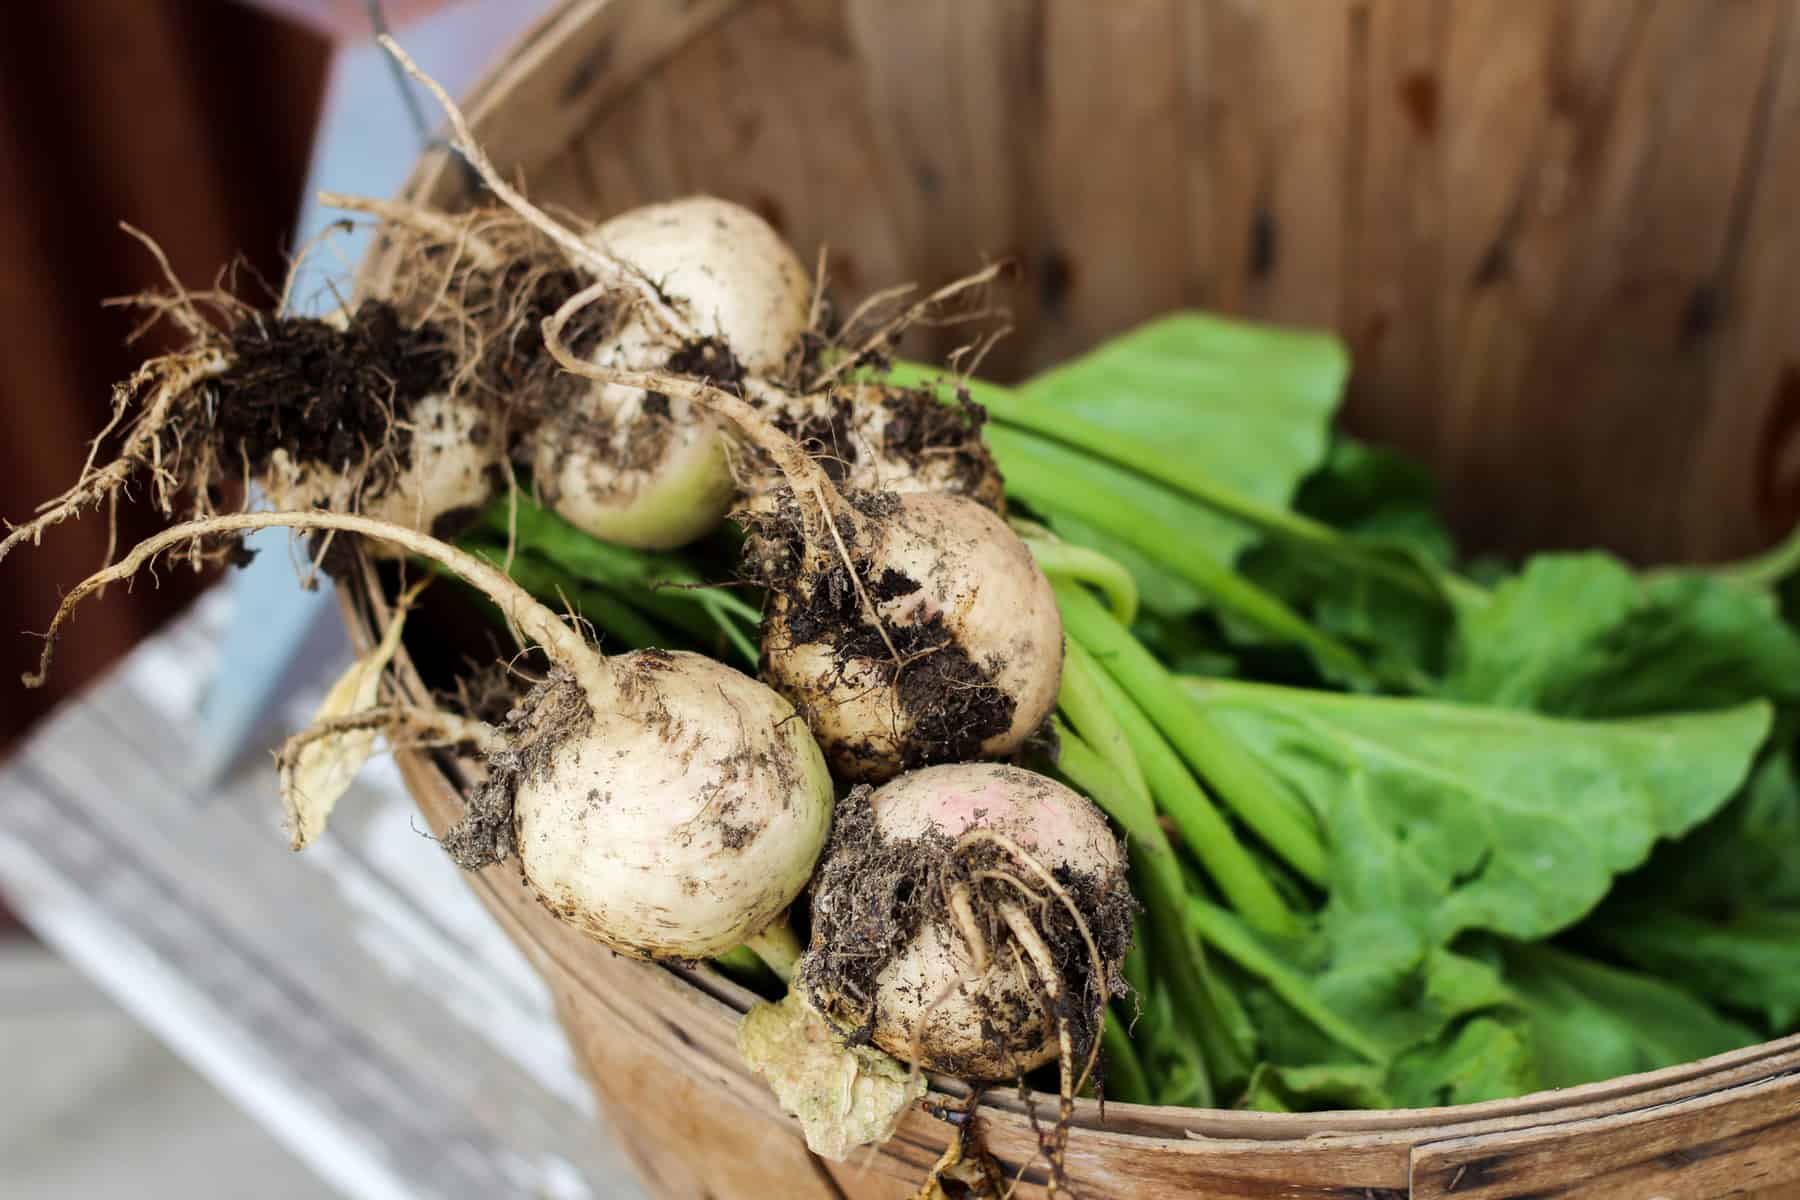
quick growing vegetables for your garden

Get Creative with Your Root Cellar Storage

More ideas are coming out, such as burying things in the ground, like burying a trash can, or an old chest freezer in the ground and storing food inside. We have not tried this because I think it would have to be buried fairly deep to not freeze here in Wyoming.

In a milder climate, this could work, though I would look at a couple of different tutorials or instructions before starting to dig and bury trash cans in your backyard. I have seen ideas where people stack hay bales around a hole then put a window on top. This creates a greenhouse effect on the top and you would just need to make sure it didn’t freeze.

If you are looking for ideas there are a lot of creative ways people have been storing vegetables without a root cellar out there, you can learn more about them by reading 13 Root Cellar Alternatives. When deciding on a method, just make sure you’re following one that has good reviews and looks like it will work. It will still take some research on your part to figure out which type of cold storage you can do in your yard and climate.
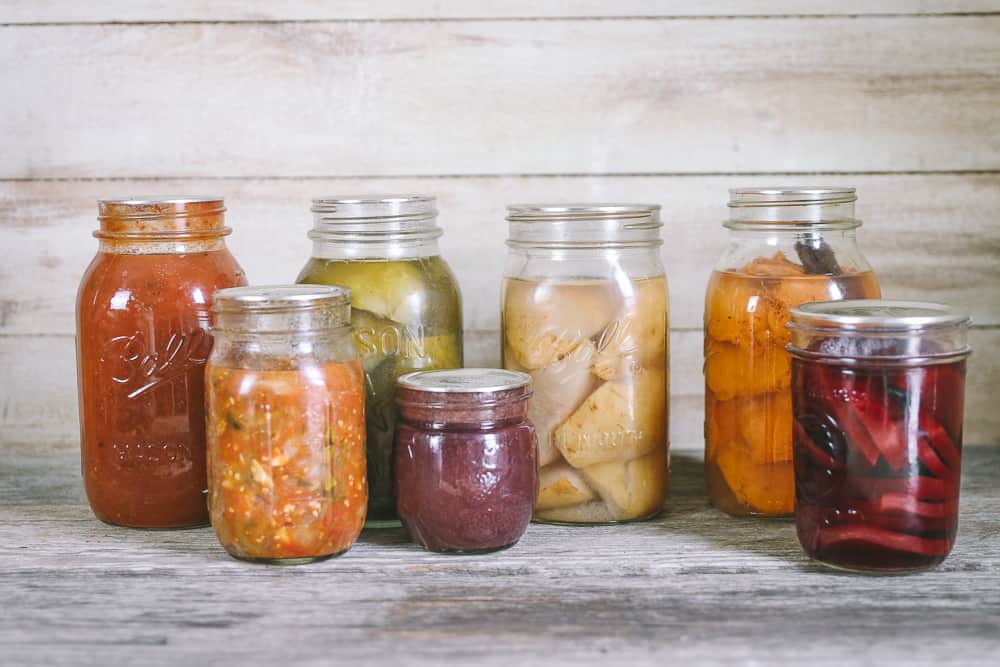
Looking For Different Food Storage Options?

I hope this post helped you get your creative juices moving. If you aren’t sure if any of these cold food storage ideas will work for you, I suggest that you start thinking outside the box, because there are many ways to squirrel away that food for later besides cold storage.

If you would like to check out some other ideas for food storage, check out my article with My Favorite Ways to Preserve Food at Home. You can also check out my Canning Made Easy System if you would like to truly create shelf-stable food; that doesn’t require any sort of special root cellar or refrigerator.

More Vegetable Storage Tips:

Top Tips For Storing Vegetables Without a Root Cellar

The post Top Tips For Storing Vegetables Without a Root Cellar appeared first on The Prairie Homestead.

Via Gardening http://www.rssmix.com/
Tuesday, August 31, 2021

How to Manage Your Garden Harvest (Without Losing Your Mind)

How to Manage Your Garden Harvest | Harvest Time

You’re going along in your garden weeding, watering and mulching, and then BAM! It happens… harvest time is here, and it tends to come in like a whirlwind of chaos, especially if you’re not ready.

I’ve been gardening for over 10 years now, and I STILL deal with some “harvest overwhelm” every late summer and early fall. So I thought I would put together some thoughts on how to get organized and prepared for harvest season, not only to prepare you but also to help encourage myself.

Read on to learn about the strategies you can use to make sure harvest time doesn’t drown you in vegetables, especially in these recent years when canning lids are scarce. There are plenty of other great ways to preserve the harvest, so I’ll cover that as well. 

Prefer to listen to a podcast instead of reading articles? Check out this harvest info in my podcast episode below:

Planning for Harvest Time

Harvest time tends to be the piece of gardening that no one talks about, which I think is a bit silly. As gardeners, we obviously know that it is coming (I mean this is why we are growing a garden, right)? We are not just sowing seeds for the simple pleasure that comes from planting seeds; we are planting them to get a harvest.

Harvest time is formidable, if you have a garden of any size, and it will sometimes catch you off-guard. You kind of forget the vegetables are coming. I know it sounds silly, but it at least happens to me over and over again.

Has this ever been something you’ve dealt with?

During harvest time, I am thinking about back-to-school, fair, and 4-H, and then suddenly there are 80 million pounds of tomatoes on the counter that I have to do something with.

Tip #1: Get Organized

My first recommendation for harvest time is to mark it on your calendar or planner. Make a note on the month your harvest usually starts; write something like “hey don’t forget you’re going to have 80 million pounds of tomatoes to deal with.” Remember that you will have to address the situation in the middle of back to school and everything else.

Harvest seasons can vary, and mine (here in Wyoming) is pushed out a little further than others, but for a lot of folks, August is the month that preservation and harvesting begins to get a bit crazy.

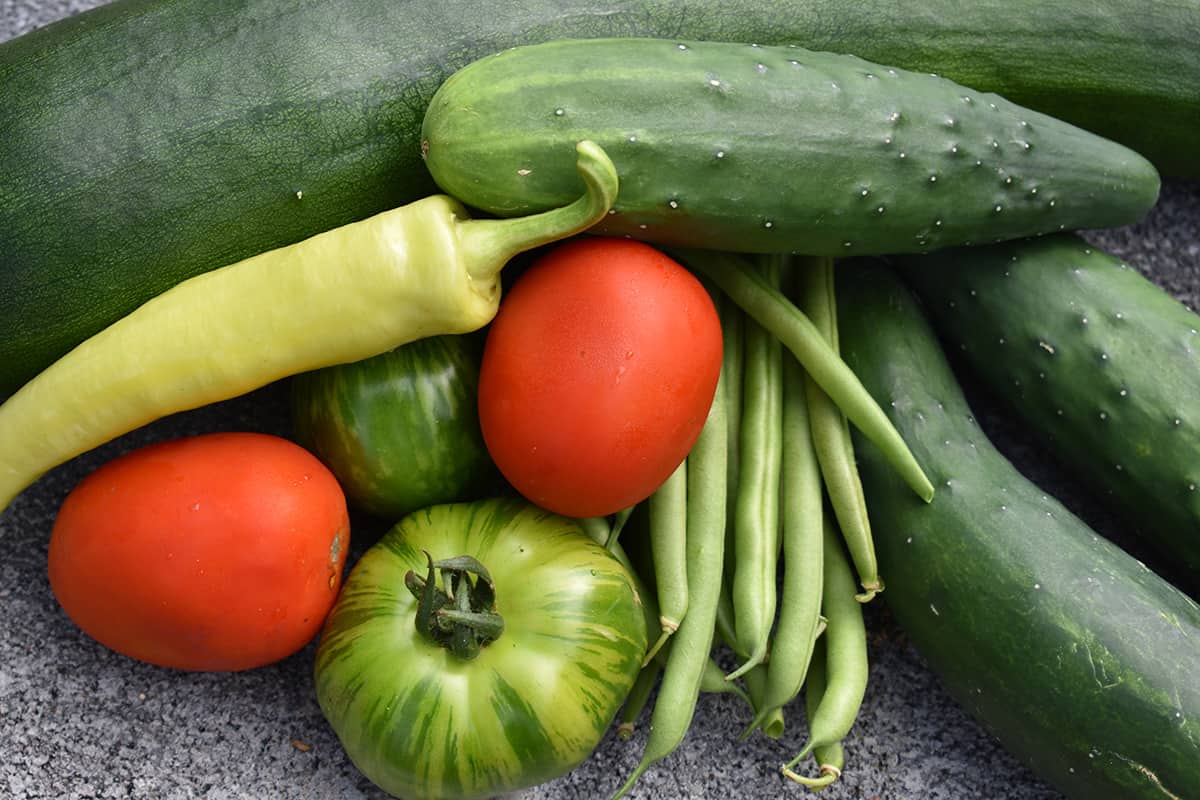
I will still sometimes be canning tomatoes in October, not because they’re out in the garden but because I pulled green tomatoes from the garden (I usually have to ripen green tomatoes indoors before canning them). They are ripening in boxes in my house until October. From August to October, I have to start thinking about what to do with all of the vegetables, including the Cucumbers, greens, squash, and tomatoes. 

Tip #2: Plan Your Harvests Around Your Schedule (as best as possible)

The second thing I would recommend is to be careful if you plan to go on vacation during harvest. I wouldn’t cancel, but take into consideration that it could really squish some of your harvest efforts. For example, I had a reoccurring trip every September for many years and, without fail, there would be a crop in the garden that had to be dealt with the day I was leaving for the trip.

Trips and vacations during harvest time are doable but you have to make sure you have your vegetables preserved before you get in the car or on the airplane. There have been many times where I am up the night before I leave for a trip and I’m frantically canning, freezing, or dehydrating something so it doesn’t get rotten.

This is the nature of homesteading, so it’s not necessarily a bad thing, but it is something to be aware of.  And if it is at all possible, when it’s planting season in the spring, try to schedule the harvest times around your planned August/September/etc. vacations and/or plans. Many seed companies (like my fave True Leaf Market) often include info on the seed packets about the “days to maturity”, so you can look at your calendar and try to schedule when to plant your veggies so that the time they are ready to harvest doesn’t mess with your vacation plans too badly.

Of course, the planting dates will also need to be figured out in balance with your garden zone info (read about garden zones and other beginner gardening tips here). Here in Wyoming, our growing season is super short, so I can’t play around with the planting dates as much as some of the more milder garden zones can.

Preserving any amount of food for later is going to take some effort, and you can really enjoy the process if you plan ahead. And even as you try to balance the chaos of harvest season and do as much preplanning as possible, try to remember that this really is a good thing. This is where the magic is happening: you are stocking the pantries and tucking food away for later, and this is going to take some effort.

Planning for Your Garden Harvest

What to Watch Out For During Harvest Time

I would like to start by saying “watch the sneaky vegetables!”

You will be out in the garden watering and weeding, then somehow you wake up to find there are a hundred baseball bat cucumbers hiding under the leaves. You thought they hadn’t started growing yet and sure enough there they are.

They have been growing on stealth mode, now you’re stuck with a hundred giant cucumbers, they are no good for pickles and your kids are tired of eating them with ranch dressing. You are now left trying to figure out what to do with them… seriously, this has happened to me countless times. Fortunately, I have a great Dill Pickle Relish Recipe that I use when the cucumbers have snuck up on me. 

Cucumbers are the worst sneaky vegetables; although green beans will do it to you, too. To avoid this, look at the back of your seed packet because it will tell you how many days till harvest. Count out the number of days, add a note in your planner that says when the Cucumbers and beans may be ready and when to start checking them.

Other plants to watch are your greens, arugula, and spinach; chard isn’t so bad but lettuce matures really fast and it’ll probably be one of the first things you get to eat. If you miss the window, then it’s all over; once they start to go to seed, the taste gets bitter. 

TIP: Keep in mind that most vegetables have the best taste and texture when they’re on the younger side. So put a note in your planner to start looking for harvestable veggies a tiny bit earlier than the seed package suggests.

When you let the zucchini get giant, or the cucumbers turn into baseball bats or when you let the beets get volleyball size, they’re not going to be as good to eat. Plan on getting some of those plants out of the ground sooner versus later.

And if you DO end up with those large overgrown vegetables, one option you could do is start saving seeds. If you are a brand-new gardener, this may be a little bit of a stretch your very first year (not that you couldn’t seed save, but it’s just one more thing for you to think about).

If you are going to save seeds, please realize that the plants need to be completely mature before you’re able to harvest the seeds. For example, kale and lettuces will have to completely bolt and start giving you seed heads, and that means that the entire plant won’t be good to harvest for edible leaves. So you will need to try and balance what vegetable plants to use for seed saving and what ones you keep and harvest while they are young.

How to Manage Your Garden Harvest

Strategies to Manage Your Garden Harvest Now

When my kitchen counters are overflowing with garden bounty, this can honestly be pretty stressful for me. I don’t like clutter and chaos. I don’t like it in my garden and I don’t like it in my kitchen. So I try really hard to have some strategies on hand to use my harvest ASAP so that my kitchen counters stay relatively clear.

Strategy #1: Use Your Harvest to Plan Your Menus

I know there are always some vegetables you are probably planning to simply preserve, but some others are harder to preserve and should probably be eaten fresh. One of the things I like to do is craft my menus around the garden. I will go pick whatever is out in the garden, like beets, summer squash, and beans and bring them in the house, and then I simply google ways to use them in the menu for the week.

Create a menu based on what’s in the garden, rather than crafting your menu first and considering the produce later. This is one way that will help you use what you can’t preserve from your garden.

Strategy #2: Quick Pickle Your Small Harvests

Quick pickling is another strategy I like to use if I want to preserve something but I don’t have enough to make a big batch in the canner. I have a technique that basically is a refrigerator pickle or veggie, and you can just do a jar at a time in your fridge.

No heating the kitchen up is required, and it lets you preserve some of the stuff that is coming from the garden handfuls at a time. Use my quick pickle method to get those vegetables off your counter and you can use these as you go. I love to use the quick pickle technique for the small harvests like carrots and beans.

Managing Your Garden Harvest Time with Preservation

Recently, there has been a canning lid shortage and I have had a lot of concerned comments and emails coming through from people claiming that they aren’t sure if they should even plant a garden since canning equipment has been scarce. Before you panic, start by checking out my post on How to Can without Special Equipment, so that you can rest assured that canning is still probably possible for you, even in these crazy times where canning equipment is harder to find.

Canning Supply Concerns:

Jars

First, if you are set on canning and you need supplies, I have had the best luck looking at local stores for jars. Buying jars online has been iffy for me, which is actually just fine, because I would rather buy local anyway. These smaller stores don’t have a huge supply, but I have seen several of these stores with a few flats of canning jars available.

For good online sources, while you might have to keep checking their websites for availability, both Lehman’s and a Mason Jars website often have a good selection of jars, lids, and other canning equipment available.

Another great place to look for jars is garage sale groups, like craigslist or Facebook marketplace. I once traded beef for about 200 mason jars. It was awesome, and I’m pretty much set on jars now for a very long time. 

Lids

Lids are going to be a little trickier than finding jars. I have seen a couple of places online (like Amazon) where they have lids, but they make me a little nervous. If you read the descriptions, it looks like they’re coming from overseas somewhere, and I don’t know the quality of those lids. I’ve also seen some with bad reviews saying that they are knock-offs and that they don’t work, so buyer beware. 

I know some other homesteaders who have had some luck with getting lids from Uline.com. They are a generic brand (aka not Ball brand), but they seem to have decent reviews so far.

Reusable Lids

Reusable canning lids are another option, and it’s nice because you don’t have to use one-time only metal lids anymore. Reusable lids are plastic lids with a rubber gasket.

I have tried these many years ago and out of desperation, I decided that I was going to try them again. Harvest Guard makes the reusable lids that I have been using and I have been happy with them. I recorded a youtube video here to show you the learning process of using them for the first time.

Reusable lids are great because there is less waste and you just keep reusing them as you go.

Managing Your Garden Harvest | Harvest Time

How to Preserve Your Harvest Without Canning

If the worst-case scenario has happened and you have zero jars and zero lids, the good news is there are a number of ways you can preserve your harvest and have it still be good beyond canning. You have options, and I am going to share a few of those with their pros and cons below.

Option #1: Freezing

Freezing I think gives a superior texture to certain vegetables. For example, I like frozen green beans better than canned green beans. Other than beans, though, I personally do not freeze a ton of produce because I would rather use our freezer space for meat.

Pros of Using the Freezing Preserving Method:

  • Using a freezer is easy. No special equipment needed, just your vegetables and what you use to store your frozen food (freezer bags, etc.).
  • You don’t have to heat up your kitchen. There is no hours of using the stove like when canning, though you may need to blanch some vegetables.
  • The texture of your vegetables is usually better.

Cons of Using the Freezing Method:

  • You will see a decent amount of nutrient-loss long term. Frozen Foods need to be eaten within about 6 months up to a year to avoid major nutrient loss.
  • You may need to blanch certain vegetables. I hate blanching. I don’t know why, because I will can all day long but blanching irritates me. Blanching is a step where you dunk the vegetables in hot water for a couple minutes and then you immediately remove them and dump them in cold water. It can slow down nutrient loss and it keeps the colors of the food a little bit brighter. It is not a safety thing, so you can skip it without putting yourself in danger, but it does help with the texture of the food.
  • You need electricity for this preservation method and if there is a power outage, your frozen harvest is put in jeopardy.

My Favorite Freezer Foods:

Option #2: Dehydration

I personally have an Excalibur food dehydrator now, but for many years, I had the Harvest dehydrator. They both work well at dehydrating foods.

Pros of Using the Dehydration Method:

  • The dehydrated food is very lightweight.
  • They do not take up a lot of space.
  • The dehydrated food is easy to store.
  • You do not need a fridge or freezer.
  • You don’t need power (after dehydrating the food), so a power outage won’t be a problem.
  • Bonus: Using a dehydrator is also a really good way to dry herbs.

Cons of Using the Dehydration Method:

  • Dehydrating, depending on the food, can have the most nutrient loss of all the preservation methods.
  • With dehydrated food, there are a lot of recipes out there for things where you dehydrate and reconstitute with water, and sometimes the texture isn’t great.
  • Dehydrated food after rehydration isn’t as good as fresh or other preserved foods.

There are certain things that I love in the dehydrator like jerky, pears, and apples. Tomatoes are another, I have a home sun-dried tomato recipe that I make that is great if you have just a few Tomatoes at a time. 

Option #3: Fermentation

Fermentation is a little more like homesteading level 102 vs 101; it’s not hard but it’s definitely not the first thing people will go to for preservation. It’s fantastic though, because it’s one of the oldest forms of preserving food for later.

Using this method can be a little scary because there are weird bubbling noises and smells, so many people wonder if it is safe to eat. The truth is that due to the salt brine, it is one of the safest ways to preserve your food. You do not have the same concerns as botulism as you do canning.

Pros For Using the Fermentation:

  • The result is very safe to eat.
  • Fermentation is very good for nutritional purposes.
  • The natural bacteria created is very good for your gut.
  • It does not need special equipment; though you can get a fermenting crock like your great-grandma had, or you can get airlock lids. Technically, though, you can ferment just using a mason jar with a lid. I have fermented for years with extremely simple equipment.  You basically just need vegetables, salt, and a glass jar and that’s pretty much it. 

Cons of Fermentation:

  • It can be an acquired taste. Fermented foods are a little more polarizing: you either love the fermented food or you hate it. These foods do have a little bit of a tang to them, but my best advice is don’t give up after the very first taste. You will have to kind of teach our taste buds sometimes to learn to like these foods give yourself a little time.
  • Your fermented foods will need some sort of cold storage. You do put it on your counter for a couple of weeks but when it’s done it needs to be in a cool place like the refrigerator or a root cellar to maintain it. If you leave it in a warm place it will continue to ferment into oblivion. This isn’t a problem if you have just a few jars but 50 jars of sauerkraut are going to need a whole separate fridge to hold them just something to consider.

My Favorite Fermented Food Recipes:

Option #4: Root Cellar

The last option is using a good old-fashioned root cellar. I realize, though, that many of you probably do not have a root cellar. The old-time homesteaders and farmers stored tons of food using a cool place in the dirt. This will not work for tomatoes and cucumbers and beans, but it is great for potatoes, onions, garlic, squash, and cabbages.

If you don’t have an actual Root Cellar, then you can always find a cool or unheated portion of your house like a basement, crawl space, or garage. These spaces will need to be safe from mice, rats and will not freeze. You will need your root cellar-type storage to be cool, around 40 or 50 degrees Fahrenheit, but also not somewhere that freezes (cool storage food that gets frozen will probably start to spoil).

Awesome homesteading people have figured out how to dig holes in the ground and cover them with bales or straw and this can be a fantastic alternative on a smaller scale. I am not a pro on this alternative to root cellars, but this might be worth looking into if you are concerned about canning limitations.

I currently use my basement to store food (someday I hope to have a root cellar!). Here’s a video on how I store over 200 pounds of potatoes every year even though I don’t have a root cellar.

Managing Garden Harvest

Are You Ready to Manage Harvest Time?

Plan on harvest being a little bit of chaos, but if you have a strategy of how you’re going to handle it, it can be a bit more manageable. My best tip is to be sure to have it worked into your schedule and your planner. Realize that harvest time can be both stressful and exciting, and try to be easy on yourself as you try to find the balance as best you can during the fall season. We can do this, folks!

Still feeling overwhelmed? Check out my article on Homesteading When You Feel Overwhelmed for more tips and strategies!

More Preserving Tips:

How to Manage Your Garden Harvest

The post How to Manage Your Garden Harvest (Without Losing Your Mind) appeared first on The Prairie Homestead.

Via Gardening http://www.rssmix.com/
Friday, August 20, 2021

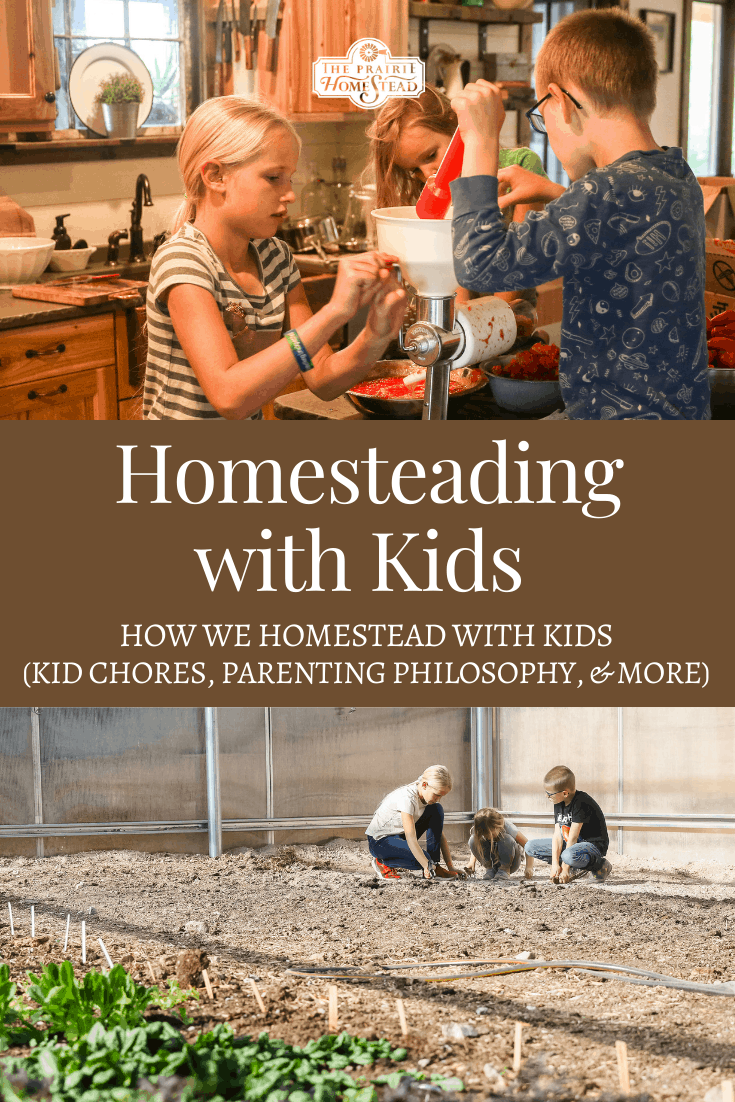
Homesteading With Kids: How We Do It

raising old-fashioned kids

“How do you homestead with kids?” This question seems to resurface every couple of months in my email and on social media. 

This particular question always leaves me scratching my head a little bit, because I am never exactly sure how to answer. I have spent some time recently thinking about our homesteading with kids, theories, and philosophies; (which may be slightly controversial) to try and give everyone an answer.  

For me and Christian, the children were a really big motivator for getting into the homesteading lifestyle back when we bought our property. I wasn’t even pregnant yet; we were just a year into marriage and kids felt kind of far off down the road. However, we knew even then that our land, property, and plans were something we wanted to be a part of the legacy that we would give to our children. 

A big piece of that way back in the beginning was that Christian and I were raised in town and we both always had this longing for the rural lifestyle. We wanted to give that to our kids, which goes back to the a familiar saying of something like “You often want to give your kids what you never had”. We just hoped that they would appreciate the homestead lifestyle in the process. 

From day one, we knew that we wanted our children to be a big part of what we were doing and that has really held true.

Do you prefer listening to podcasts? You can listen to this article in podcast-form below:

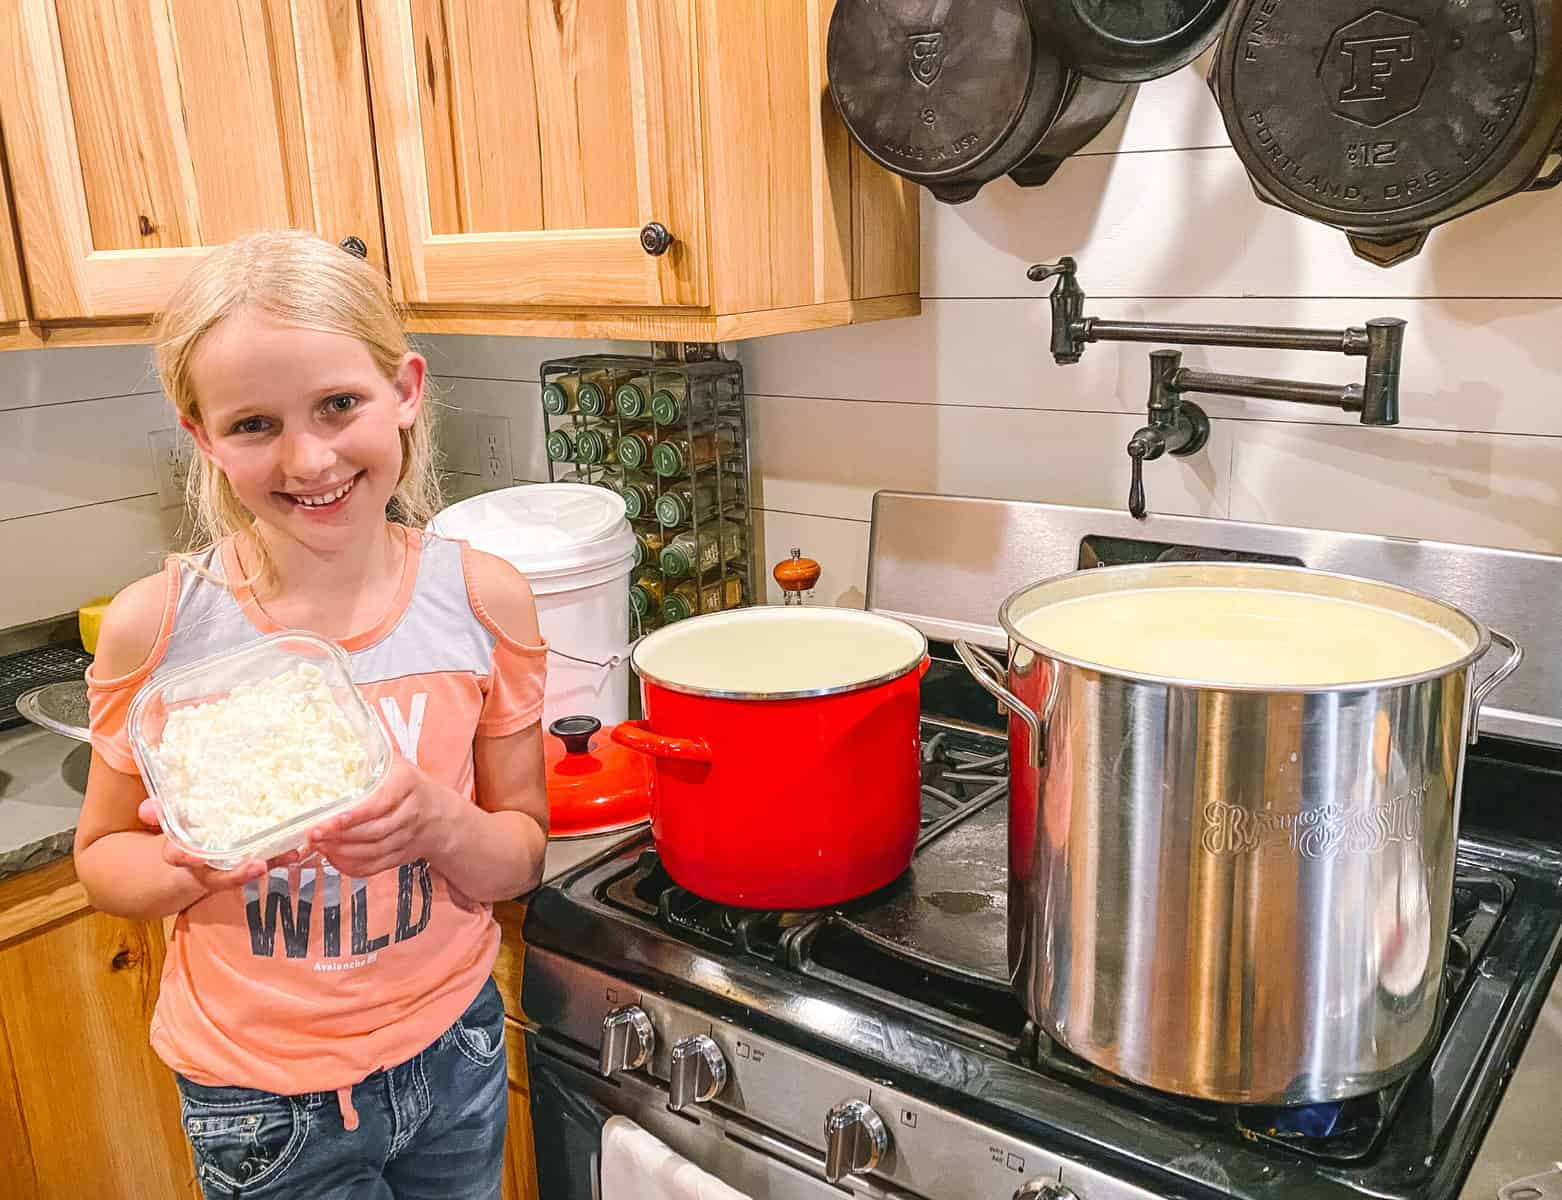
Homesteading With Kids Mesa Making Cheese
Our eldest as she proudly shows the cheese that she made from the milk of her very own goat.

Our Beginning Homesteading With Kids

Mesa, our firstborn, literally on the day we brought her home from the hospital, we took her out to the barn and introduced her to the animals. Looking back now, that probably doesn’t seem like a very first-time parent thing to do. But for whatever reason, we took her out to the barn, and then she was out there with us really from that point forward. 

We had dairy goats that were kidding when she was a newborn, and I had my horses that I was working, and she was just coming along for the ride. We put her either in her car seat, a stroller, or in a front pack, she took naps out in the barn, and I would nurse her wherever I could find a bucket to sit down on. That was her reality from newborn until now, and so when our second and third-born kids came along, they just rolled into that same routine.

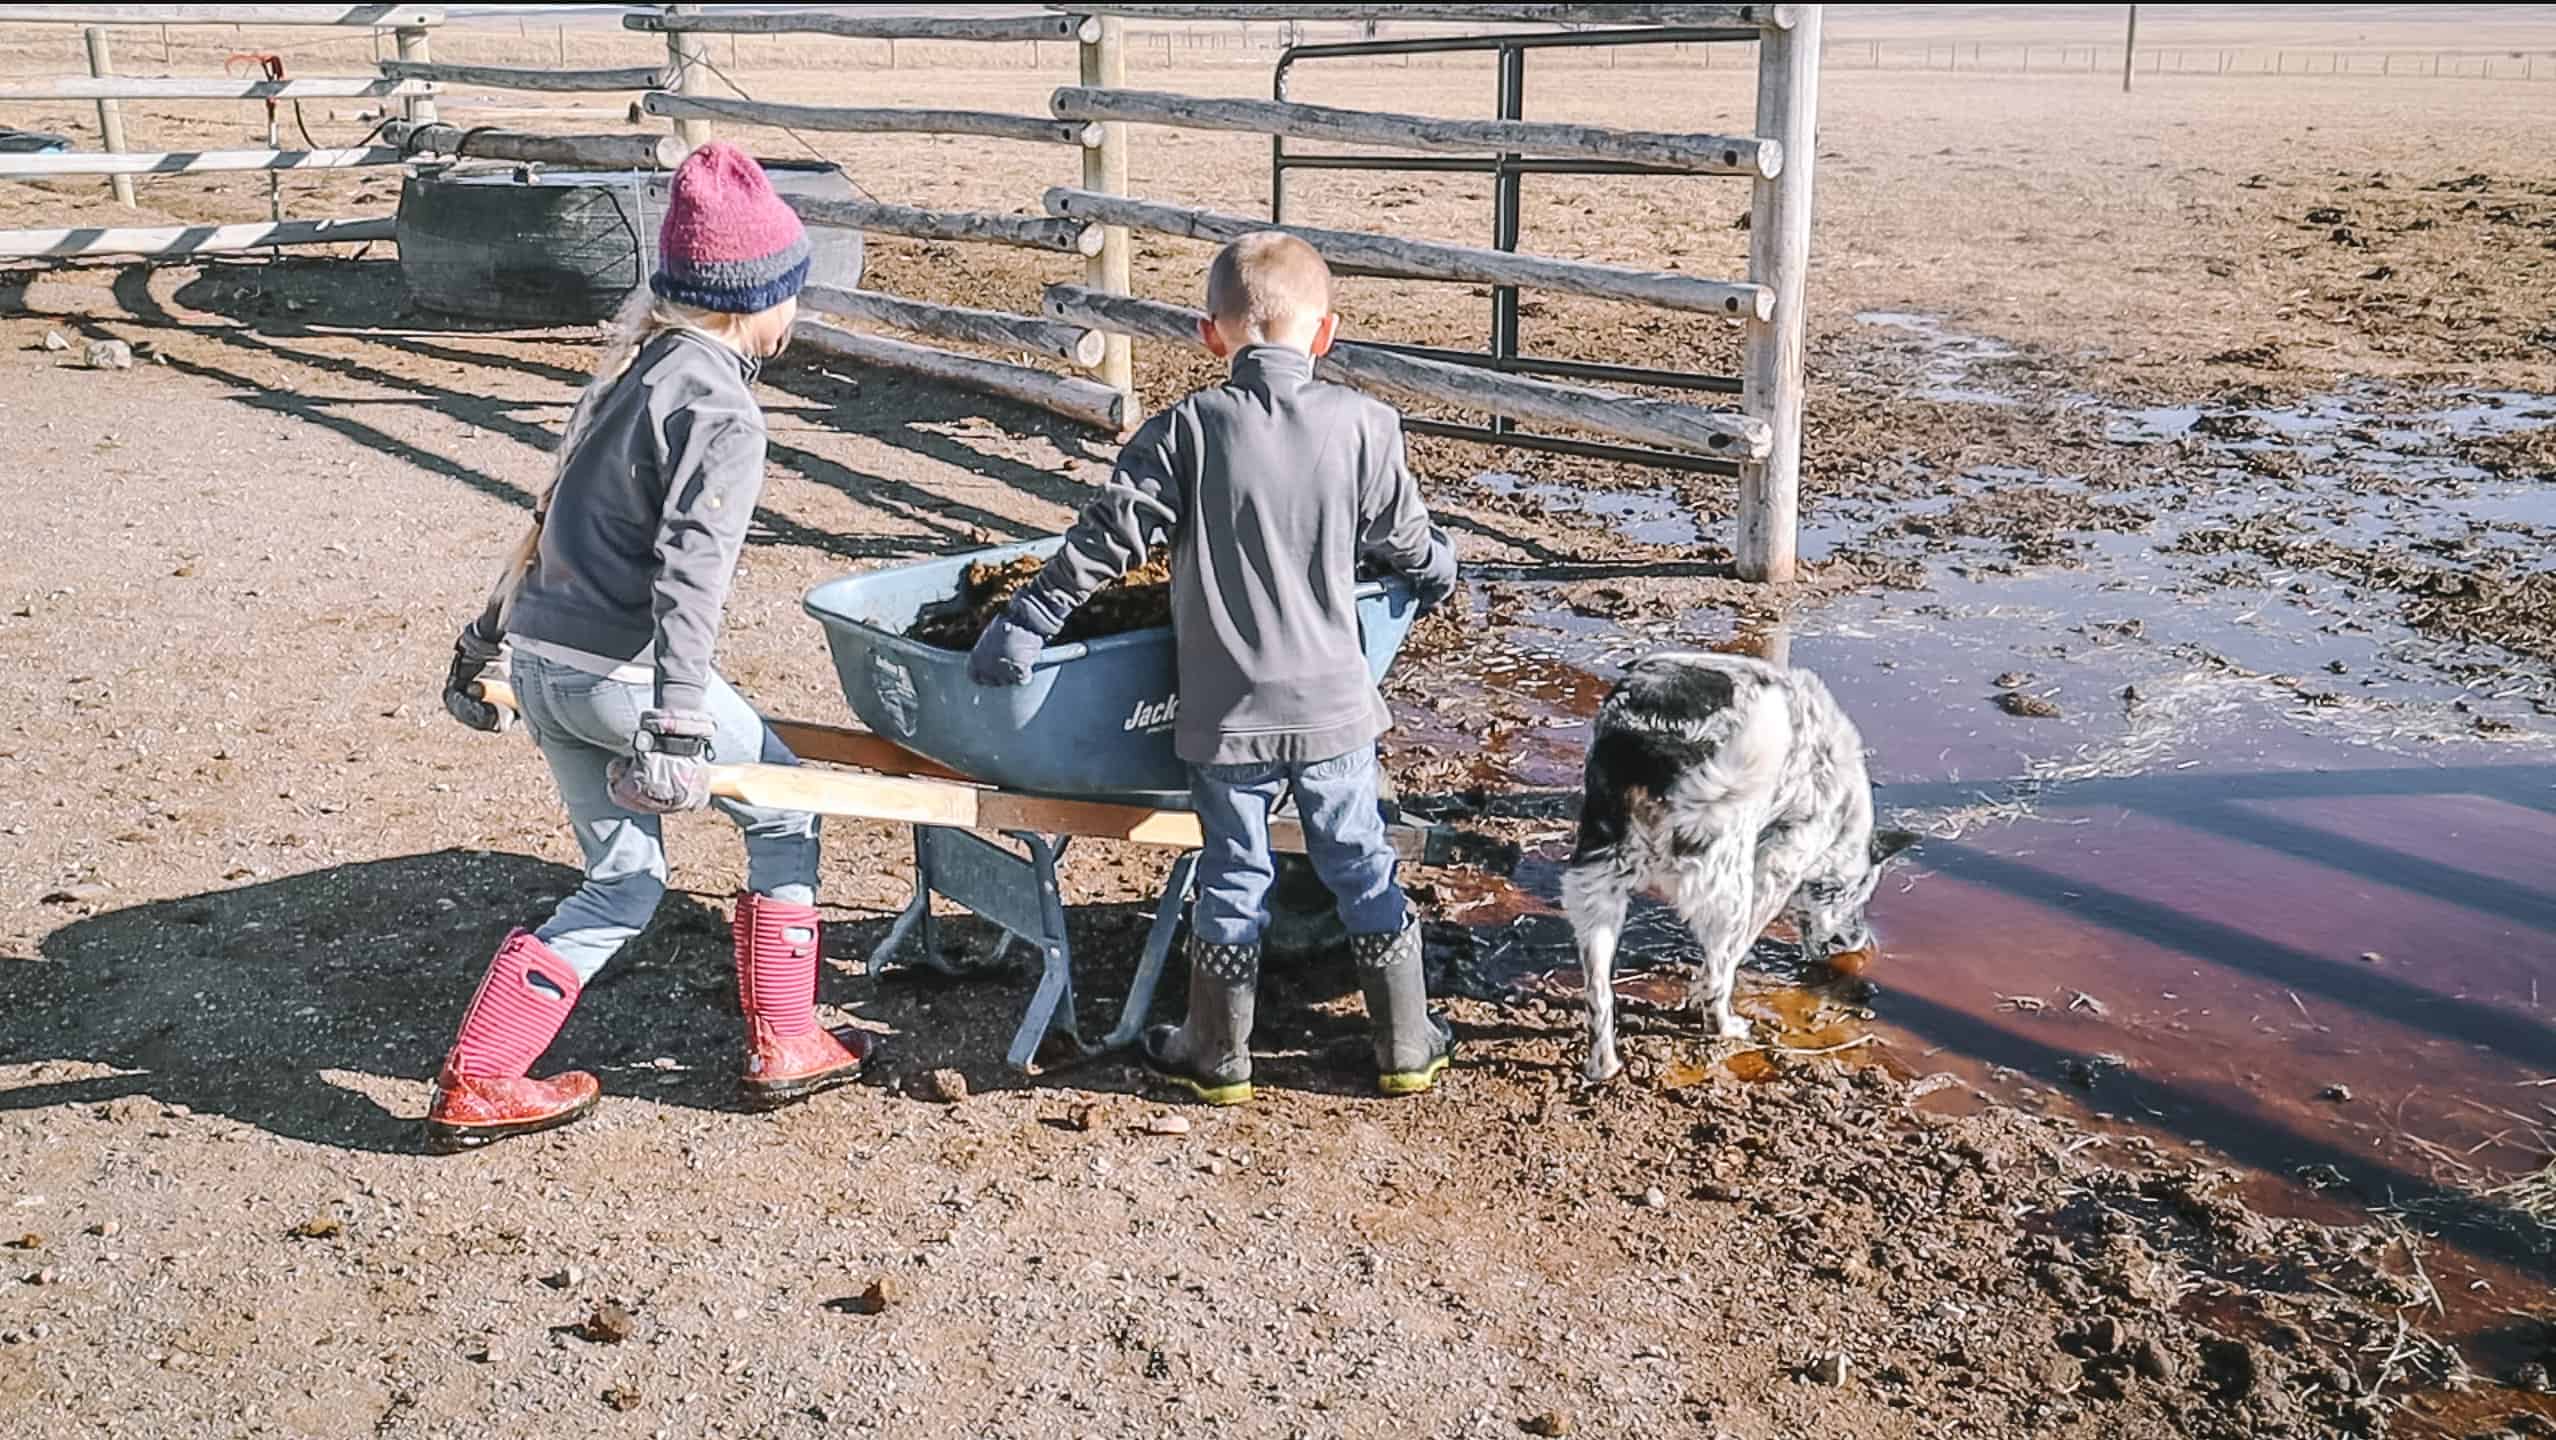
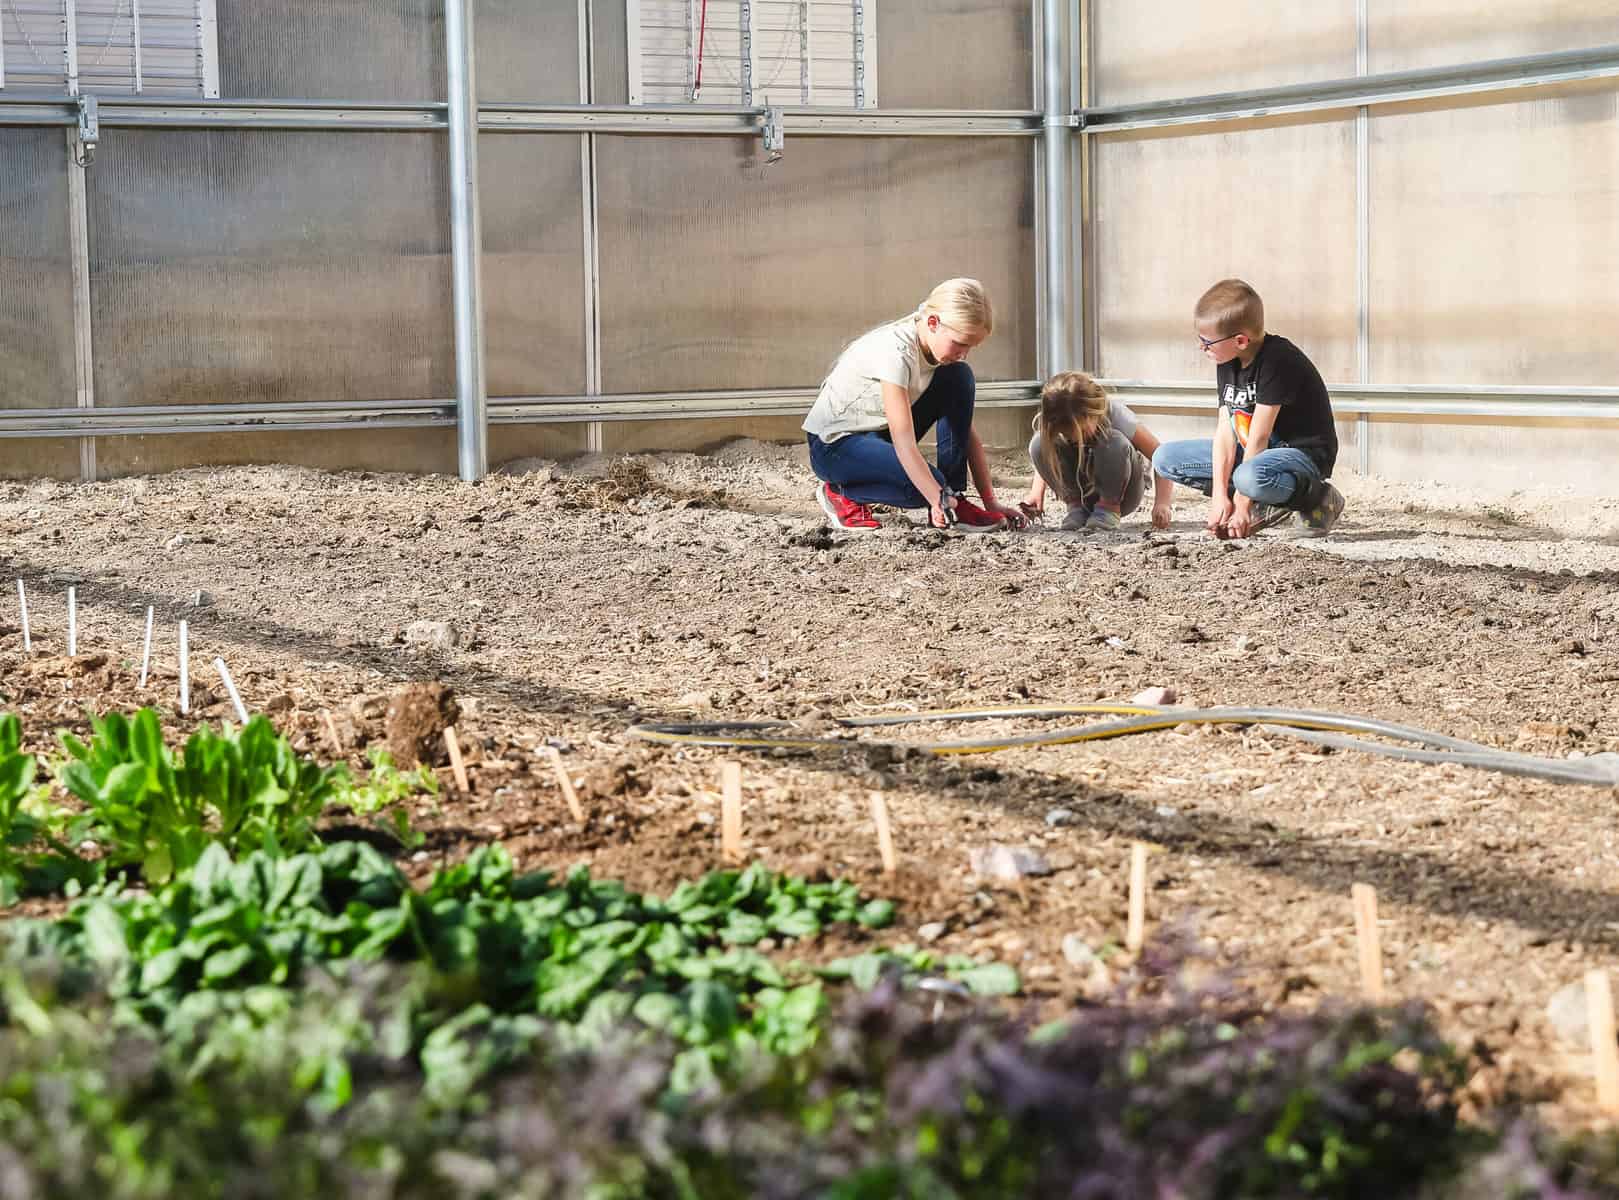
Raising our old-fashioned kids means that they have been very much exposed to animals, dirt, manure, soil, and vegetables since they could walk. Which of course means they have eaten a lot of dirt (and occasionally probably a little bit of poop), but my theory is it just makes their immune systems more robust. 

Homesteading with Kids Working in the Greenhouse

Note: Our Way Isn’t the Only Way to Homestead with Kids

At the end of the day, we don’t know anything different. We don’t know what it’s like to homestead without kids. 

Having your first child in the middle of homesteading or moving your children to a new homestead property can feel a little bit foreign. With either situation, I understand the concern of not knowing how it’s all going to work.

Christian and I have our parenting philosophy that has made running a homestead and several businesses possible, all while homesteading with kids. I will admit there is some chaos at times, but there is also a specific kind of mindset (more about that below). This mindset and the way we have approached homesteading with kids has made all the difference. 

Before breaking down mine and Christian’s parenting philosophy, I’ll be honest, I have been hesitant to dive into this topic because I haven’t wanted to offend anyone. As my children get older and I have been around different parenting styles, it has become more apparent that our philosophy is uniquely old–fashioned. 

I do understand that what I am about to explain could feel a bit offensive and strange. It is not my intent to cast judgment on anyone’s parenting style and I am not saying our way is the only way. I would like you to understand that this is something I feel strongly about and for us, this is what works. 

There are plenty of different ways to raise and homestead with kids, but this is our way. Watching our children grow and seeing how they’re progressing has made me extremely happy with the results that have come from this philosophy. 

Homesteading with Kids Sage and Cows

Homesteading With Kids: Our Way

Here we go…

The biggest thing that we have done that has enabled us to homestead, run businesses, and have children is that we have never taken the mentality that our life revolves around our children. In today’s parenting climate, I know that this sounds slightly shocking and possibly disturbing.

Our children are very important to us: they are a priority and we do make many choices where our children are the primary factor. For example, we chose to homeschool our children, which is a sacrifice both time-wise and convenience-wise.

However, as adults, Christian and I have always maintained the idea that we still have a mission and purpose on this earth beyond just our children.

I know a lot of times it’s easy for parents to become very centered around a child; and everything becomes all about the child’s dreams, goals, and activities. We make sure our children have the resources, time, and focus for their dreams, but Christian and I still have our own. This is something that I have noticed is somewhat rare in parents, and for some parents, it is easy for their world to revolve around the child.

As parents, we generally don’t do that: we are on our own path; we are on our journey. Our children are invited to come along with us while they’re in our home and while they are under our care. Watching our kids, I truly believe that they enjoy being a part of something bigger.

With small children, it is my theory that being the center of the universe can be a little bit disorienting. At first, it might seem like the kids are fighting for that, but when they get there, it doesn’t feel good. When an 8-year-old becomes the center of their adult’s world, I feel that it breeds a lot of negativity, poor attitude, and insecurity in the child.

A lot of times, when the parents have had so much focus on a child for so long, the parent feels like they can’t have their own hobby, dream, or goal. We do have times where our life revolves around a child’s activity like, for example, when we had our first 4-H Fair experience a year ago. It was intense and our whole family revolved around the fair for that week, but it’s not like that all the time.  

I want our children to know they are important in their value and that they are very much a priority in Christian and mine’s life. BUT they are expected to come along for the ride; we have things going on and we expect them to be a part of it. 

Homesteading With Kids Bridger and Chickens

Three Expectations to Have While Homesteading with Kids

1) Give Your Child Responsibilities or Farm Chores

When you first start this, you should plan that it will take more time to do the chores, especially if you have kids that are not super keen on the idea of chores, or if they are very young. You have to make sure they are not hurting themselves, feeding the animals the wrong food, or leaving the gate open while they do their jobs. 

Giving your children responsibilities or farm chores does two things:

  1.  It helps them feel like they’re a part of the bigger picture  
  2.  It also takes a load off of your responsibilities/time (sometimes a lot of a load off of you, especially as they get older). 

Our oldest is ten and she is extremely useful, even as useful as an adult in some aspects. She does chores every morning, she handles the care of our horses, she milks her goat, and she has started taking over feeding our sourdough starter. She even helps sometimes with making some of the meals  (like when she surprised me with breakfast on the table when we were having a bad morning start with the cows (watch the video here).

Our eight-year-old does all the chicken chores; sometimes there are days at a time where I don’t even go out to the chicken coop. He is getting the eggs, giving them water, and feeding them. Some days it’s not perfect and he forgets things, but we guide him through it.

Our children not only have ownership in this lifestyle, but it makes life easier for Christian and me to have our kids as helpful team members that are part of the game plan. 

2) Teach Them That Being Uncomfortable Is Okay

Expect your kids to be uncomfortable sometimes and help them understand that being uncomfortable is not a death sentence. Our kids get cold when they go do chores in the morning and then they get hot during the summer if we’re out in the garden. They also get tired when we’re out stacking wood as a family, but I expect my kids to be okay with being uncomfortable. 

None of us love being uncomfortable, otherwise it wouldn’t be called uncomfortable. As adults, I believe that how we react to being uncomfortable is an important trait. Some adults don’t know how to be uncomfortable, so I wanted my children from a very young age to know that it’s okay to be hot, cold, or sometimes tired. You will not die from being uncomfortable, and you will come out the other end and feel good about it. 

This is something we have talked a lot about since the time they were toddlers. Explain what you are doing, and say things like ‘we’re going to stack firewood and it’s going to take a little while’. Tell your kids that it is a lot of work but when it is done, we’re going to come in and have a fire, yummy soup, and cookies for dessert. Let your kids know that when you are done, it is going to feel good because you pushed through the hard thing.

This is the narrative we have constantly in our house: “it’s hard, but you get to the other side and it feels good” or “if you’re cold, then you appreciate the hot fire in the woodstove that much more.” 

I want them to be aware that you can be uncomfortable in your life. Of course, there is some whining that occurs, because they are still kids. There is “my hands are cold” or “I’m sweaty I don’t want to do this anymore,” but we work through those moments.

So far, I’ve been pretty darn proud watching them work through the uncomfortable moments and come out the other side (NOTE: before you get angry at me: there is a difference between ‘uncomfortable’ and dangerous. We aren’t forcing our kids in dangerous conditions, like super cold or hot temps where frostbite or overheating are actual concerns).

3) Expect Your Kids to Entertain Themselves  

Expect your kids to entertain themselves. This is also something I don’t see happening a lot in today’s parenting culture. I will be honest: I didn’t start this plan because I had some grand aspiration of being a mom of the year, I started it because I’m selfish. I don’t have the ability or interest to sit on the floor 24 hours a day and entertain my children, nor do I think that it is good for them. 

From the time my babies could sit up, l would put them on the floor in a safe place with pillows around them and toys to play with. Of course, they ate with me and they had cuddle time with me, so they felt like they were connected to me, and they know mom is there when they need me.

But I would also say “here is your time to play and explore on the floor. Mommy’s going to go over here, you will be fine, you can hear me, and you can see me from a distance.” I expected them to entertain themselves, and it honestly didn’t take a lot for them to learn how to do that. They had things in front of them that were interesting, and they wanted to explore. 

We have built on this way of thinking as they’ve grown and I now have a ten, eight, and five-year-old that can entertain themselves really well. They love it, we get done with our homeschool or whatever we’re working on in the mornings and they are like “see ya Mom, I’m off”. They are off with a plan, and they already know which toys they are going to play with and what activities they want to do outside. This is their time, and they entertain themselves and enjoy it. 

People ask “how do you cook, work on your businesses or work in your garden when you have kids in the house?”. Honestly, at this point in our life, homesteading with kids feels pretty easy because they do so much happily on their own. 

Of course, there are of always exceptions. Smaller kids can be more of a challenge, but there are some tricks to getting things done. One thing that I figured out when my children were small was a fly net and an old playpen.

It has been a while since I bought a fly net, but they were available for purchase online when my kids were small. It is a cover made to go over the top of playpens or strollers and was a godsent. I bought a couple of those, and I would stick the kids in the shady barn during the summer while I was riding my horse nearby or cleaning livestock pens. The net over the top of the playpen would prevent the flies from bothering them while they napped, and I got things done.

For the most part, my kids do their own thing and they love immersing themselves in whatever they are doing. There is also a time and place when the kids are with us stacking firewood, helping me in the garden, or doing their chores. 

We by no means make them work all day, there are times where I am like “go play.” Go be kids, take off your shoes and run around in the grass, eat some dirt, go do your thing. They are very happy and content doing that. I believe fostering the ability for your children to entertain themselves is absolutely crucial. 

These are three things that we expect of our children and we hold them to this standard; it is what makes our parenting philosophy work. Keep in mind, of course that they are still children, so sometimes this philosophy works great, and sometimes it doesn’t. On the days those things seem to not be working, I am reminded that it is ok to fail and teaching our kids to fail is just as important as our expectations.

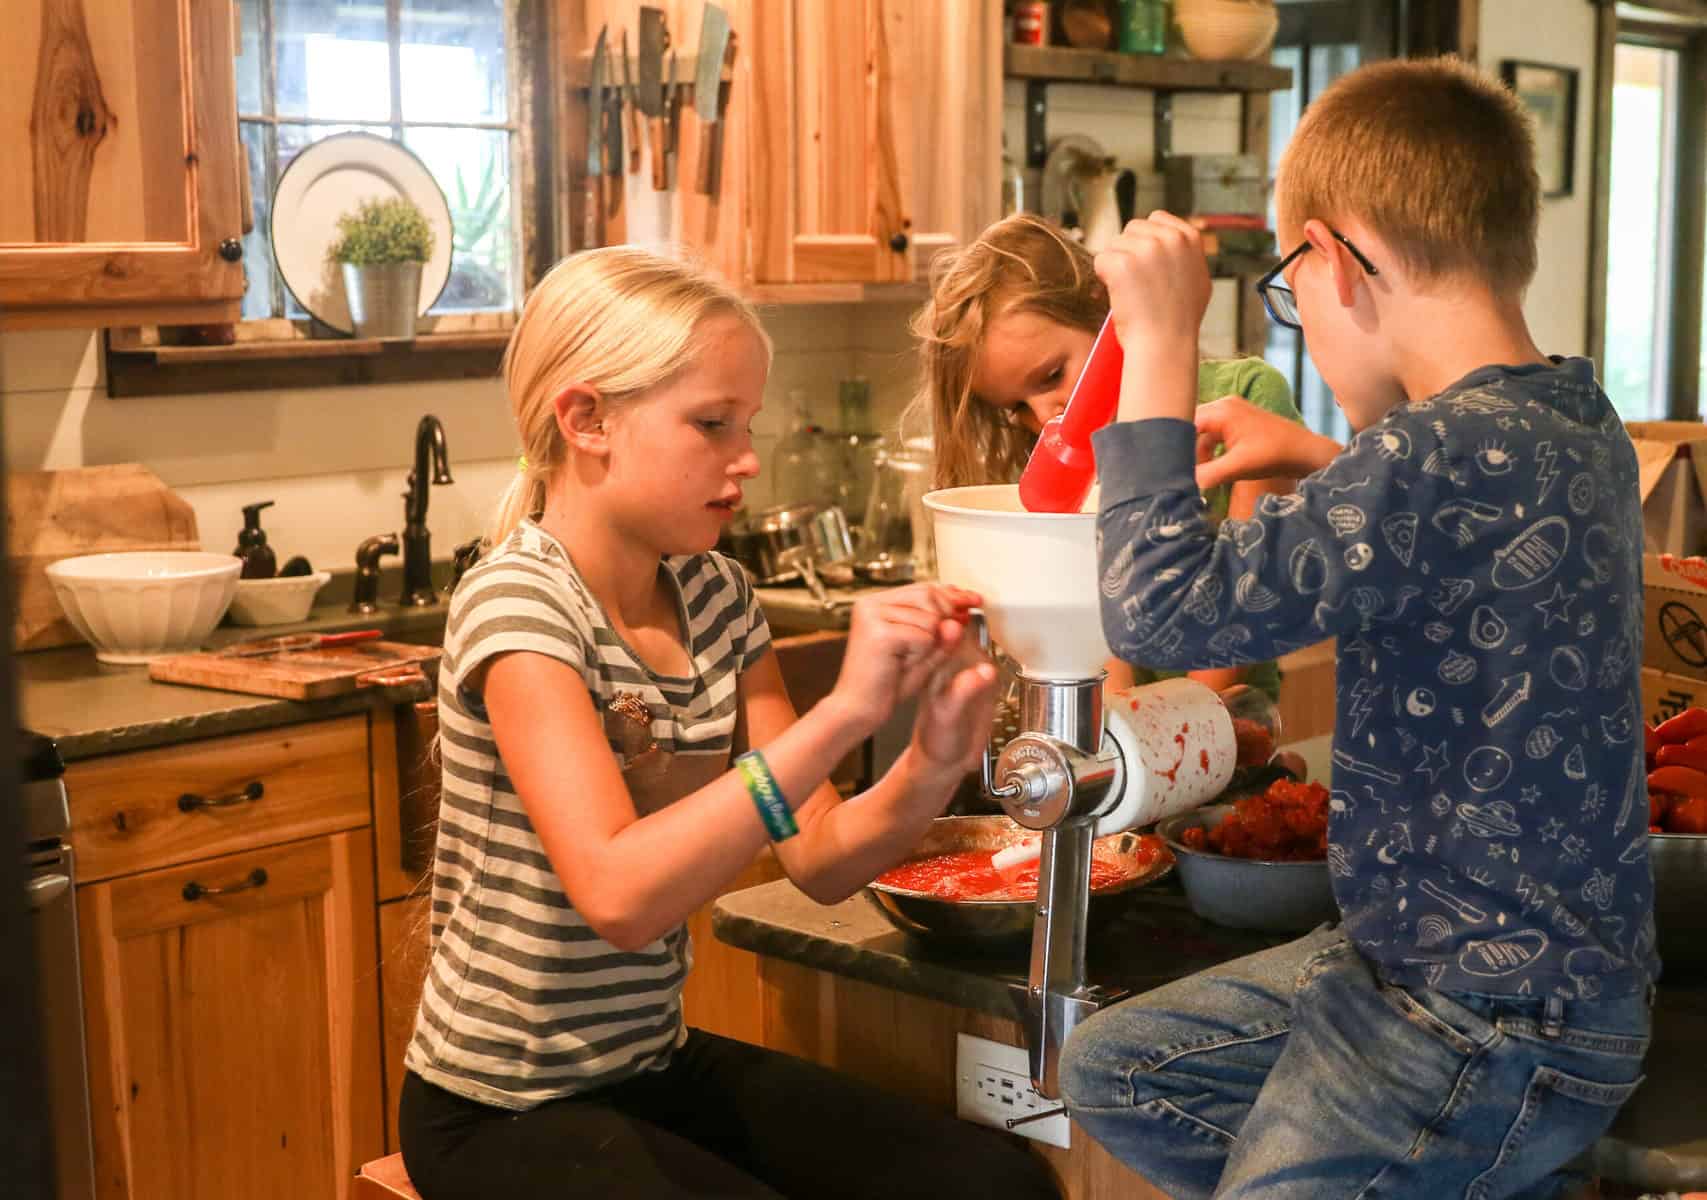
Homesteading with Kids Making Tomato Sauce

The Beauty Beyond Homesteading Expectations

It is important that your kids see this lifestyle as being sometimes uncomfortable, doing some hard work, and occasionally doing things we don’t want to. It is also equally important that they understand the beauty of it. 

Starting at a young age, I have talked with my kids a lot about the wonders of this life. We have talked about the wonder of seeds growing, vegetables appearing, and how it’s ok to snack right from the garden. These are things that I get excited about and when I get excited, they get excited. The beautiful, amazing, miraculous parts of this lifestyle need to be talked about too. 

I’ll bet a lot of kids will pick up on the beauty of it all, because children tend to have a beautiful way of viewing the world. When your children see an adult in their life embracing these things and celebrating them, it will make your children love it that much more. 

old fashioned childhood

You Can Homestead with Kids Too!

Hopefully, my thoughts and our philosophy have given you some inspiration. Our way of doing things is not perfect, sometimes it works and sometimes it doesn’t. You might see pictures of us and the kids looking like we have created this blissful serene childhood, but it’s not always like that.

There are days when the kids fight a lot, I lose my temper, or something escapes, and these are the days when the homestead is teaching different lessons. Even with the ups and downs, looking at this lifestyle that we are building together, I can’t imagine a better way to raise your children. 

If you are looking to move into the country with your family or you’re just looking to create more of an old-fashioned on-purpose lifestyle with your children, I believe it is so worth it. There will be tough days and there will be amazing days, but no matter what your children will have this incredible foundation for what’s to come as they grow and mature. 

More About Homesteading with Kids:

Homesteading with Kids: How We Do it

The post Homesteading With Kids: How We Do It appeared first on The Prairie Homestead.

Via Gardening http://www.rssmix.com/
Friday, August 13, 2021

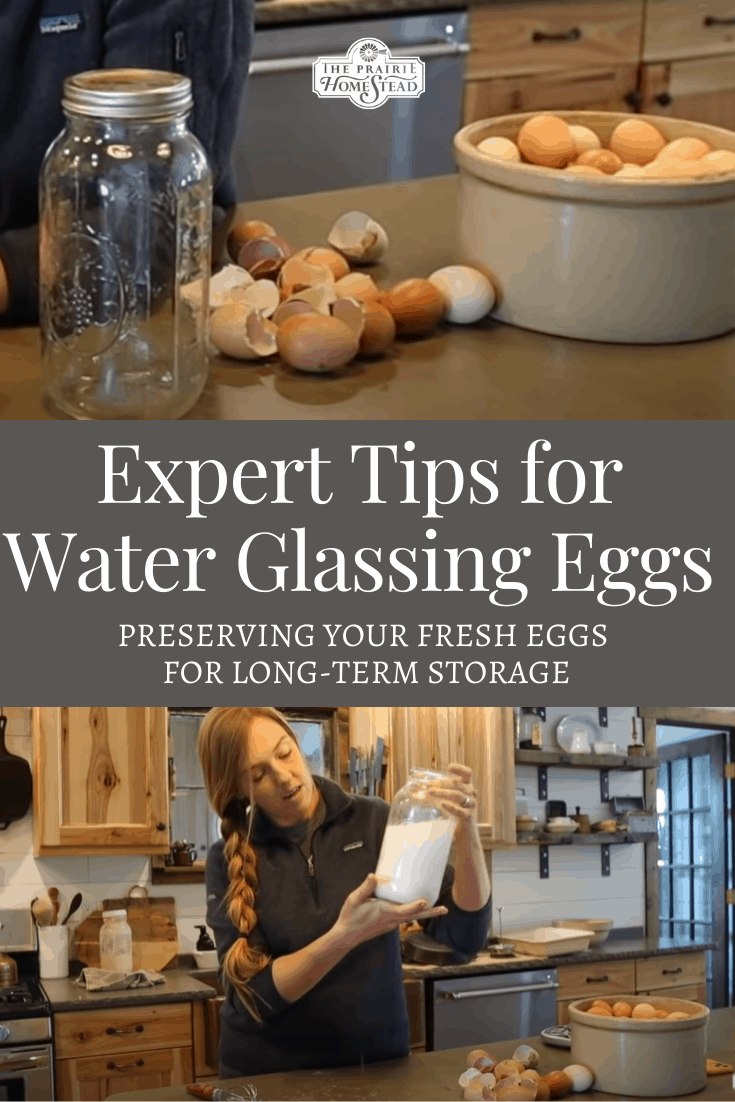
Water Glassing Eggs: How to Preserve Your Fresh Eggs for Long-Term Storage

Water Glassing Eggs: How to Preserve Your Fresh Eggs for Long-Term Storage

During the spring and summer, our coop is overflowing with freshly laid eggs…so many eggs!

As an experienced chicken keeper, I know that our wealth of eggs won’t last forever, and by late-fall, all of our hens’ efforts tend to take a hiatus, and it’s like they go into an egg-laying hibernation.

Once you have owned chickens for a time, you will become aware of your chickens’ laying habits. Not all chickens stop laying in the winter months, but in my experience, most of them do. When this happens, we homesteaders are left to fend for ourselves.

What if instead of waiting for the “no egg months”, we prepared for them?

One of the best ways to preserve a large number of fresh eggs is called water glassing. I know it sounds more like an art and craft project, but it is actually a historical way to preserve your fresh eggs.

If you’re curious about different ways to preserve eggs, in this video (below), I compare/contrast water glassing eggs, dehydrating eggs, and freezing eggs. Check it out if you’re curious about my discoveries on the three types of egg preservation!

What is Water Glassing?

Water Glassing is an old-fashioned method of preserving farm fresh eggs that dates back to the 1800s. Back then, it was common to use sodium silicate to make water glassing solutions. Sodium silicate is a type of concrete sealer that has many different uses; including being the original preservation item for water glassing eggs.

Today, calcium hydroxide, better known as pickling lime, is more commonly used to make water glassing solutions. Pickling lime is a white powder that was originally used in old pickle recipes. I personally prefer to use pickling lime because it is a more natural and less-sketchy-chemical option than the older use of sodium silicate.

NOTE: there are different types of lime out there, and only food-grade pickling lime should be used for water glassing. You can usually find pickling lime in the canning equipment section of nearby stores that sell canning equipment or you can purchase it online.

Both water glassing solutions are mixed in a container where eggs are then submerged. This process is used to seal the eggshells to prevent bacteria from entering the egg. Water glassing eggs is a preservation method that is used to store fresh eggs for an extended period of time.

Water Glassing Eggs: Prep work

What Eggs Can Be Water Glassed?

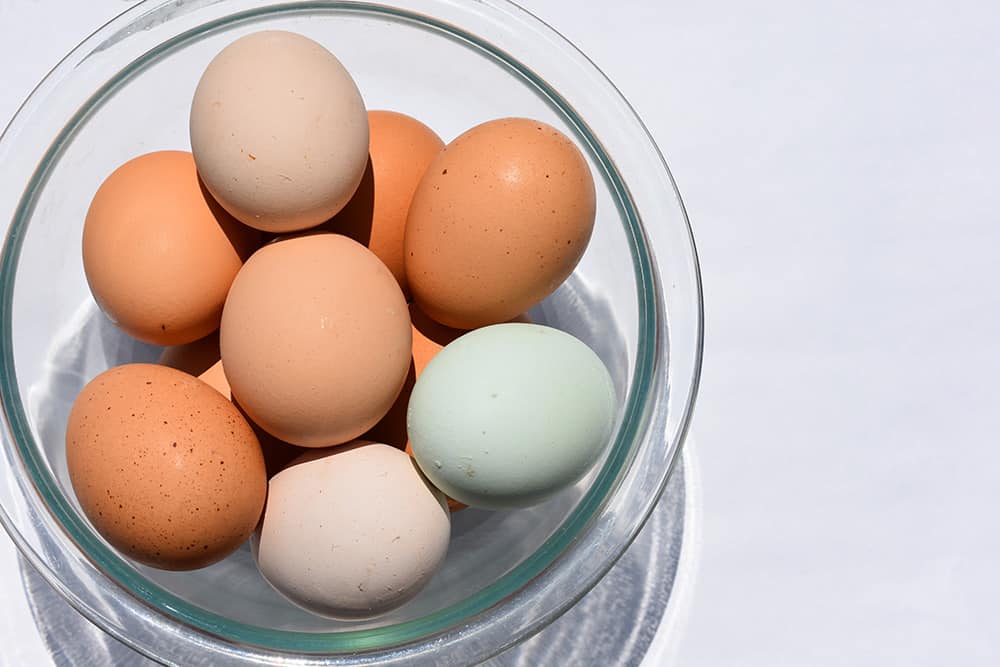
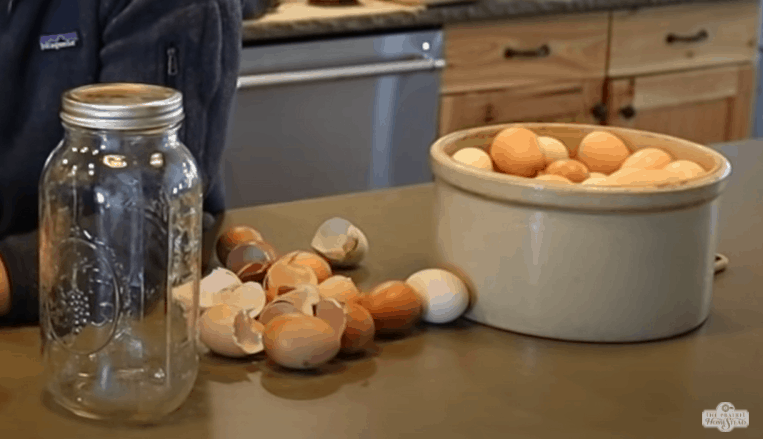
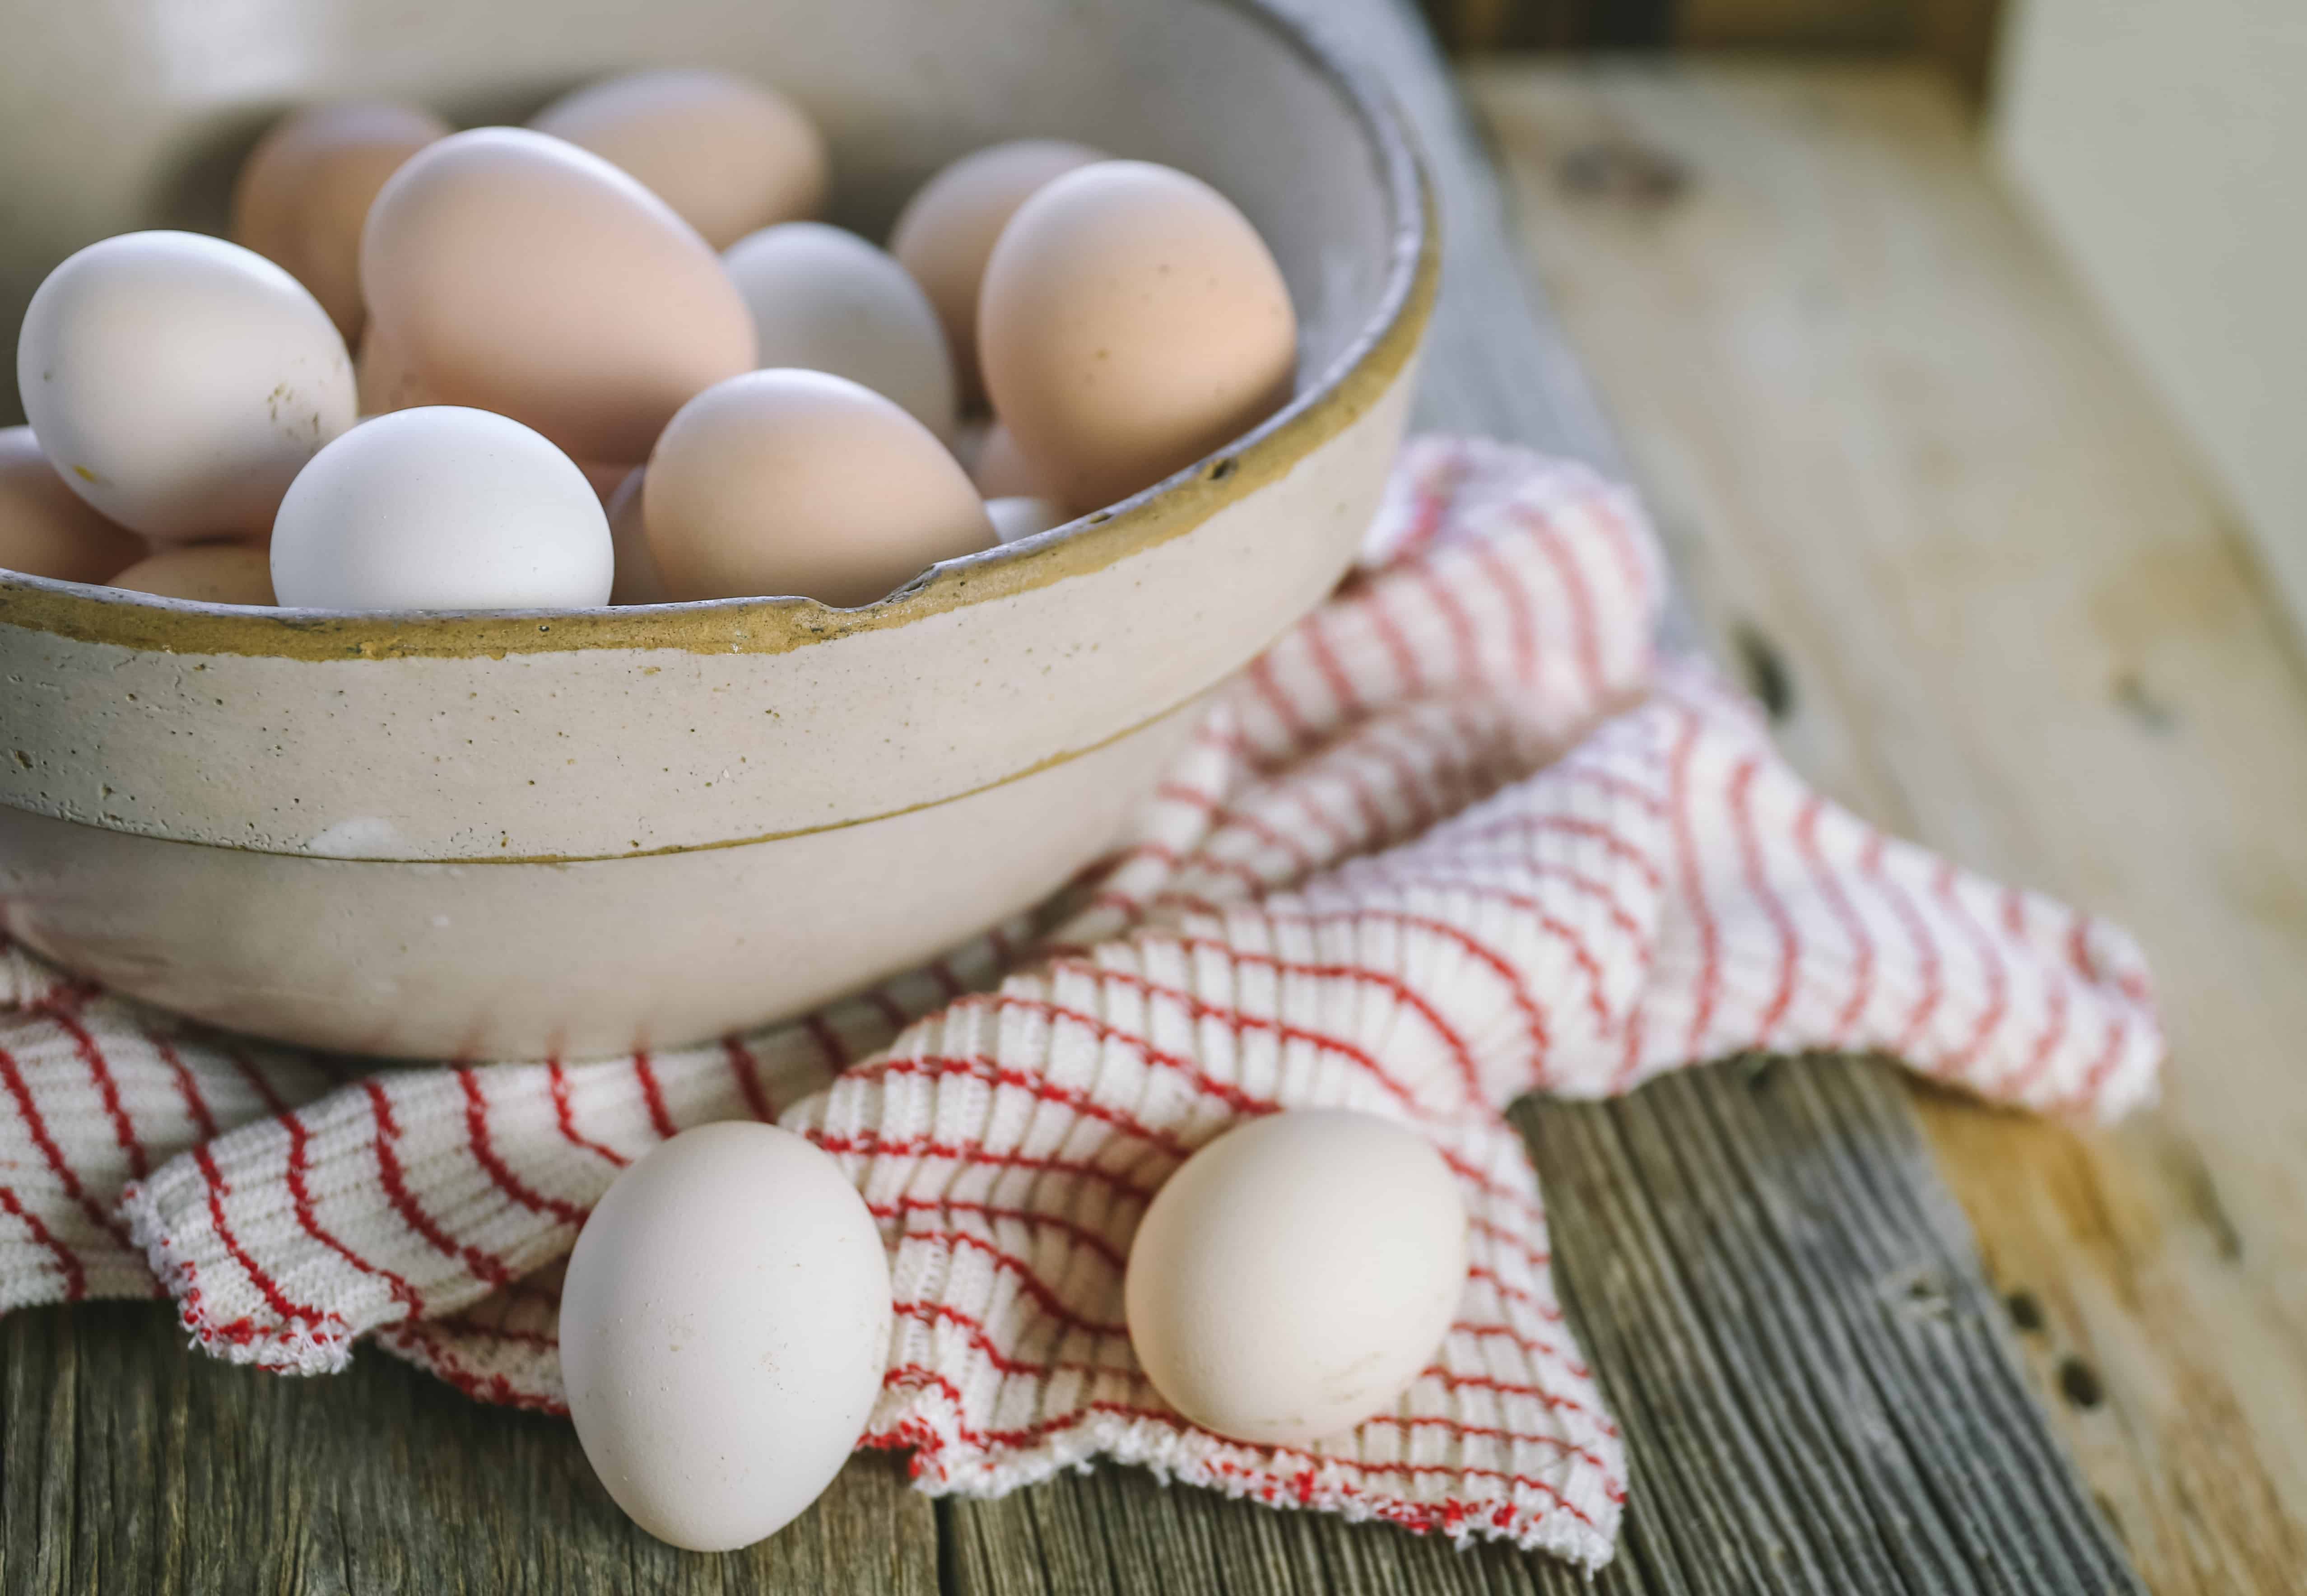
Any type of poultry egg can be preserved using the water glassing method. The eggs must be fresh, clean of any debris, but unwashed (unwashed is important!). You cannot use store-bought eggs for water glassing because eggs from the store have been washed and bleached, which destroys the eggs bloom coating.

What is the bloom coating and why is important?

Some folks don’t realize that eggshells are porous, meaning they are made up of tons of little pores. The bloom is the outer coating that protects the egg from air and bacteria entering through these pores. Washing your eggs will destroy the bloom coating, which will allow the lime to enter the egg during the water glassing process.

The bloom coating is sealed in place by the water and lime mixture during water glassing, leaving you with eggs ready for storage in your pantry. No bloom coating means no good when water glassing eggs.

Are Water Glassing Eggs Safe?

Water glassed eggs that have been submerged in a lime and water solution are safe to consume. Your water-glassed eggs should be washed well before using them because ingesting pickling lime is not good for you. One thing you should look out for are cracks in any of your eggs. Even the smallest crack can contaminate an entire batch of water glassed eggs.

Water Glassing Eggs: Preservation Method for Eggs

Materials Needed For Water Glassing Eggs

Glass Jars or Food-Grade Bucket – The size of the container depends on the number of eggs you plan to preserve. Keep in mind that 1 quart of water glassing solution will cover about 15 chicken eggs.

Pickling Lime (Calcium Hydroxide) – This type of lime can sometimes be found with canning and preserving equipment in stores, or you can always look online.

Note: Sodium Silicate is still available to use for water glassing eggs. My instructions below are for the use of pickling lime which is more commonly used and it is my preferred method for water glassing eggs.

Water – Your water needs to be chlorine-free and fluoride-free. If you have good well water, there are no worries, but if you live in a city where fluoride is an additive, you can boil your water. You can also buy distilled or natural spring water from the store to be safe.

Eggs – Any type of fresh, unwashed, clean eggs will work for water glassing.

Note: You do not have to collect all your eggs the same day you make the water glassing solution. You can add eggs as you gather them.

Water Glassing Eggs: Preservation Method for Eggs

How To Water Glass Eggs

Ingredients: 

  • Airtight Container (Glass Jar or Food Grade Bucket)
  • Kitchen Scale (For Measuring Pickling Lime)
  • Pickling Lime
  • Water (Natural or Distilled: must be chlorine-free and fluoride-free)
  • Eggs (Fresh, Clean, Unwashed)

Instructions:

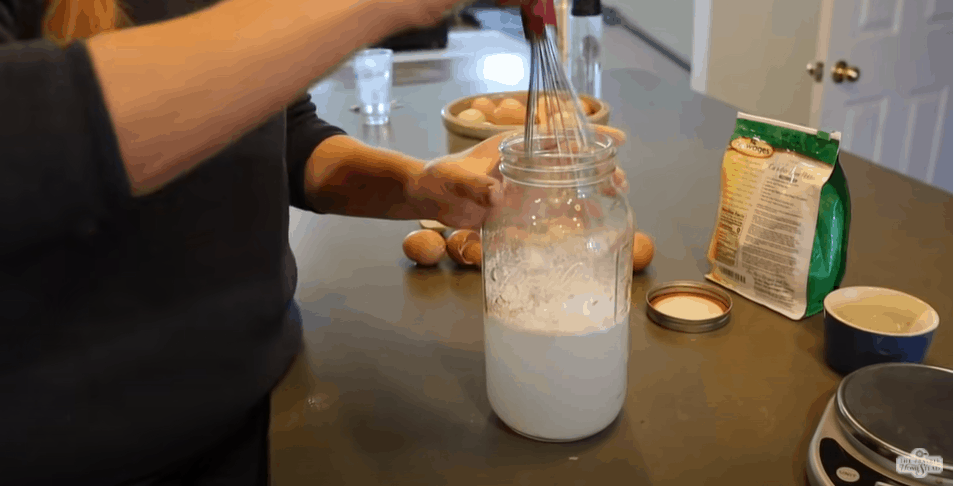
Step 1: Mix Water and Pickling Lime (1 quart water to 1 ounce lime ratio)

In your chosen container, add a ratio of 1-quart water and 1-ounce lime. (This ratio is going to be used no matter how much of the solution you make.) You will want to make sure you have enough solution to cover your eggs by 2 inches. Mix the water and lime until completely dissolved.

Step 2: Gently Add the Eggs

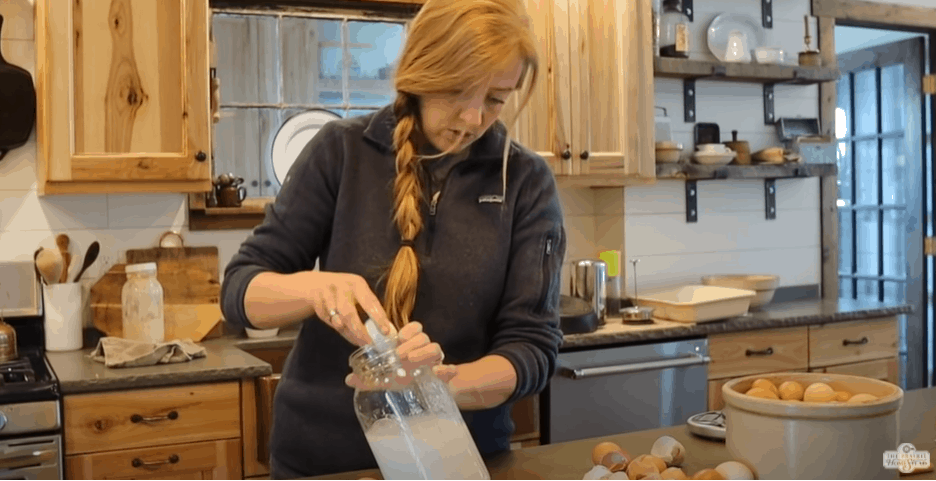
You will gently place your eggs pointy side down and fat side up (aka Air Sack Side Up) in the lime-water solution. If one egg cracks, it will destroy the entire batch. SO DO THIS GENTLY!

Step 3: Secure the Lid and Store

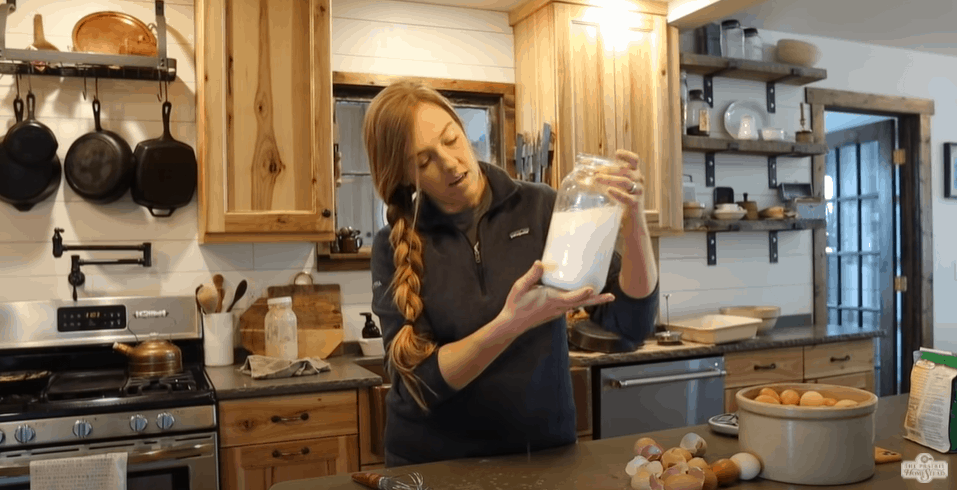
Secure the lid on your air-tight container and then store your water glassed eggs in a cool and dark place until you need some farm-fresh eggs!

Tips for Water Glassing Eggs for Preservation

Using Your Water Glassed Eggs

Water glassed eggs can be used exactly how you would use eggs just collected from the coop, except if you are boiling your eggs. Water glassed eggshells have been completely sealed, so you will want to make a small hole in the shell to prevent exploding when hard-boiling your eggs.

When you are ready to use your preserved eggs, take them out of your container and wash them well. You do not want any lime water left on the eggs you are using. If you know that you will need eggs later in the week, you can pull some out and store them in the refrigerator for a few days.

How Long Do Water Glassed Eggs Last?

Fresh eggs with the bloom intact can be stored on the counter for about a month and refrigerated for up to six months. Eggs that are preserved with the water glassing method can last up to a year or more. The water glassing method seals the eggshell, keeping them fresh just like eggs just laid.

a bowl of eggs on counter

What If I Don’t Have Chicken Eggs?

No chicken eggs, no problem!

Any type of poultry eggs can be preserved using the water glassing method. If you raise ducks or quails, their eggs will work too. Just keep in mind that duck eggs are larger and will need more space when choosing your container for water glassing!

No farm-fresh eggs? 

Local farmers all over the country are selling farm fresh eggs, you will likely see a sign hanging at the end of their drive or an advertisement somewhere. If you find a local farm nearby selling eggs, stop and talk to the farmer. Ask them about their collecting practices and if you could purchase unwashed, clean eggs from them. 

Need help finding local food sources? Check out my article on How to Find Local Food Sources to get some tips on how to connect with your local farmers.

When Should You Collect Your Eggs?

As mentioned earlier, you can make your water glassing solution and continuously add eggs as you collect them. If your goal is to prep for your chicken’s winter laying hiatus, I recommend starting in late spring. This is the time of year we start getting flooded with eggs!

Before you start collecting eggs for preservation, you should consider the number of eggs you use in your daily life. You will want to keep in mind that you will be collecting your eggs for both current use and collecting eggs for preservation.

If you don’t have many chickens and you need to collect for use during the summer months, how many eggs will that leave you for preserving? If you are being flooded with more eggs than you can use, decide carefully the balance for which eggs to keep for eating now and which to preserve with water glassing.

Maybe Water Glassing Eggs Isn’t Right For You…

Maybe you have decided that water glassing eggs isn’t the right preservation method for you. Well that’s totally okay. There are other ways for you to preserve your eggs. Two different methods for preserving eggs that I have tried before are freezing and dehydrating.  

To learn more about my experience with these two different methods of preserving eggs you can read How to Freeze Eggs and How to Dehydrate Eggs.

Water Glassing Eggs as a Preservation Method: Final Thoughts

Are you ready to start preserving eggs for those short winter days when there are no eggs to be found?

Water glassing requires little time, very few supplies, and is a simple way to preserve your extra eggs for long-term storage. If you have made the decision that water glassing is right for you, just remember only fresh, unwashed eggs will do.

Preserving eggs for long-term storage is not a new activity in the homestead kitchen. All of the different methods and instructions can leave you a bit overwhelmed or confused. If you are looking for help overcoming your egg preserving confusion, listen to Taking the Confusion Out of Egg Preservation from my Old-Fashioned on Purpose Podcast.

More Articles about Preserving Your Fresh Eggs:

Water Glassing Eggs Preservation Method

The post Water Glassing Eggs: How to Preserve Your Fresh Eggs for Long-Term Storage appeared first on The Prairie Homestead.

Via Gardening http://www.rssmix.com/

Tuesday, August 10, 2021

How To Plan Out Your Fall Garden

Planting Your Fall Garden

Most folks assume that once summer is over, then the gardening season is complete.

But did you know there is a whole other world of gardening possibilities? Possibilities that can help increase your harvest and even passively improve your soil. 

Yep, I’m talking about fall gardening. I’ve kinda talked a bit about fall gardening in the past by listing 21 vegetables you can plant in a fall garden. However, that article didn’t get into the details on planning a fall garden or why you should have a fall garden in the first place.

I’m going to be completely honest, for the longest time, the idea of fall gardening completely confused me. I would hear people talk about fall gardening and all I could think about was how short our growing season is here in Wyoming and how it didn’t make sense to even attempt a fall garden.

I remember thinking “how can I plant seeds in the fall when I would have to try to harvest the plants in snow?” Thankfully, I have a much better understanding of planning a fall garden now. So I’m going to take you through some of the lesser-known steps you can take in the fall to seriously impact your garden’s productivity. 

By the way, even if you don’t want to mess with a fall garden, there are still lots of great things you can do to extend your summer garden longer and into the fall season. Check out my tips here on how to extend your summer garden season.

how to prepare your garden for winter

Why Plant a Fall Garden? 

For the longest time, I didn’t understand the power of stretching your garden seasons. I was in this mindset where the garden had to be planted in the spring and harvested in the early fall. The End.

If you can think outside the box and do things differently, it will impact your homestead garden drastically. A fall garden can increase the amount of food you grow and also improve your soil for success in the spring. 

Some are probably thinking “Jill, summer kicks my butt, I’m not sure I want to keep growing.” I have been there and totally get that feeling. There is no shame if you feel like you have been through the garden gauntlet and just need a break.  

But if you think you have a little bit of juice left and feel like you might have more energy to put into homesteading, fall gardening might be worth your time. Fall vegetable options are a little more limited but fall gardening does have its benefits.

Benefits of Planting a Fall Garden

1) Fewer Bugs

The first benefit from fall gardening that I always think of is fewer bugs. These plants are going to be in their prime after your first frost. This depends on where you live, but usually, the bad bugs are going to be dead. Those Cabbage Moths and annoying things that have been eating holes in the greens will be all gone.

2) Less Heat, Happier Vegetables

Most vegetables that you are planting in your fall garden are a thousand times happier when they are not in heat. This is very applicable if you live in a state or a place with really hot summers. I am in Wyoming and summers are not like they are down south, but I have a heck of a time getting spinach to grow without immediately bolting from the heat. Fall Gardening is cooler, and a lot of these plants are much happier, and you won’t have to fight with plants constantly going to seed or bolting. 

3) Fall Gardening Can Be Less Hectic

It depends on your schedule, but fall is sometimes less hectic compared to summer. Doing stuff in your fall garden might feel a little bit more relaxed and maybe a bit more enjoyable. 

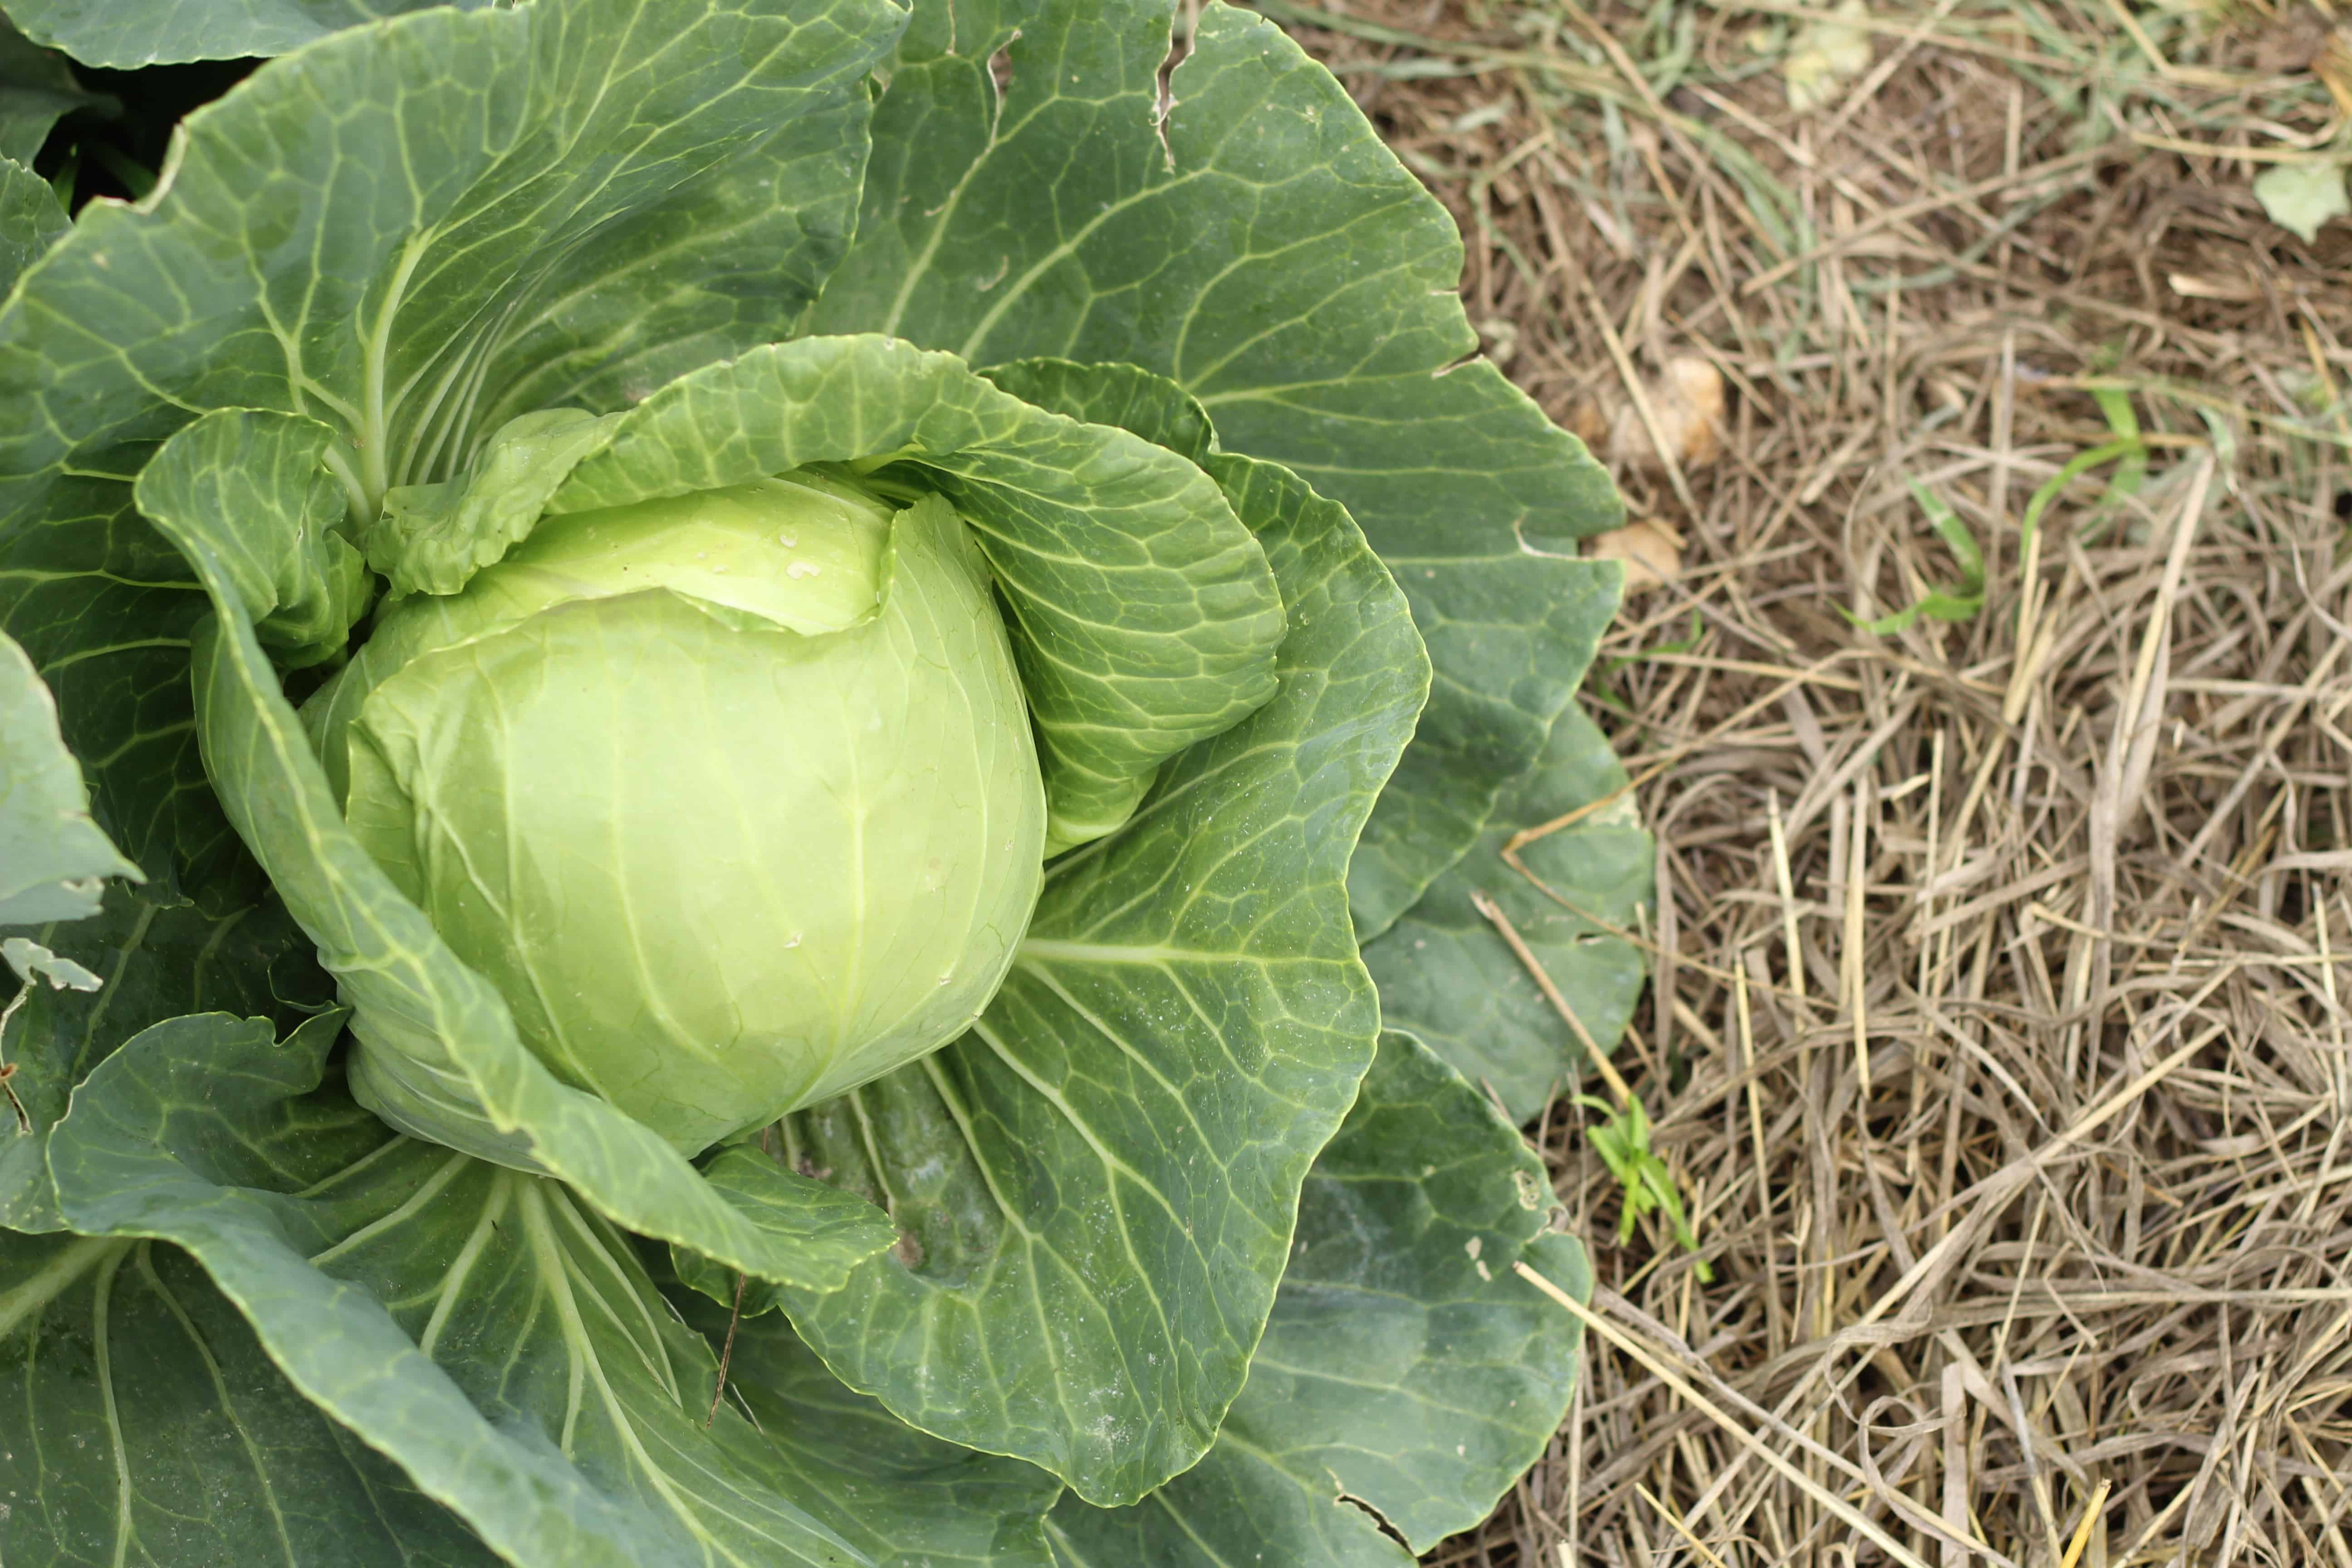
Best Vegetables For A Fall Garden: cabbage in fall garden

The Best Vegetables For A Fall Garden

You want to steer clear of vegetables that are sensitive, like tomatoes, cucumbers, squash, and melons. You will want to avoid vegetables that you see turn black after one little temperature dip. Those are the types of vegetables you want to save for the summer garden. 

There is this whole other realm of gritty, hardy, tough vegetables that are like “go ahead freeze, I can handle it”. When I think of cold-hardy vegetables, I believe there are 3 categories that do really well in the fall: the cabbage family, greens, and root vegetables.

By the way, my favorite place to buy vegetable seeds is True Leaf Market. They have tons of great selections and I’ve been impressed with all of the seeds that I have planted from them so far. They also have a handy ‘hardiness zone’ area on the left-hand side when you select a specific vegetable, so that you can look at only the vegetables that grow in your hardiness zone. I love them!

Fall Garden Vegetable Categories 

1) The Cabbage Family 

This family is your brassicas you have broccoli, brussels sprouts, cabbage, and cauliflower. These all handle the cold and are great additions to add when planning your fall garden. Bonus: some of these taste even better after a few frosts (especially brussels sprouts).

2) Greens  

Spinach, Chard, Mustard Greens, and Lettuce are easy to grow and should be considered when planting your fall garden. Last year I grew Mache, it is tough as nails, and did well in the cold. There are also greens like kale or arugula that do really well with cold weather and can handle some light frosts.

Most of these plants are very susceptible to pests, like our previous incident with the kale and grasshoppers. Greens are less likely to have these pest problems in the fall, so it’s way less time-consuming to have them in a fall garden since you don’t have to pick off all the bugs as much.

3) Root Vegetables 

To be perfectly honest I don’t plant in this category very much, but root vegetables are great for a fall garden. Root vegetables to plant in the fall include radishes, beets, and carrots. Radishes grow lightning fast; beets are a little bit slower but if you harvest them when they are small, they taste better. Some people will grow their second crop of carrots in the fall. All of these root vegetable options are great for planting in your fall garden. 

Planting a Fall Garden | Garlic

Garlic

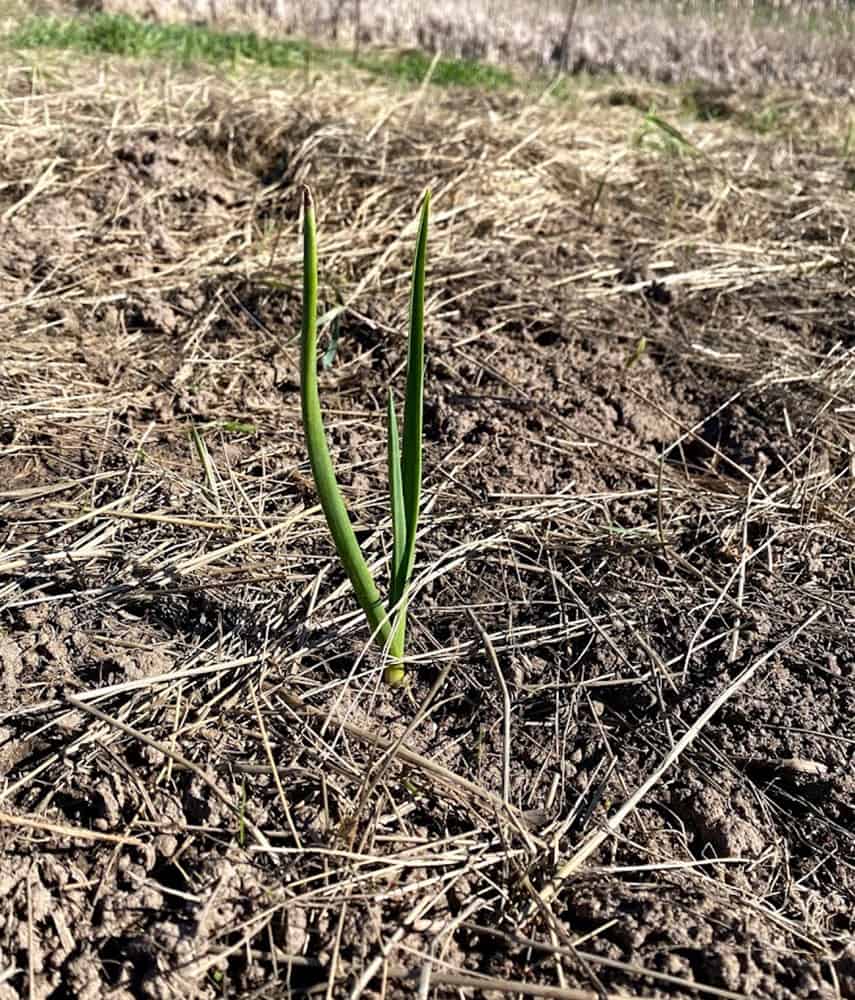
One specific crop you will always want to plant in the fall is garlic. I usually plant my garlic at the end of September or the 1st of October for my zone. Make sure you plant your garlic according to your garden zone. Learn your garden zone here and then learn when to plant garlic in your garden zone from my how to grow garlic article.

Garlic grows over the winter, so you will get a little bit of growth, you mulch it, and it just hangs out until spring. In the spring, your garlic starts to come up through the soil, you water it, and then harvest it at the end of June or early July (depending on your garden zone).

When planning a fall garden make sure you set aside some room for the garlic. An important thing to remember is to put a marker where you planted it. In the spring when I get back out to the garden, I often forget which beds they are in and I often second-guess myself.

There are some awesome options when it comes to fall planting, and I know there are at least 21 Vegetables For Your Fall Garden, within these categories. All of these cold-hardy vegetables are the ones you will want to focus on for fall. 

Figuring Out Fall Planting Dates

The next piece of this puzzle is figuring out WHEN you should start planting your fall garden. This is the part that will catch many off-guard. A fall garden is a bit of a misnomer because you don’t start a fall garden in the fall, you start it in the summer. 

In July, you’re not thinking about planting seeds, you’re thinking about weeding and garden care.  You are full-swing in summer gardening and it can be hard to remember to start your fall garden. 

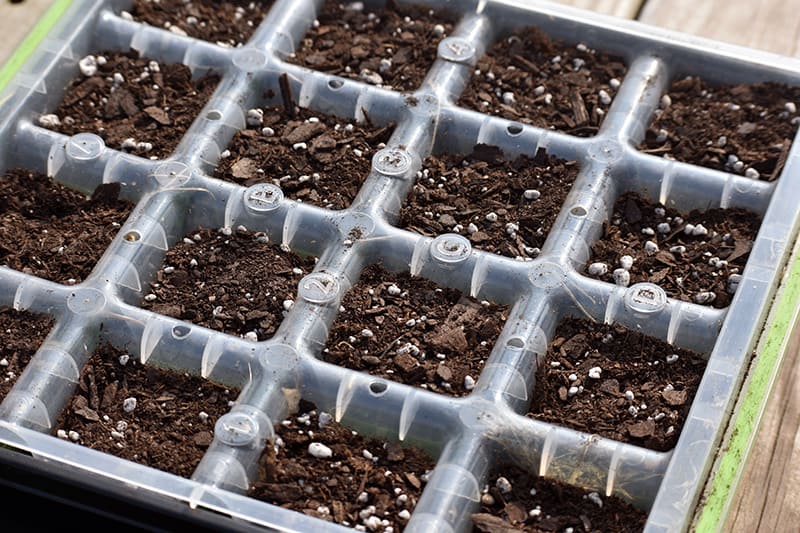
For a successful fall gardening start, you will need to go back to planting-mode and get ready to plant your fall crops by mid-summer. Some seeds can be directly sown into the garden, while others will need to be started indoors. Dust off the grow lights, get the shelves cleaned off, and get ready to start some fresh seedlings.

Additional Seed Starting Help:

Finding Your Frost Date

You already know your last frost date for spring, now you are going to find your first frost date for fall. My first frost date on average is around September 15th, and anything past this in the garden is in the danger zone for frosts and even blizzards.

Starting Fall Garden Seedlings – 12 Weeks Before Frost

Figuring out your planting date is pretty simple now that you know your first frost date. You will find your first frost date and count back roughly 12 weeks, the date you land on should be when you are starting your seedlings indoors. 

12 weeks before my first frost date brings me to the end of June. The planting of my main garden is done by June 1st, so fall planting comes very early for my short season. Once my main garden has been planted, I only have a month until I have to get back in seedling mode. 

This is when I need to start any of the cabbage family, they tend to germinate better when it’s not blazing hot. This includes cabbage, broccoli, and cauliflower, if you are planning on growing any members of the cabbage family this is the time to plant indoors. 

You could also start the chard or some of the greens inside but in my experience, they honestly do better when planted straight into the garden. 

Planting a Fall garden | Seed Starting

Transplanting Fall Garden Seedlings – 10 Weeks Before Frost

10 weeks, about 2 weeks after you have started your seeds indoors, you will want to transplant them to your garden. Your summer garden should be in full swing, so all you will need is a well-protected clean bed. These baby plants will need a little extra protection from both the elements and any pests your main garden is attracting. 

10 weeks out from your first frost you can also direct sow some of the other vegetables into your garden. This is the time to plant your lettuce, and also your root veggies like the carrots, beets, and radishes.

These are the fast-maturing crops that you can repeat sow from the middle of July to the beginning of August. I usually keep planting a few hardy things like spinach, mache, and a few more bits of lettuce. Here’s a list of fast-growing vegetables that you can add to your garden throughout the summer and into early fall.

You want to make sure your plants have a good start with enough time to get growing and germinating. At this point, you are now moving into the time when they need to be a little stronger. If you feel your seedlings are still vulnerable, you could potentially cover them with plastic, a row cover, or a low tunnel. 

A fall garden starts in the summer, but you get to reap the benefits throughout the fall. Starting early will allow your plants the correct soil temperature to germinate. If you try sticking seeds in the garden in October, you might get a little germination, but it may be touch-and-go. 

Your fall garden will need a strong start in the summer and then in the fall, it is all about maintaining those plants and keeping them alive during frosts. They won’t be actively growing as much, just hanging out in the garden waiting to be harvested. It helps if you get something to cover them, as they will keep growing if the soil is warm enough. Check out my article on how to extend the gardening season for a bunch of ideas (from cheap to expensive) for helping your fall garden plants keep growing.

Cover Crops: a Fall Garden Alternative/Companion 

The alternative or sometimes companion to fall gardening can be cover crops. I used to be completely confused by the idea of cover crops. Parker from True Leaf Market gave a crash course in cover crops in Episode 26 on the Old Fashioned on Purpose Podcast, which cleared up a lot of my confusion. 

What Is a Cover Crop?

A cover crop is simply a mass of plants, that you plant to cover your garden soil during the fall, winter, and early spring. There are all different kinds of cover crops that you can pick from, some do better than others depending on your location.

Why Plant a Cover Crop?

Nature hates bare soil, when you have exposed soil erosion in nutrients and poor soil health are the results. These cover crops keep garden soil covered during dormant months but also puts some amazing stuff back in the soil. Cover crops can help our soil nutrients stay safe from the elements, put nitrogen back in the soil, and suppress weeds. 

Cover Crop

Cover Crops as a Companion/Alternative

If some of your garden has been planted with fall vegetables but you still have areas that aren’t in use, then this is where you can plant cover crops in the unused area as a companion to your fall vegetables. 

Cover crops are also an awesome option if you have zero desire to grow vegetables in the fall, and you’re over it and need a break. If you would like to make sure your garden is healthy and protected over the winter, then this can be done by eithing using mulch or planting cover crops. 

The biggest objection I had to cover crops for years was that I thought they had to be planted in the summer. I believed that I had to plant cover crops in July to get good growth for them to work. This was not an option because I still had tomatoes and cucumbers in my garden. July is when the garden is in full swing, and I was not going to rip out a crop to put a cover crop in.

In the interview with Parker from True Leaf Market (in this podcast episode), he explained that is not how it works. You can wait and plant the cover crops after everything is harvested, and the only trick is to make sure they get planted before the first hard frost. 

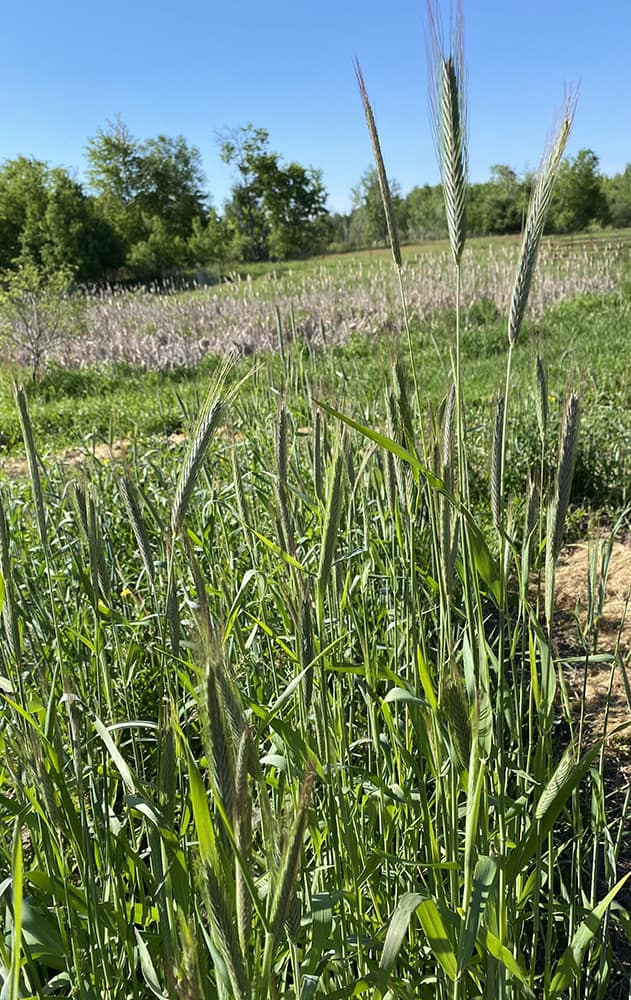
Last year (2020), I decided to experiment and planted my first cover crop. I chose to plant winter rye in a couple of garden beds that were very clay-heavy. Winter rye is known as being a great cover crop option for clay soils; it grows long roots that go down into the soil and break up the clay. 

I bought my rye seeds from True Leaf Market and broadcasted them out in late September or early October. I watered the beds, and it grew a good 4 or 5 inches before it kind of slowed down. I read somewhere that in the spring the rye will pick up where it left off and keep growing.

Depending on its condition, you can try using it as a living mulch or tilling it back into your garden. I was super excited to see how my cover crop worked, since I now know that it has to be better for the soil versus just leaving it open to the elements.

I showed the amazing results from my rye cover crops in this instagram video, in case you’re interested in seeing how it went. Basically, we used a weed whacker in spring to chop down the very-tall rye cover crops in our beds, and I left the roots in place and grew my tomatoes around them. The tomatoes are growing really well and the rye did an awesome job keeping the beds covered until I needed them and also amending the soil.

Cover crops can be planted in any type of garden; it doesn’t have to be in raised beds like mine. You just want to be sure your seeds get planted, watered, and given a chance to start before things get too cold. This is a great passive way to improve your soil, since you just sit back and watch it grow.

Cover crops are simpler than creating new topsoil or adding more compost and I like simple!

Saving Seeds: A Great Fall Gardening Option

Another fantastic fall garden activity is seed saving, especially since during this past year, the seed industry has been so volatile.

The goal of our homesteading is to eventually close the loop and figure out how to become more sustainable. We are always thinking of ways to create opportunities where we don’t constantly have outputs. Outputs are not bad necessarily, but it is interesting to see how sustainable we can become. Seed saving can be one of those opportunities to help close that loop.

I have dabbled with seed saving, but it has fallen to the middle or lower portion of my homesteading priority list over the years. Not because seed saving is hard necessarily but sometimes it’s just one more step. Seed-saving might be a higher priority for you, but honestly, I’ve opted to buy most of my seeds in the past. 

Easy Vegetable Seeds to Save:

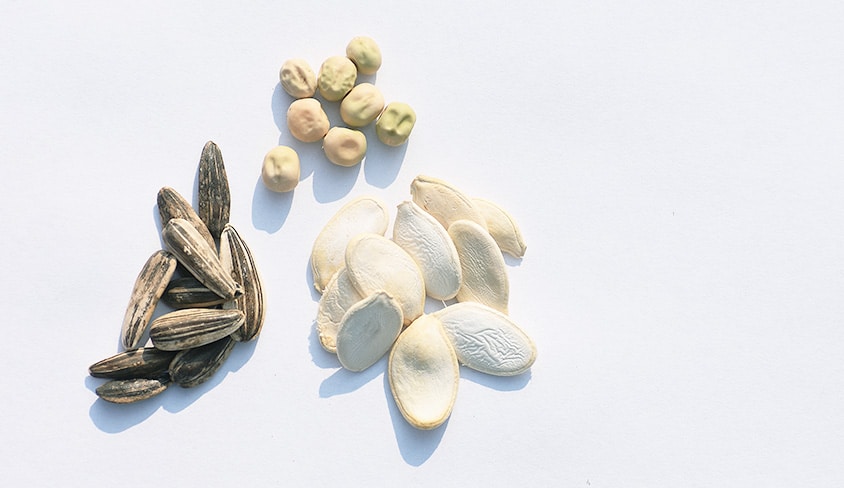
There are a number of vegetables that are easy to save seeds from. Many are pretty common in home gardens today.

Easy seed-saving vegetables include:

  • Tomatoes
  • Cucumbers
  • Peppers
  • Squash
  • Melons
  • Peas
  • Beans

For these vegetables, all you need to do is harvest the seeds, make sure they are dry, put them in an envelope, and then keep them in your refrigerator till next year.

How to plan out your fall garden | seed saving


How to Save Seeds: Let the Fruit/Vegetables Mature

The trick to seed saving with even simple vegetables is you have to let the plants mature before you save the seed. I think a lot of people don’t realize you will have to leave some of the fruits or vegetables on the plant. 

You will need to let it almost go bad or what we think of as bad before you’re able to harvest the seeds. Often you can’t eat the fruit/vegetable, and this may not be ideal for those that have a small harvest or plan on eating everything.

Cucumbers are a great example of this; the seeds are not mature enough to save when you pick the cucumber for pickling or slicing. You will have to leave some cucumbers on the vine and let them get bloated and yellow. Once they get to that point, then you can pick it and save the seeds.

Sometimes, we have so much of a certain vegetable that it’s okay to leave some of them out in the garden. With other vegetables like tomatoes, however, they haven’t matured enough before the frost kills the plant. This means you are picking green tomatoes; a green tomato is not going to give you seeds that can be saved. 

Some plants are quite an ordeal to save seeds from, this is what I would consider homesteading level 5 versus homesteading level 1. For example, things in the cabbage family are biennial, you will not get seeds the first year. It takes two years to do that, so you have two options.

Option #1: You can leave the cabbage in the ground over the winter. If you live in a mild climate or if you live in a place like I do, the cabbage will die when it’s below 29 degrees Fahrenheit. 

Option #2: Gently pull the cabbage plant out of the ground to winterize it in a safe cool place and then replant it the following year. That is not something I am not quite equipped to do, so just buying a package of cabbage seeds doesn’t bother me.

A book that is a fantastic resource to learn about saving seeds is The Complete Guide to Saving Seeds, by Robert Gough. It has everything you need to know about saving seeds and great, high-quality, color pictures. He tells you about the simple way and the more complicated methods to saving seeds, and I highly recommend it.

Seed saving is something that I think I am going to start playing with more this year. Up to this point, it has been one of those things that trickle down the list. You can decide what works in your situation and if seed saving is for you this fall. For the time being, I don’t mind supporting some awesome seed companies (like True Leaf Market) while I try figuring it out. 

Are You Planting a Fall Garden This Year?

I believe that planting a fall garden gives us a chance to expand what we think is possible. Of course, there is no shame in needing a break at the end of your gardening season, and I have been there and I know that feeling. 

As you grow in your homesteading knowledge, just remember that there is a lot you can do in the fall. Planting a fall garden, cover crops, and seed saving can make your garden more productive and hopefully be more enjoyable. Keep these fall gardening activities in mind and do what works best for your situation.  

More Gardening Tips:


Fall Garden Planning and Planting

The post How To Plan Out Your Fall Garden appeared first on The Prairie Homestead.

Via Gardening http://www.rssmix.com/